Styling ranges of text in software is a very useful thing to be able to do. Thankfully, we have the CSS Custom Highlight API to look forward to because it represents the future of styling text ranges on the web.

One example: if you’ve ever used text editing software like Google Docs, Word, or Dropbox Paper, you’ll see they detect spelling and grammar errors and displaying nice little squiggly underlines below them to attract attention. Code editors like VS Code do the same for code errors.

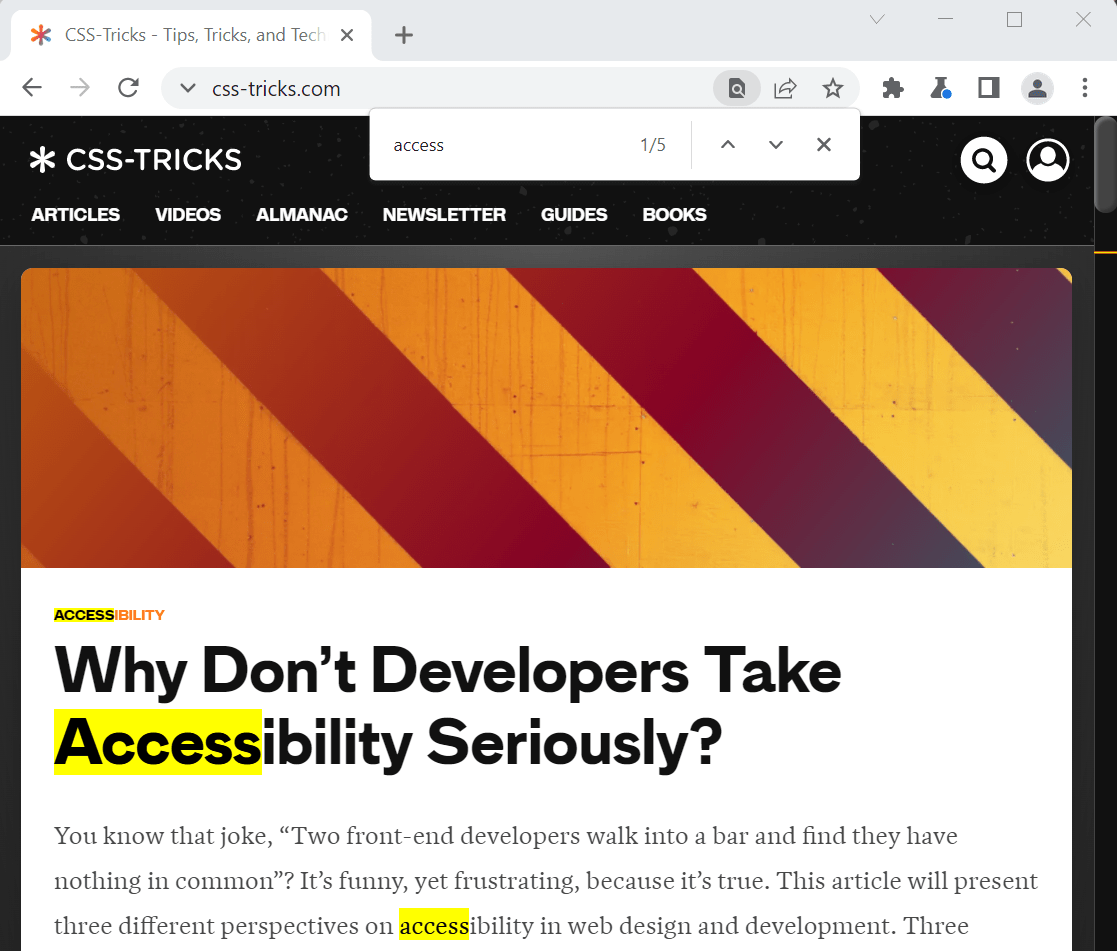
Another very common use case for highlighting text is search and highlight, where you’re given a text input box and typing in it searches matching results on the page, and highlights them. Try pressing Ctrl/⌘+ F in your web browser right now and type in some text from this article.

The browser itself often handles these styling situations. Editable areas (like a <textarea>) get spelling squiggles automatically. The find command highlights found text automatically.
But what about when we want to do this type of styling ourselves? Doing this on the web has been a common problem for a long time. It has probably costed many people a lot more time than it should have.
This isn’t a simple problem to solve. We aren’t just wrapping text in a <span> with a class and applying some CSS. Indeed, this requires being able to correctly highlight multiple ranges of text across an arbitrarily complex DOM tree, and possibly crossing the boundaries of DOM elements.
There are two common solutions to this, including:
- styling text range pseudo-elements, and
- creating your own text highlighting system.
We’ll review them first and then take a look at the upcoming CSS Custom Highlight API that can change it all. but if you’re
Potential Solution #1: Style-able Text Ranges
Table of Contents
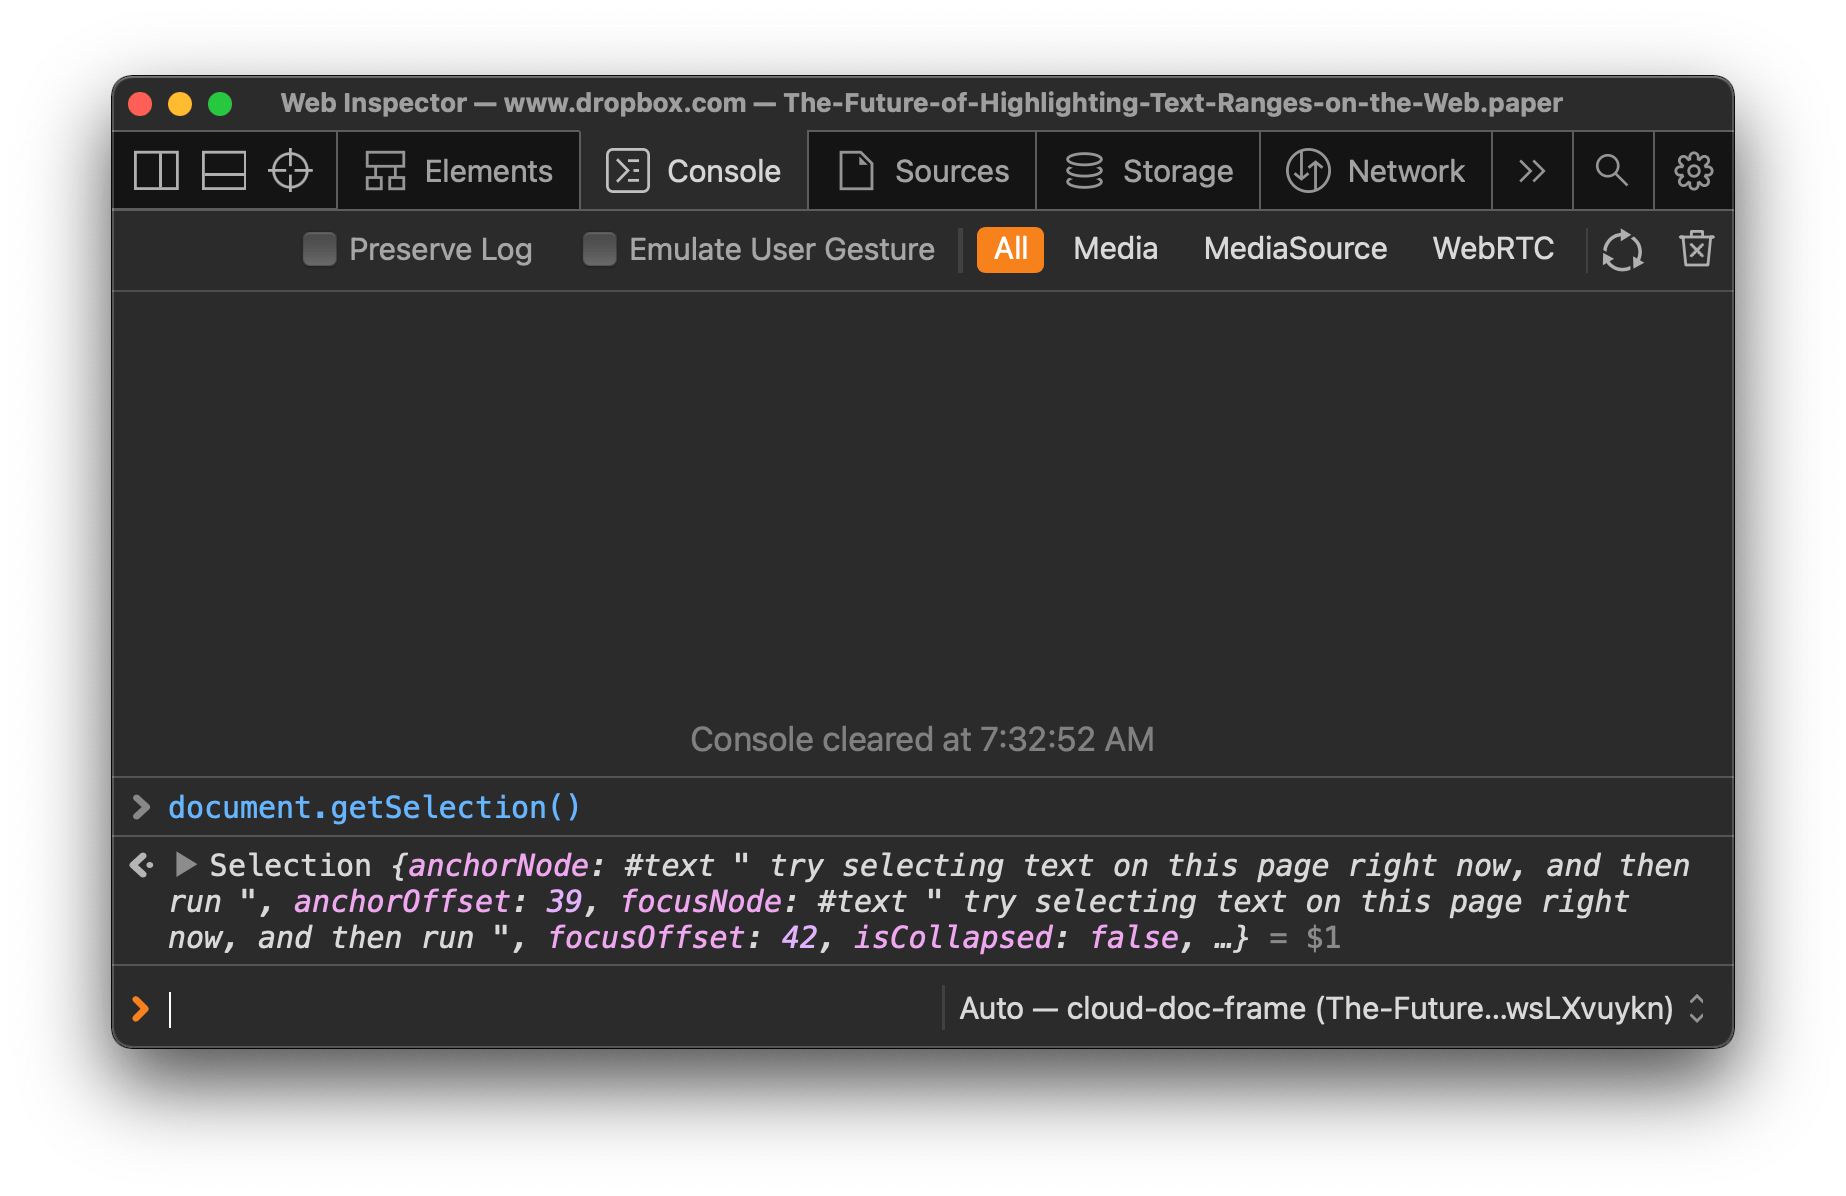
Probably the most well-known style-able text range is the user selection. When you use your pointing device to select a piece of text in a web page, a Selection object is automatically created. In fact, try selecting text on this page right now, and then run document.getSelection() in the DevTools console. You should see location information about the selected text.

It turns out that you can also create a text selection programmatically from JavaScript. Here is an example:
// First, create a Range object.
const range = new Range(); // And set its start and end positions.
range.setStart(parentNode, startOffset);
range.setEnd(parentNode, endOffset); // Then, set the current selection to this range.
document.getSelection().removeAllRanges();
document.getSelection().addRange(range);
The last piece of the puzzle is to style this range. CSS has a pseudo-element called ::selection to do just that, and it’s supported across all browsers.
::selection { background-color: #f06; color: white;
}
Here is an example using this technique to highlight all words in a page one after the other:
On top of the ::selection pseudo-element, there are a number of other pseudo-elements:
::target-textselects the text that has been scrolled to in browsers that support the scroll-to-text feature. (MDN)::spelling-errorselects text that is flagged by the browser as containing a spelling error. (MDN)::grammar-errorselects text that is flagged by the browser as containing a grammar error. (MDN)
Unfortunately browser support isn’t great here and although these ranges are useful in each of their own right, they can’t be used to style custom pieces of text — only browser-predefined ones
So the user text selection is nice because it’s relatively simple to put in place and doesn’t change the DOM of the page. Indeed, Range objects are essentially coordinates of segments in the page, rather than HTML elements that need to be created to exist.
One major drawback, however, is that creating a selection resets whatever the user has already manually selected. Try selecting text in the demo above to test this. You’ll see how it goes away as soon as the code moves the selection somewhere else.
Potential Solution #2: Custom Highlighting System
This second solution is pretty much the only thing you can do if using the Selection object is insufficient for you. This solution revolves around doing everything yourself, using JavaScript to insert new HTML elements in the DOM where you want the highlighting to appear.
Unfortunately, this means way more JavaScript to write and maintain, not to mention it forces the browser to re-create the layout of the page whenever the highlighting changes. Plus, there are complicated edge cases, for example, when you want to highlight a piece of text that spans across multiple DOM elements.

Interestingly, CodeMirror and Monaco (the JavaScript text editor library that powers VS Code) have their own highlighting logic. They use a slightly different approach where the highlights are contained in a separate part of the DOM tree. The lines of text and the highlighted segments are rendered in two different places in the DOM which are then positioned over each other. If you inspect the DOM sub-tree that contains the text, there are no highlights. This way, the highlights can be re-rendered without impacting the lines of text and having to introduce new elements within them.
Overall, it feels like a browser-powered highlighting feature is missing. Something that would help solve all of these drawbacks (no interference with user text selection, multi-selection support, simple code) and be faster than custom-made solutions.
Fortunately, that’s what we’re here to talk about!
Enter the CSS Custom Highlight API
The CSS Custom Highlight API is a new W3C specification (currently in Working Draft status) that makes it possible to style arbitrary text ranges from JavaScript! The approach here is very similar to the user text selection technique we reviewed earlier. It gives developers a way to create arbitrary ranges, from JavaScript, and then style them using CSS.
Creating Ranges of Text
The first step is to create the ranges of text that you want to highlight. which can be done using a Range in JavaScript. So, like we did when setting the current selection:
const range = new Range();
range.setStart(parentNode, startOffset);
range.setEnd(parentNode, endOffset);
It’s worth noting that the setStart and setEnd methods work differently if the node passed as the first argument is a text node or not. For text nodes, the offset corresponds to the number of characters within the node. For other nodes, the offset corresponds to the number of child nodes within the parent node.
Also worth noting is that setStart and setEnd aren’t the only ways to describe where a range starts and ends. Take a look at the other methods available on the Range class to see other options.
Creating Highlights
The second step consists in creating Highlight objects for the ranges created in that last step. A Highlight object can receive one or more Ranges. So if you want to highlight a bunch of pieces of text in exactly the same way, you should probably create a single Highlight object and initialize it with all of the Ranges that correspond to these pieces of text.
const highlight = new Highlight(range1, range2, ..., rangeN);But you can also create as many Highlight objects as you need. For example, if you are building a collaborative text editor where each user gets a different text color, then you can create one Highlight object per user. Each object can then be styled differently, as we’ll see next.
Registering Highlights
Now Highlight objects on their own don’t do anything. They first need to be registered in what is called the highlight registry. This is done by using the CSS Highlights API. The registry works like a map where you can register new highlights by giving them names, as well as remove highlights (or even clear the entire registry).
Here is how to register a single highlight.
CSS.highlights.set('my-custom-highlight', highlight);Where my-custom-highlight is the name of your choosing and highlight is a Highlight object created in the last step.
Styling Highlights
The final step is to actually style the registered highlights. This is done with the new CSS ::highlight() pseudo-element, using the name you chose when registering the Highlight object (which is my-custom-highlight in our example above).
::highlight(my-custom-highlight) { background-color: yellow; color: black;
}
It’s worth noting that, just like ::selection, a subset of CSS properties only can be used with the ::highlight() pseudo-element:
Updating Highlights
There are multiple ways to update highlighted text on the page.
For example, you can clear the highlight registry altogether with CSS.highlights.clear() and then start again from the beginning. Or, you can also update the underlying ranges without having to re-create any of the objects all. For this, use the range.setStart and range.setEnd methods again (or any of the other Range methods) and the highlights will be re-painted by the browser.
But, the Highlight object works like a JavaScript Set, so this means you also add new Range objects to an existing Highlight with highlight.add(newRange) or remove a Range with highlight.delete(existingRange).
Third, you can also add or remove specific Highlight objects from the CSS.highlights registry. Since this API works like a JavaScript Map, you can set and delete to update the currently registered Highlights.
Browser Support
The specification for the CSS Custom Highlight API is relatively new and its implementation in browsers is still incomplete. So, although this is going to be a very useful addition to the web platform, it’s not quite ready for production use.
The Microsoft Edge team is implementing the CSS Custom Highlight API in Chromium at the moment. In fact, the feature can already be used in Canary versions right now by enabling the Experimental Web Platform features flag (under about:flags). There is currently no firm plan as to when the feature will ship in Chrome, Edge, and other Chromium-based browsers, but it’s getting very close.
The API is also supported in Safari 99+ but behind an experiment flag (Develop → Experimental Features → Highlight API), and the interface is a little bit different in that it uses StaticRange objects instead.
Firefox does not support the API yet, though you can read Mozilla’s position about it for more information.
Demo
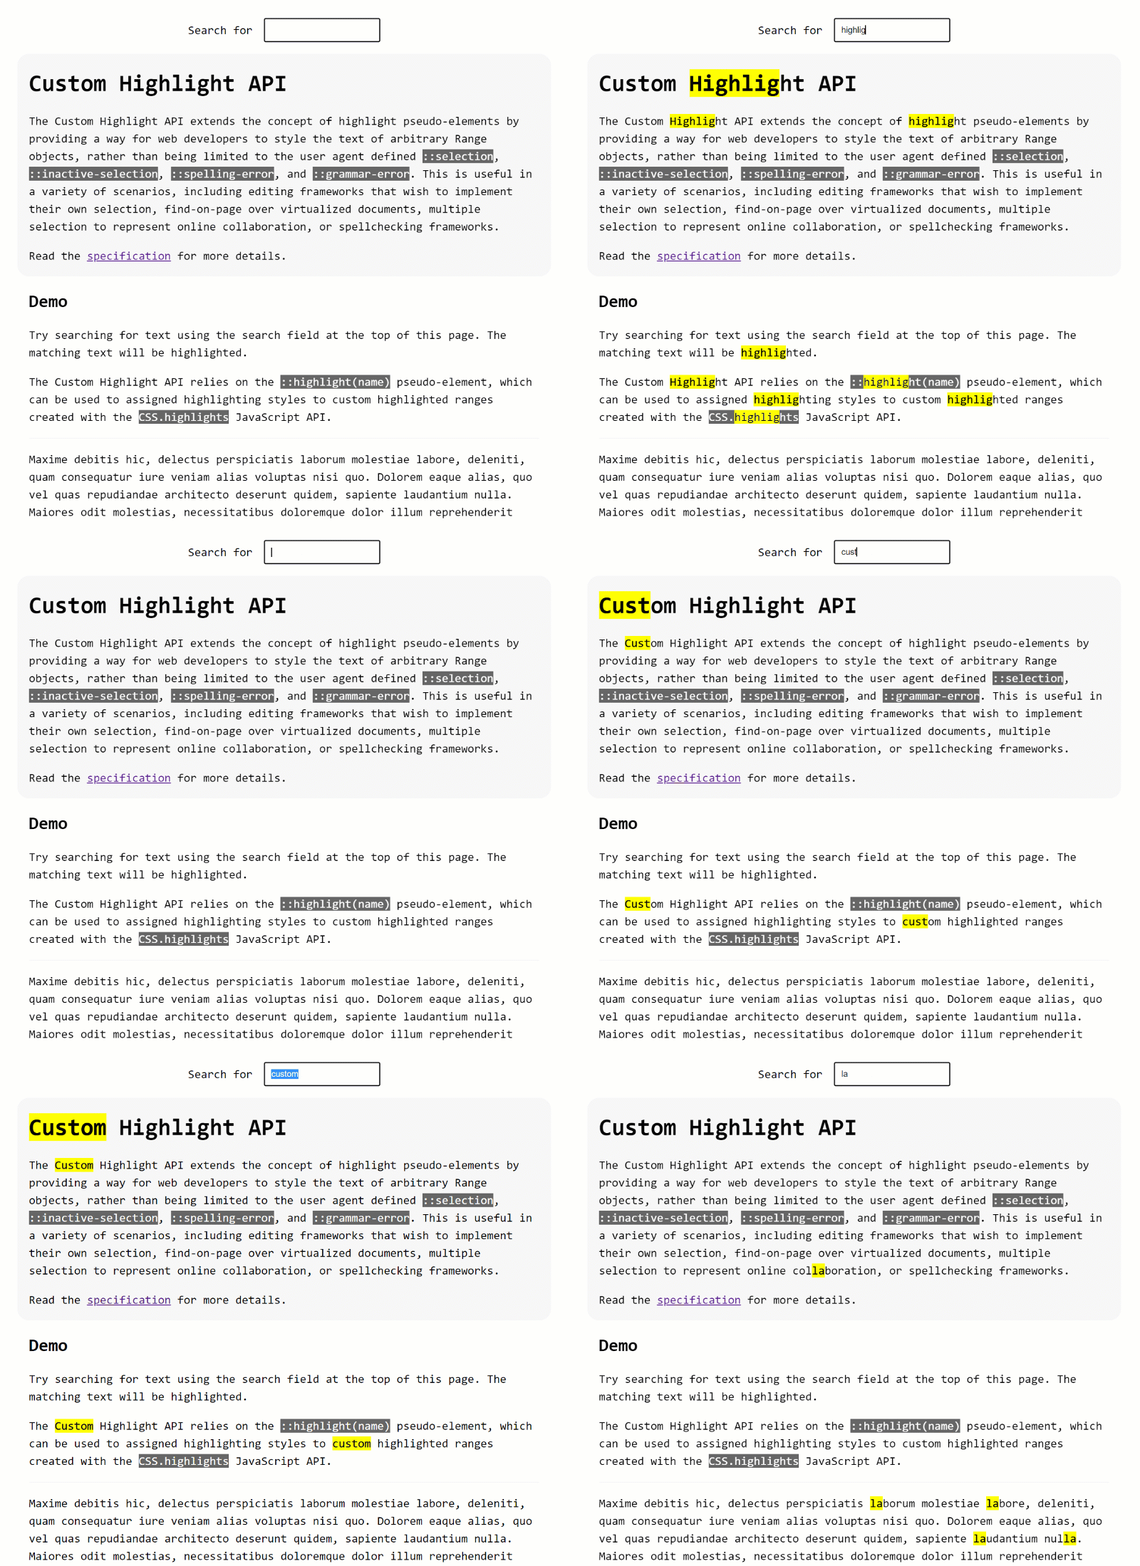
Speaking of Microsoft Edge, they have a demo set up where you can take the CSS Custom Highlight API for a test drive. But Before trying the demo, be sure you’re using either Chrome or Edge Canary with the Experimental Web Platform features flag in the about:flags page.
/button View the demo
The demo uses the Custom Highlight API to highlight ranges of text in the page based on what you type in the search field at the top of the page.
After the page loads, JavaScript code retrieves all the text nodes in the page (using a TreeWalker) and when the user types in the search field, the code iterates over these nodes until it finds matches. Those matches are then used to create Range objects, which are then highlighted with the Custom Highlight API.
Closing Thoughts
So, is this new browser-provided highlighting API really worth it? Totally!
For one, even if the CSS Custom Highlight API may seem a bit complicated at first (i.e. having to create ranges, then highlights, then registering them, and finally styling them), it’s still way simpler than having to create new DOM elements and insert them in the right places.
More importantly, browser engines can style these ranges very, very fast.
The reason only a subset of CSS properties is allowed to be used with the ::highlight() pseudo-element is that the subset only contains properties that can be applied by the browser very effectively without having to recreate the layout of the page. Highlighting ranges of text by inserting new DOM elements in the page around them requires the engine to do much more work.
But don’t take my word for it. Fernando Fiori, who worked on the API, created this nice performance comparison demo. On my computer, the CSS Custom Highlight API performs on average 5✕ as fast as the DOM-based highlighting.
With Chromium and Safari experimental support already here, we’re getting close to something that can be used in production. I can’t wait for browsers to support the Custom Highlight API consistently and see what features this will unlock!


