Advertisement
Free software fans know all kinds of free software alternatives that they can use as a substitute for common paid options. These sometimes offer similar or better features than their premium counterparts. When it comes to design software, free options are vast.
One of the most used is FireAlpaca due to its easy-to-understand interface and its system requirements that make it perfect for any computer. If you want to improve your experience in this free software, you may need to know how to add fonts to FireAlpaca.
Like any design program, FireAlpaca has multiple tools that help the designer create high-quality projects. The interface is as simple as MS Paint, but it adds advanced options in multiple tabs, as well as filters, image modification tools, color gradient, and much more. Of course, the application also allows you to add texts, and you can customize them as you wish.
If you plan to use the program, you will be happy to know that FireAlpaca fonts are the same as the ones used by your operating system, so you will not need to perform complicated installations to increase your collection. If you already know how to install fonts on your operating system then you don’t need to learn anything new, otherwise, this guide is for you.
Side note: Do you want to increase your chances of getting a better design job? Get a Graphic Design Specialization from CalArts (California Institute of the Arts).
Why are fonts important?
Table of Contents
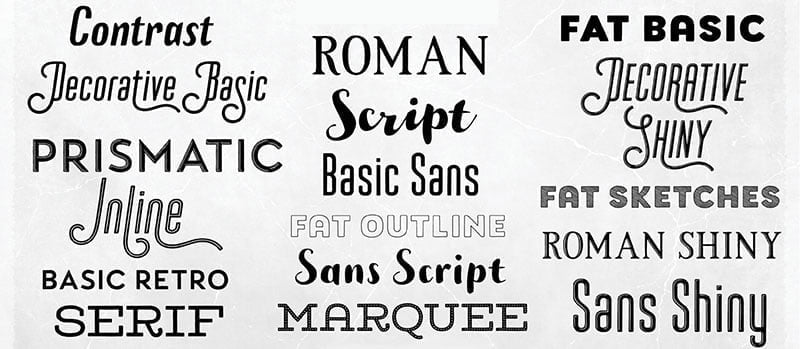

To know how to add fonts to FireAlpaca may seem like meaningless knowledge, but the reality is that digital design depends largely on what is written. Although the drawings capture the attention, only the text is capable of transmitting specific messages.
/*div{padding-right:0!important;padding-bottom:10px}.ml-form-formContent.horozintalForm .ml-button-horizontal{width:100%!important}.ml-form-formContent.horozintalForm .ml-button-horizontal.labelsOn{padding-top:0!important}}
/*]]>*/
/**/
![]()
![]()
Proper typography will complement any design, helping the reader understand what the purpose of your work is.
Fonts also make a difference when it comes to clarity. The letter, especially in advertising work, must be legible; otherwise, the reader will not be able to understand the message. Of course, this can also be achieved using the appropriate contrasting colors, but this does not mean that the typography should be neglected.
A brief explanation of font formats
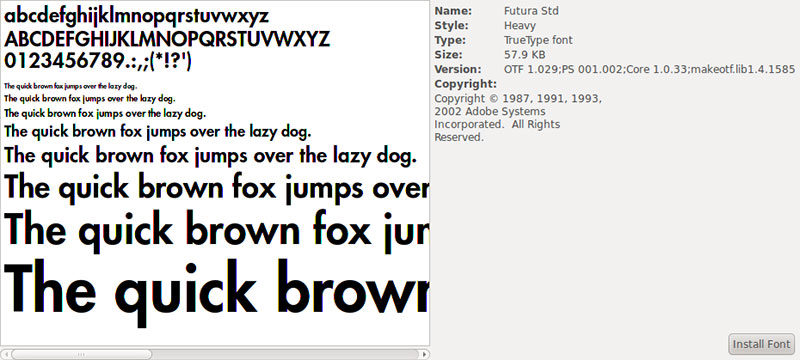

- True Type Font (TTF): it is the most widely used format in computing. Apple and Microsoft standardized it when they tried to create an alternative to PostScript.
- Open Type Font (OTF): the joint work of Microsoft and Adobe resulted in a format that improves what is offered by TTF. Compatible with all operating systems, fonts in OTF format allow you to add countless special characters.
- Embedded Open Type (EOT): this Microsoft alternative offers legal tools that protect the fonts’ copyrights when they are used on Internet pages. They are a variant of TTF and OTF.
- Web Open Font Format (WOFF): basically they are a version with better compression of the previous fonts, which makes them perfect for web pages.
- Scalable Vector Graphics font (SVG): this last font is especially useful for designing since it allows the same glyph to have multiple colors, including gradients.
Tips for a successful installation
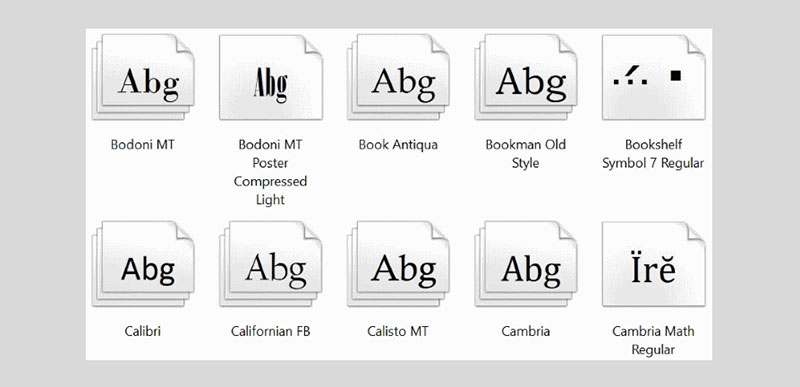

- Before starting any installation, close all programs. Some of them likely use the system font files, and until you restart it, you will not see changes in it. Important to note that Adobe products will cause problems if they are open when installing fonts.
- After installation is complete, you can delete the file you downloaded from your download folder. You should not delete any files inside the Fonts folder.
How to download fonts to FireAlpaca

You don’t have to be demanding to download fonts for FireAlpaca. Since this uses the fonts installed in the operating system, any TTF format file will be useful to you, but don’t worry, compatibility is not only limited to TTF as you will see below.
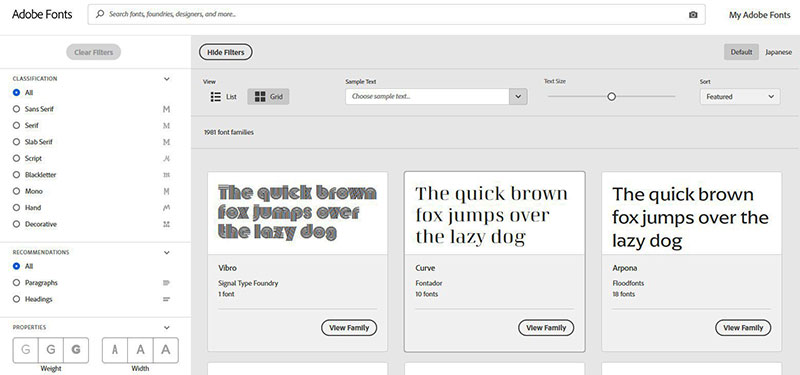
If you don’t want to search the internet a lot, you can choose to use the options available in the Adobe library. Among them, you will find free and paid alternatives, all of excellent quality.
The fonts that you find on the internet will be mostly compressed in ZIP or RAR format, so before installing them you will need some program to decompress them, such as WinRAR. If you already have the file, the next step is to install it.
How to add fonts to FireAlpaca in Windows
The first step, as in any font installation, is to close the programs that allow adding texts. If you were using FireAlpaca, remember to save your project before closing it.
Windows allows the installation of font files in TTF, WOFF, OTF, EOT, and SVG formats.
Install the files as administrator
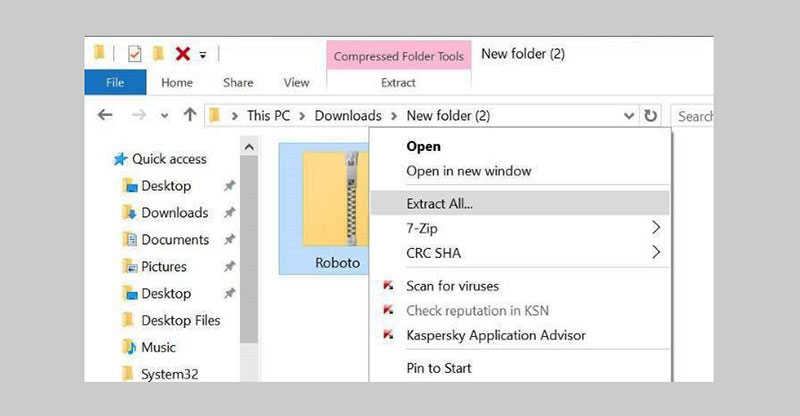

Have all the fonts you want to install ready. Select them in the Windows browser and right-click to display additional options. You should find an “Install” option. Try doing this process as an administrator so that the fonts are available to all users.
If you don’t see the shield icon next to the “Install” button, it means that you will not perform the process as administrator. In these cases hold Shift and then right-click the files to get the administrator privileges.
Advertisement
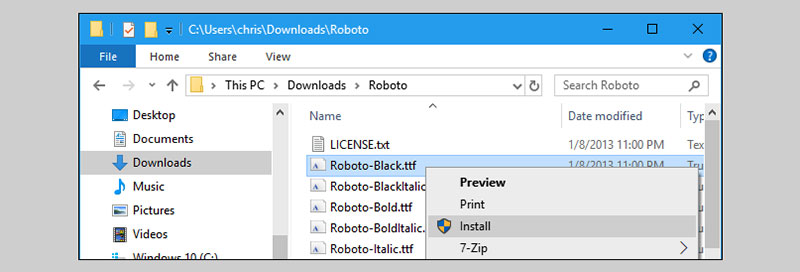

If this has not worked either, then you will need to move the font files to a new location within Disk C. This should make Windows recognize them and allow you to perform the process as administrator.
The manual alternative
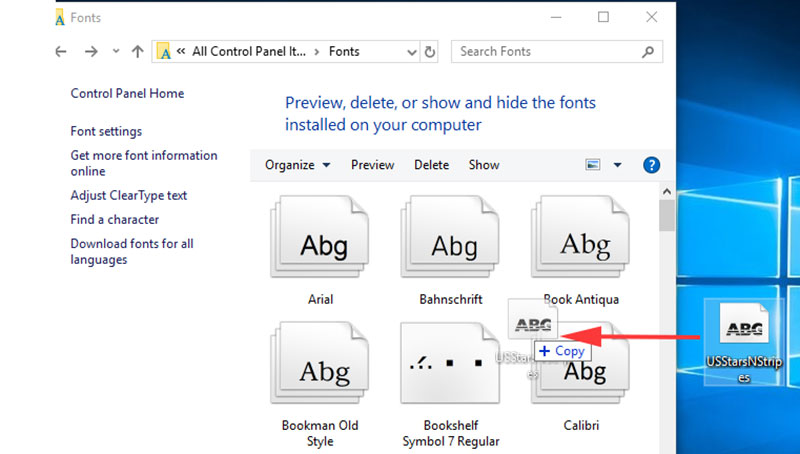

Some users prefer to install the new fonts manually on their computers. This is done by copying and pasting the files directly into the Windows installation. Generally, the path you should follow is disk C> Windows> Fonts, although it will change depending on where you have installed the operating system.
How to add fonts to FireAlpaca on Mac

FireAlpaca is also compatible with Mac systems, and the way to install new fonts is very similar to that used in Windows, only with the visual differences typical of Apple’s operating system.
The supported formats are the same as in Windows, so you won’t have a problem getting the font you want. Even if the file comes compressed, Mac OS X includes its program to unzip it, which speeds up the process.
Again, close all open applications. In Mac OS X, it is also recommended to restart the computer at the end of the installation, so be sure to save everything you are doing.
Installation using Font Book
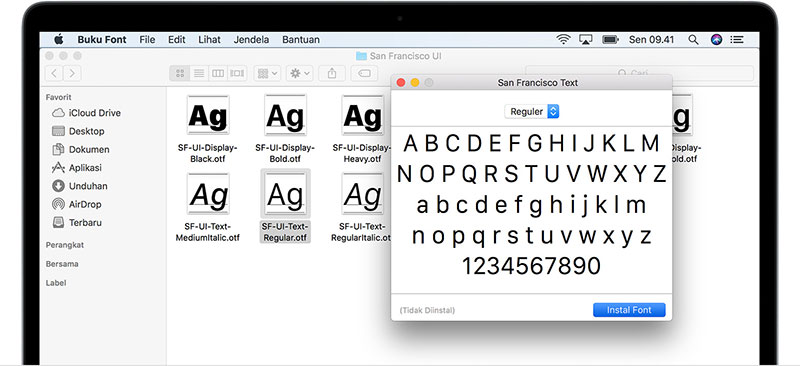

Double-click the font file and an application called Font Book should open. The program will show you a preview, and in the lower corner you will find a blue button that says “Install”. Just click and you will have the font installed on your system.
Manual installation
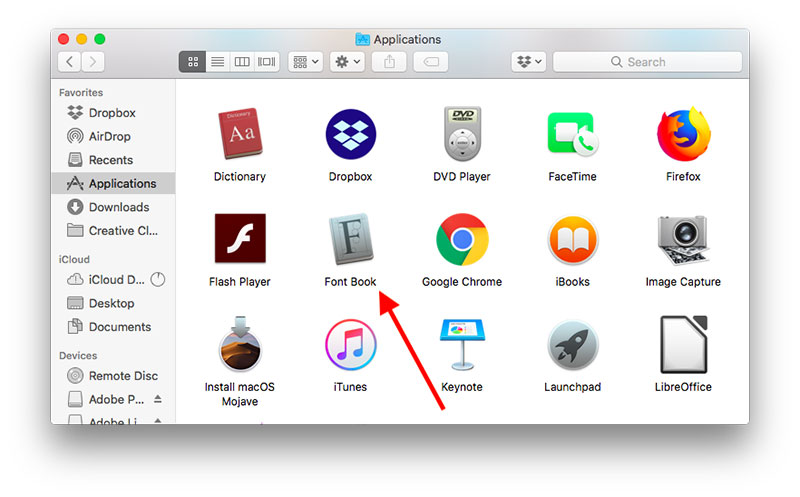

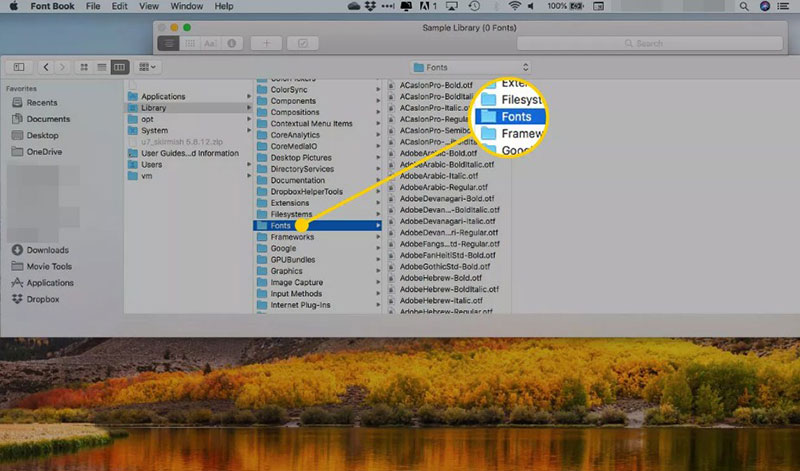
Manual installation on Mac OS X is done by copying and pasting the font files into the Fonts folder. It is located inside the Library folder in the Volume you want. If you additionally specify the user when selecting folders, it will install the fonts exclusively for that user.
How to choose the right FireAlpaca text fonts
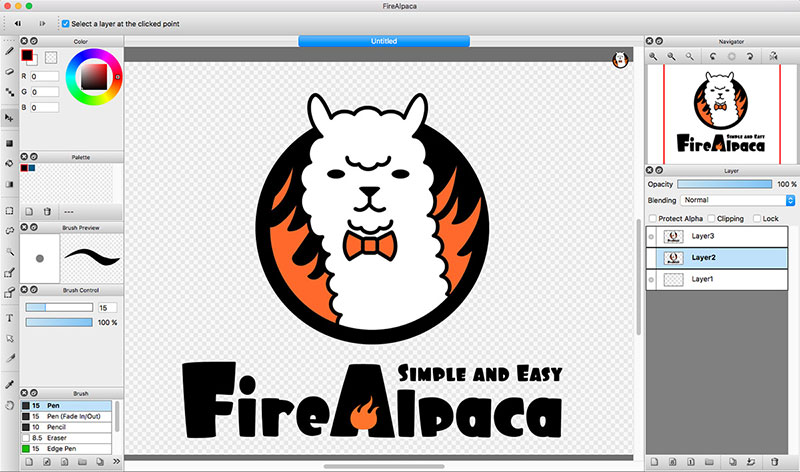

The letter must be consistent, that is, it must maintain a style throughout the work, so it will generally avoid cartoonish designs. A change of fonts between the title and the texts is also not recommended.
As previously mentioned, readability is essential in fonts. Likely, you have ever witnessed a PowerPoint presentation whose texts were not visible from a distance. Avoid this by selecting letters with thick lines, few decorative details, and large size.
If you enjoyed reading this article about how to add fonts to FireAlpaca, you should read these as well:


