Advertisement
When creating designs that are intended to be printed, there is no better program than InDesign. This Adobe software offers all the tools the professional wants to create exact previews of what a newspaper, magazine, brochure, and even web page will look like.
Like other design tools, this one allows image editing, but what stands out about it is its ability to layout documents for printing as well as create interactive PDF files. That’s why, more than needing textures to create impressive drawings, what is most required in InDesign are fonts to write. If you feel that the default gallery is very small, today we will show you how to add fonts to InDesign.
InDesign fonts can be installed to work on your entire operating system as if it were from any other font, but you also have the option of using them exclusively in the software.
In total, there are 3 ways to add fonts to InDesign. The first is if you simply install it on your operating system, allowing you to use it in any compatible program. This process can be done manually by finding the corresponding installation paths, or by using an application that guides you, such as Font Book.
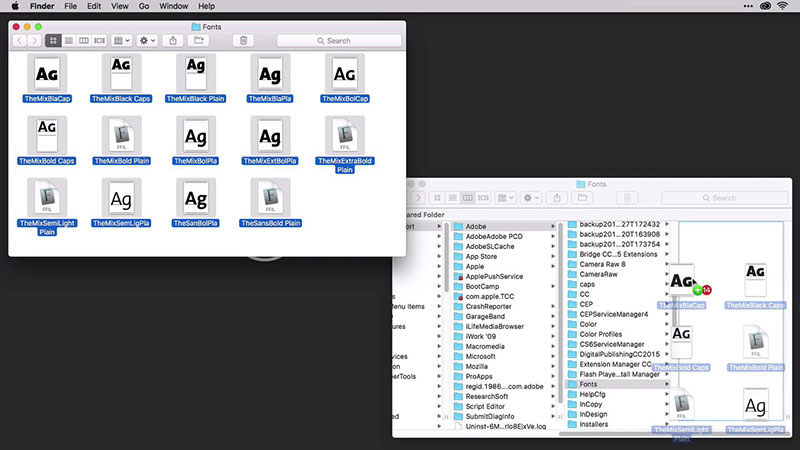
The second alternative allows you to install fonts to InDesign exclusively. When installing the software, it will create a series of folders in the installation path, among them is “Fonts”. Here are all the options you have available to write only within the software.
Finally, the third option will serve to install fonts that you will use in specific InDesign files. This option is perfect when you want to share the document with other users who don’t have the font package installed.
/*div{padding-right:0!important;padding-bottom:10px}.ml-form-formContent.horozintalForm .ml-button-horizontal{width:100%!important}.ml-form-formContent.horozintalForm .ml-button-horizontal.labelsOn{padding-top:0!important}}
/*]]>*/
/**/
![]()
![]()
Side note: Do you want to increase your chances of getting a better design job? Get a Graphic Design Specialization from CalArts (California Institute of the Arts).
Adding fonts to InDesign – Supported files
Although you should not worry about this aspect, since the software is compatible with most of the fonts used today, this is the list so that you are sure when downloading them:
- TrueType
- OpenType (also in the SVG version)
- Type 1
- Variable Fonts
- Multiple Master
- Composite
As you might expect, it is also compatible with all Adobe fonts. You can even download them directly from InDesign if you use a version after 2019, which speeds up the search process.
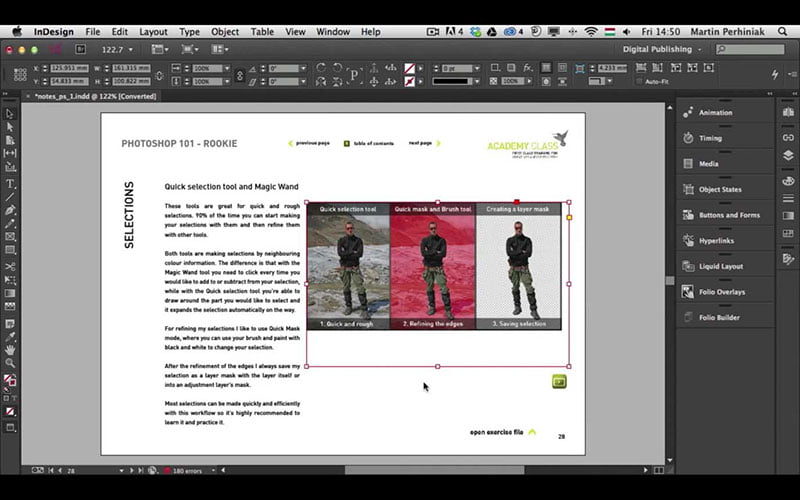
If you are not sure what Adobe InDesign fonts are currently installed, you can check them from the “Font Family” panel that can be found from the Control Panel or from the Properties menu (you can quickly access them using the Ctrl + T shortcut).
How to add fonts to InDesign – Windows
The installation steps are simple, so your biggest concern will be finding a font you like to download. The first thing we recommend is to close all the programs you have open so that there are no problems during the process.
On the internet, there are many pages specialized in storing all kinds of fonts, as if they were a library. You can find them in free and premium versions, the latter generally being of much higher quality or more complete in terms of the number of characters. Just select the one you want to use and download it.
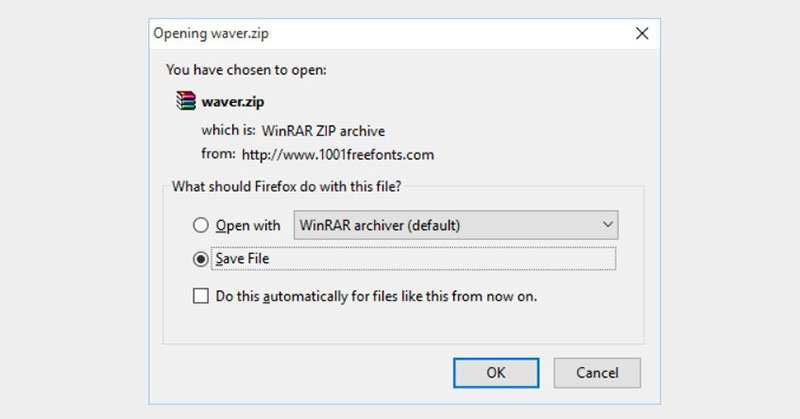
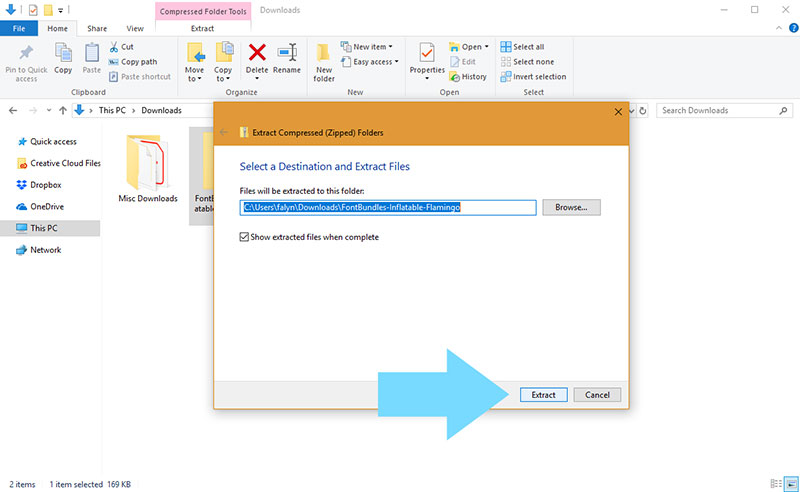
Although the font files are light, they come compressed when downloaded to include other files. In any case, you will need to unzip the download with a program like WinRAR. If you have the program on your computer, simply right-click on the RAR or ZIP file and press the “Extract files …” option so that you can choose where to unzip them.
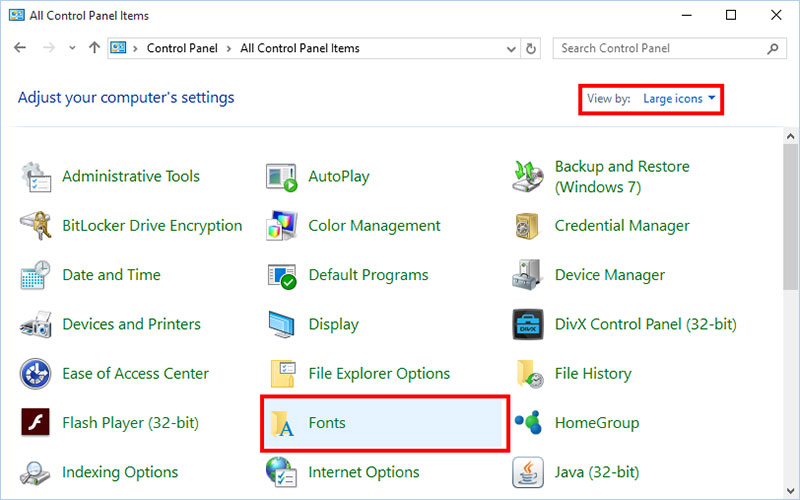
With the fonts for InDesign unzipped, go to your computer’s “Control Panel”. This is found in the “Start” menu in the lower-left corner. Once there, look for the “Appearance and Personalization” option, and there you will see a submenu called “Fonts”.
Advertisement
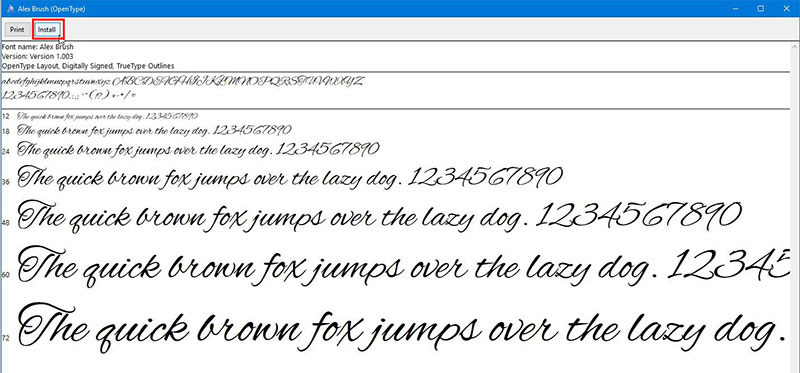
Within “Fonts”, you should get the “File” button, and there you will have the option to add fonts. You just have to find the file that you unzipped and hit the “Install” button. You can now check if you have your new characters in InDesign.
How to add fonts to InDesign – Mac
The installation process on Mac is equally easy, and it is also recommended that all programs be closed before doing so.
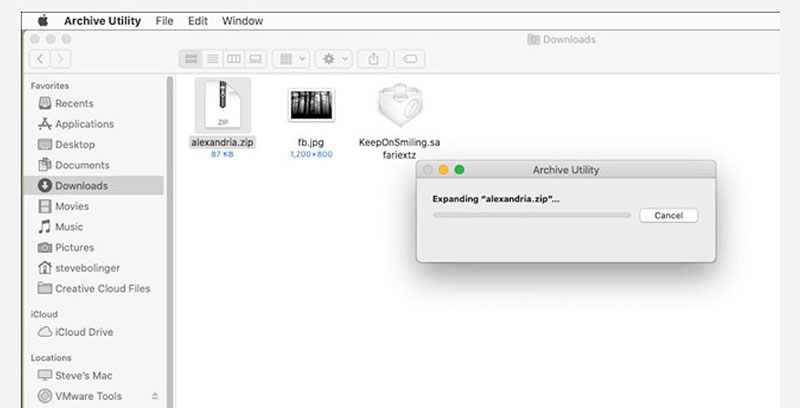
Start by downloading the file you want. You can use Adobe’s official website to make sure of the fonts quality (in addition to offering free fonts for InDesign), or any other trustworthy page you find on the internet. By downloading it, you will get a compressed file, but don’t worry, Mac computers include a tool to unzip it. Just double click it and the files will be placed in a folder where it is located.
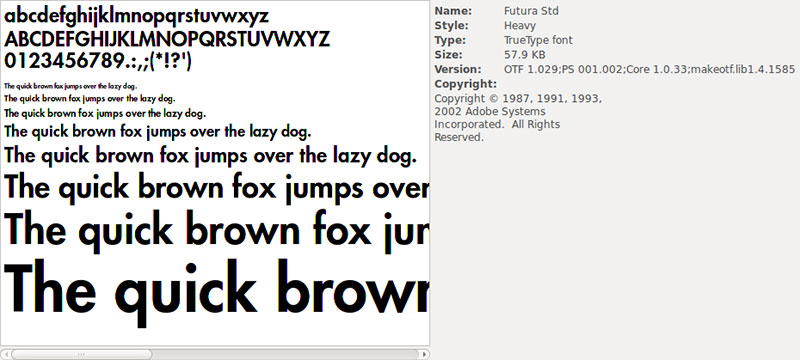
The InDesign fonts have a .TFF extension. Double-clicking on this file will open the Font Book program, which will guide you through the rest of the installation process, in addition to showing you a preview of the font to be installed.
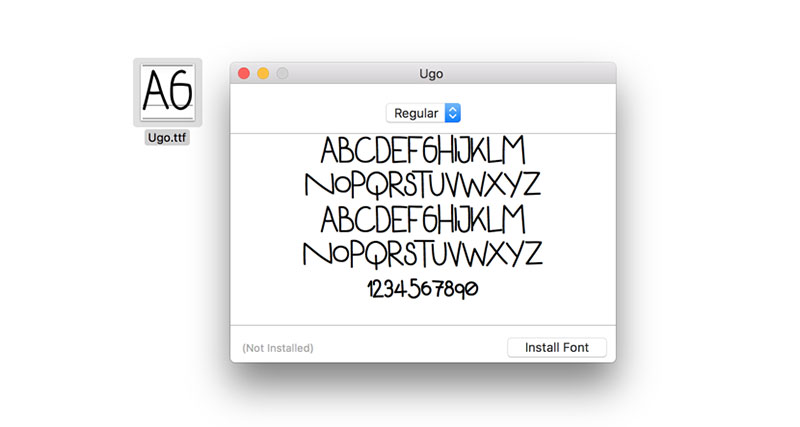
When Font Book completes the installation, you can reopen InDesign (or any program that allows the insertion of texts) to check if the font was correctly installed.
How to add fonts to InDesign – Using Adobe Fonts
As previously mentioned, InDesign versions after 2019 can use Adobe Fonts to make installing fonts a simpler process. Adobe Fonts also has the particularity that it will install the fonts in all the company’s programs, so you only have to do this process once if you have several programs such as Photoshop or Illustrator.
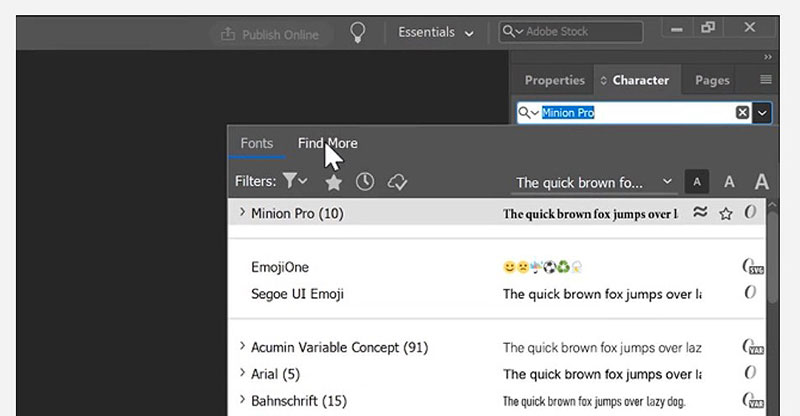
To get started, you must find the “Character” option within the software. You can quickly find the option using the shortcut for your operating system. In Windows, this is Ctrl + T; while in Mac, the combination ⌘ Cmd + T is used. In this menu, what interests you is the “Find More” option, which is at the end of the list.
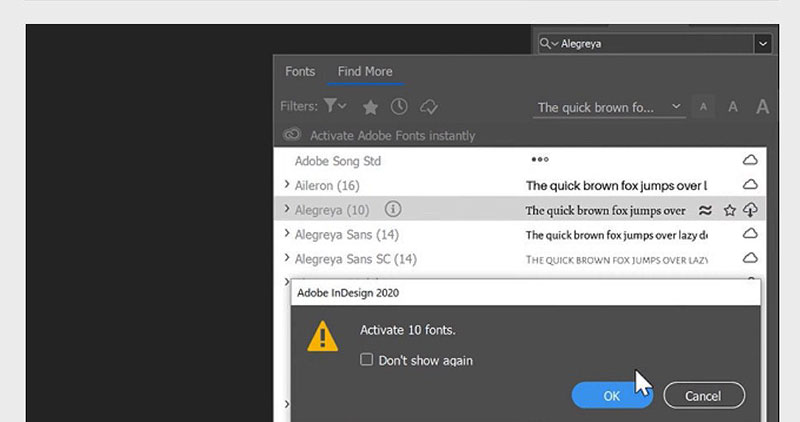
Because it is an Adobe service, you can download fonts for InDesign at no additional cost, but we recommend that you only install those that you are going to use or you will end up with a very extensive gallery in which it will be difficult to find what you need.
To download the fonts, press the cloud button next to each name. The fonts you have installed will be identified with a checkmark.
Embed the font so it doesn’t get distorted
Now that you know how to add fonts to InDesign, it’s time for you to learn how to embed them in your documents. If you have ever used programs like Word, you may have experienced that annoying event of letters moving around when you open the document on another computer. You can avoid this by converting the file into a PDF. The embedding process is basically the final step before converting the file to PDF from InDesign.
This Adobe tool also allows the creation of EPS files, although these are for a more specific use, but also require the prior embedding of the characters.
Steps to Embed in InDesign – For PDF
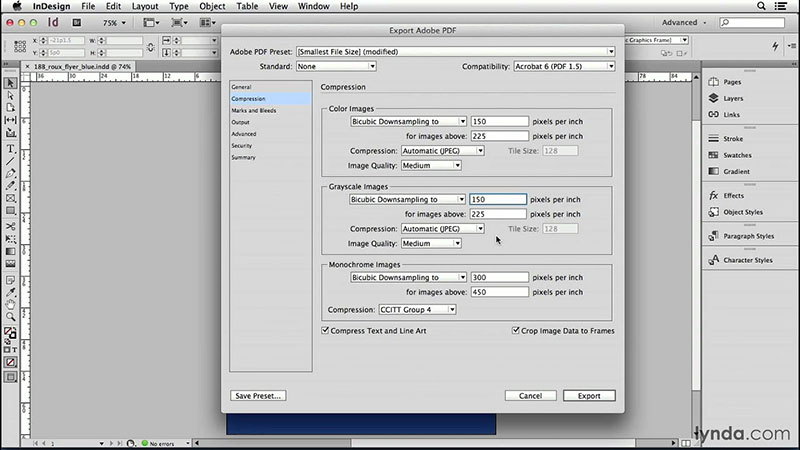
Open the document you want to convert. Go to the “File” tab and then select “Adobe PDF Presets”. This is a kind of export option that will give you different parameters to create the PDF file.
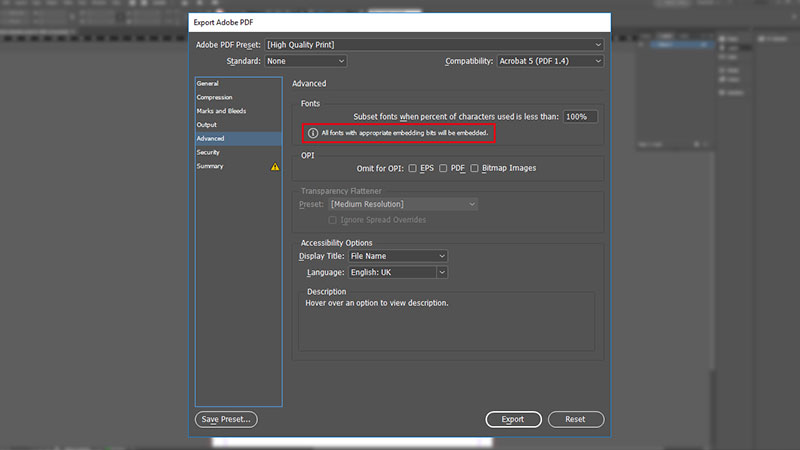
Select the destination of the new file and press the “Save” button. This is the important part of the process. By pressing on “Save”, a tab should open to export the PDF file. In it, you should look for the option “Advanced” from where you can select which are the fonts you want to embed.
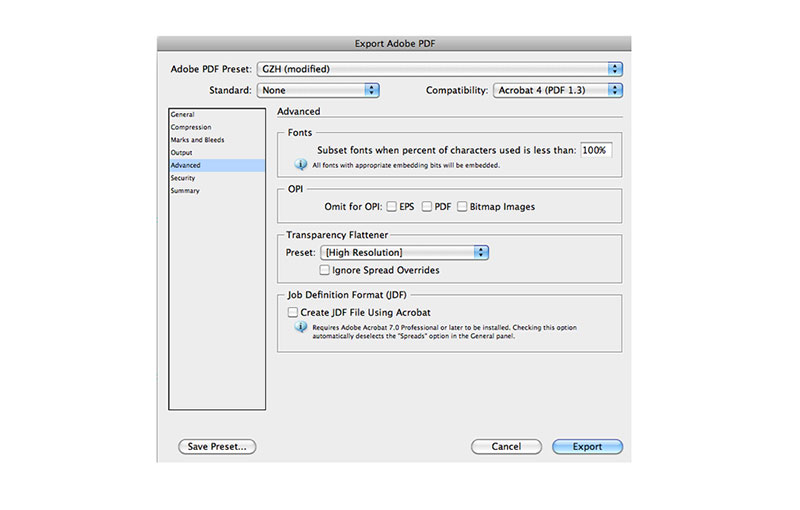
If you want to embed all the fonts in the document, you must put a value of 0% in the “Subset Fonts When Percent of Characters Used is Less Than” option. To exclude fonts, just place a larger value. Now you can press the “Export” button.
Steps to Embed in InDesign – For EPS
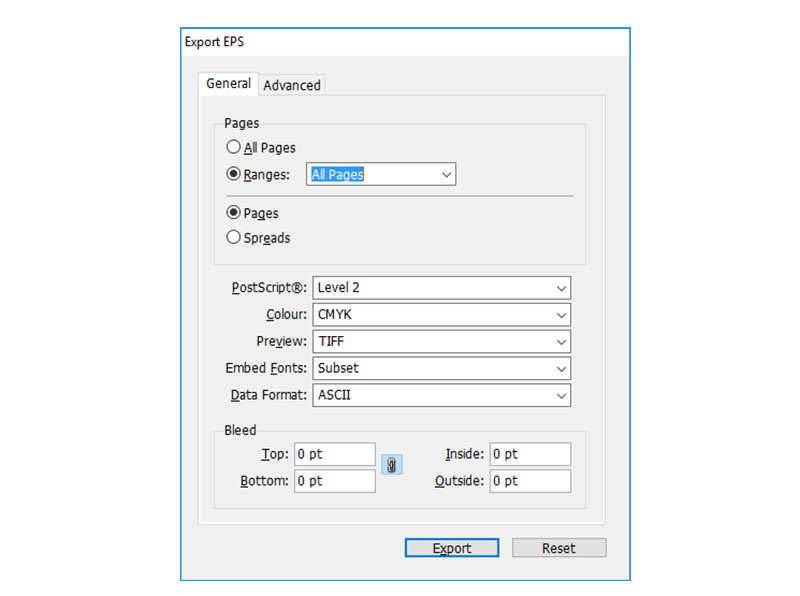
With the document you want to export open, search for the “File” tab and then click “Export”. Here you will have the option to select the type of file you want to create. Select EPS and then “Save”.
In the drop-down window that opened, you will need to select which fonts you want to embed. For a specific selection, use the “Subset” option. If you want all fonts to be preserved, check the “Full” option. Finally, press the “Export” button to finish.
If you enjoyed reading this article on how to add fonts to InDesign, you should read these as well: