
React developers need a code editor that enables them to write React code productively. There are thousands of free extensions in VS Code’s marketplace that can help supercharge your development workflow. In this article, I’ll highlight a selection of extensions and settings that will drive your React coding productivity to a professional level.
Some of the extensions I’ll list here aren’t React specific, but they’ll increase your efficiency and coding speed nevertheless. In reality, you’ll only find a handful extensions that will be truly useful in your daily coding schedule.
Implementing the tools and techniques listed in this article will probably save you hours of development work — hours that would have been wasted on resolving many small but crucial issues. They’ll also help you reduce coding mistakes. The key to productivity is to automate as many tasks as you can. The following extensions and settings will help you achieve that goal.
Language Support
Table of Contents
When you install VS Code for the first time, it will give you a lot of features out-of-the box without the use of any extensions — such as syntax highlighting for JavaScript and support for TypeScript and JSX code.
Below is a snapshot of the Welcome tab. You can always find it under the Help menu.
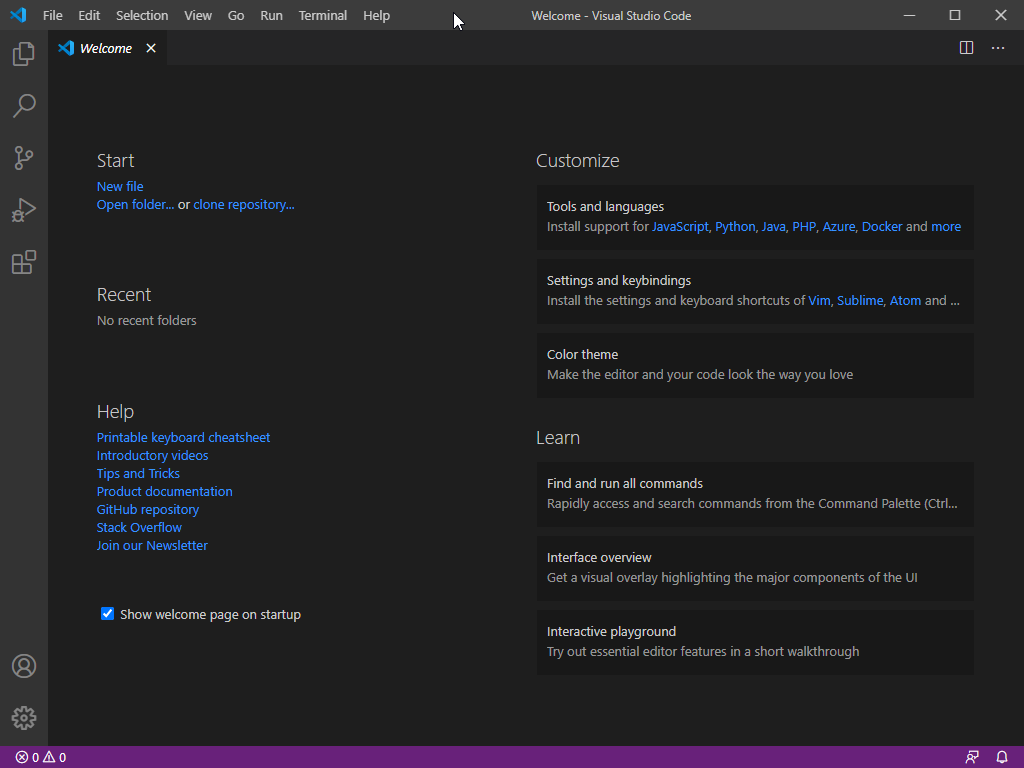
This is where you need to perform the initial setup. Since our focus is on React, we’ll start by setting up JavaScript Language Extension, which will provide us with additional features essential to our coding productivity workflow.
JavaScript Language Extension
On the Welcome tab, in the Tools and languages section, click the JavaScript link to install. A reload prompt will appear, which you should click for the new feature to take effect.
The JavaScript language extension provides multiple features, including:
- Intellisense
- Snippets
- JSDoc support
- Hover information
- Auto imports
The full list and documentation for these features can be found in the VS Code docs. I highly recommend you read each feature to get acquainted on how to use them in your development workflow.
Pictured below is an example of Intellisense and Auto import in action.
When the tab key is pressed, the Header component is imported at the top. The closing > symbol has to be typed in, which will autocomplete the code as: <Header><Header/>.
After installing the JavaScript language feature, VS Code may prompt you to provide a jsconfig.json file at the root of your project. It isn’t necessary, but setting this up will help IntelliSense provide more accurate prompts. Here’s a sample config:
{ "compilerOptions": { "module": "commonjs", "target": "es6", "baseUrl": ".", "paths": { "~/*": ["./*"], "@/*": ["./src/*"], "~~/*": ["./*"], "@@/*": ["./*"] } }, "exclude": ["node_modules", ".cache", "dist"] } The above configuration tells the JavaScript language server which files are part of your source code and which ones aren’t. This ensures the language service only analyzes your source code and therefore performs fast. The full configuration has been documented here, explaining all the possible values that can be used in jsconfig.js.
TypeScript Support
TypeScript is highly recommended if you’re looking into building large-scale, complex React projects. This is because TypeScript provides type safety and thus reduces the chances of delivering buggy code on your front-end applications. VS Code does provide TypeScript language support out of the box by providing a number of features, such as:
- Syntax and Semantic Highlighting
- IntelliSense
- Snippets
- JS Doc support
- Hover information and Signature Help
- Formatting
- JSX and auto closing tags
The full list is documented here. With TypeScript, JSX code is written in .tsx file extensions. When compiled, the output will result in a file with a .jsx extension.
Do note that VS Code doesn’t provide a compiler for TypeScript. You have to install one in your global Node.js environment like this:
npm install -g typescript Alternatively, you can install the extension Compile Hero Pro, which provides a compiler for TypeScript and many other languages, including:
- Less
- Sass, SCSS
- Stylus
- Jade
- Pug
The extension provides many more configurable options on when and how to compile your TypeScript and styling code. If you’d like to learn more about setting up React and TypeScript, I’d recommend you check out our other article, “React with TypeScript: Best Practices”, for a more detailed explanation.
Flow
Flow is Facebook’s alternative to TypeScript. It provides the same features but only works with React projects and is less popular. VS Code doesn’t support it natively, but you can install the extension Flow Language Support, which provides a limited number of features such as IntelliSense and Rename.
Keymap Settings
If you’re migrating to VS Code from another code editor, you’ll be happy to learn you can continue using the same keyboard shortcuts that you were already used to. If you’re new to code editors, do skip this section. However, if you’ve used code editors before, you’re probably aware that re-training your muscle memory is unproductive and it takes time to adjust.
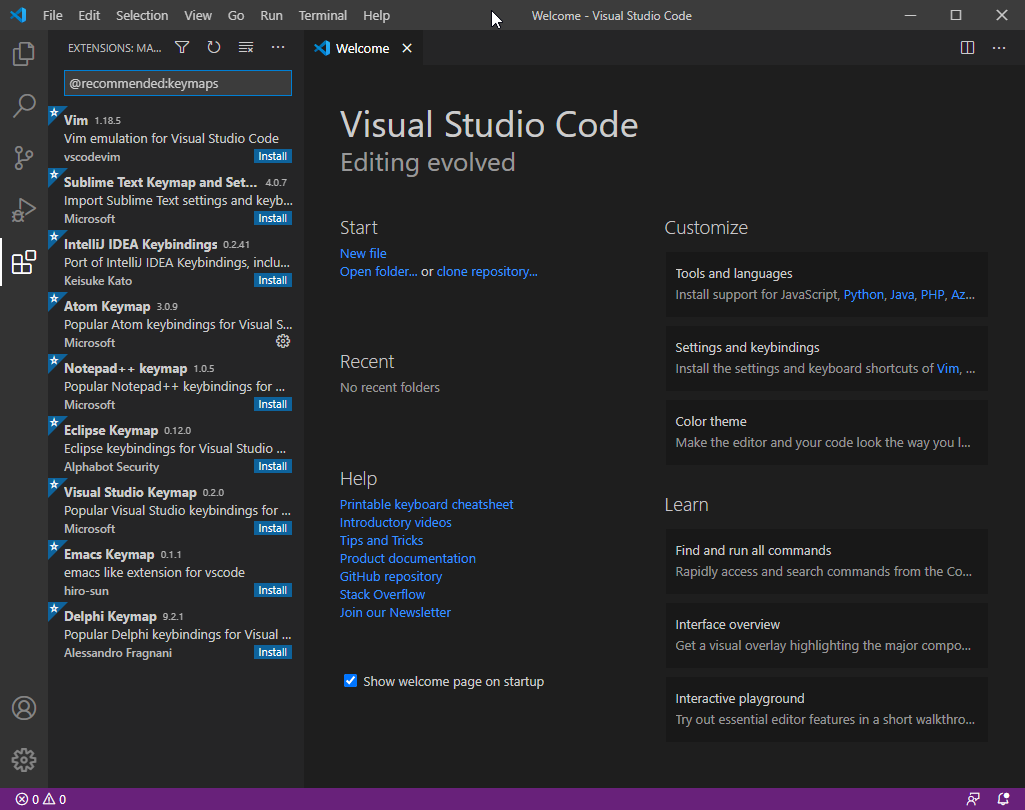
On the Welcome tab, under the Settings and key bindings section, you’ll see links for installing keyboard shortcuts for Vim, Sublime, Atom and others. If you click the others link, you’ll get a full list of keymaps you can install.
I used to be an Atom user before I switched to VS Code. Setting up Atom’s keymap in VS Code is as simple as clicking the Atom link. This will install the Atom Keymap extension for me. The following configuration in settings.json is required to make VS Code more “Atom like”:
// Controls whether the prompt will show "atomKeymap.promptV3Features": true, // Changes the multi cursor mouse binding "editor.multiCursorModifier": "ctrlCmd", // Open folders(projects) in new window without replacing the current one "window.openFoldersInNewWindow": "on", Do read the instructions provided by your keyboard shortcut extension on how to set yours up. The documentation can be found by simply clicking on the keymap extension in the Extension Bar.
Emmet JSX Support
Emmet is a web development toolkit that allows you write HTML code more efficiently. If you’re new to Emmet, check out the demo to see how it works.
VS Code comes with Emmet built in, and it already supports JSX syntax. Unfortunately, most React starter projects use the .js extension. The issue with this is that VS Code doesn’t recognize such files as React code, so JSX features aren’t activated. There are two ways of fixing this:
-
Rename all your files with JSX code to
.jsxextension (recommended) -
Configure VS Code to recognize all
.jsfiles as React files. Update yoursettings.jsonas follows:"emmet.includeLanguages": { "javascript": "javascriptreact" }
To access settings.json, simply go to the top menu tab then click View > Command Palette. Type “settings” and then choose the option Preferences: Open Settings(JSON). Alternatively, you can press Ctrl + P then type “settings.json” to open the file quickly. You can also use the shortcut Ctrl + , to open the UI version of Settings in a new tab. The first top right-hand corner icon button will open settings.json when you click on it.
The second option seems to be the easiest route. Unfortunately, this causes issues with other JavaScript development tools such as eslint-config-airbnb, which has a ruleset that enforces the .jsx file extension for React code. Disabling that rule will cause other issues later on.
The official React team do recommend using .js extension for React code. From my personal experience, it’s better to rename all files with React code to .jsx , and use a .js extension for files containing plain JavaScript code. This way, you’ll have an easier workflow with all development tools.
Continue reading How to Set Up VS Code for React Development on SitePoint.