Photography students and enthusiasts must educate themselves with many technical terms such as aperture, shutter speed, focus and exposure.
You’ve probably read enough about that elsewhere, so how about a few photography effects?
Your Designer Toolbox
Unlimited Downloads: 500,000+ Web Templates, Icon Sets, Themes & Design Assets
Table of Contents

DOWNLOAD NOW![]()
1. Bokeh
Bokeh refers to the aesthetic quality of blur, the out of focus area of the image. It’s how the light renders lighted areas that are out of focus. The difference in lens aberrations and aperture shape causes the area to blur, creating the look that’s aesthetically pleasing. Many photographers deliberately use the shallow-focus technique to create images with prominent bokeh areas. The term comes from Japanese ‘boke’, which literally means haze or blur.
There’s good bokeh, but there’s also bad bokeh when the blur is so distracting or harsh that it takes the focus away from the subject. Thus, good bokeh can enhance an image while bad bokeh can ruin it.
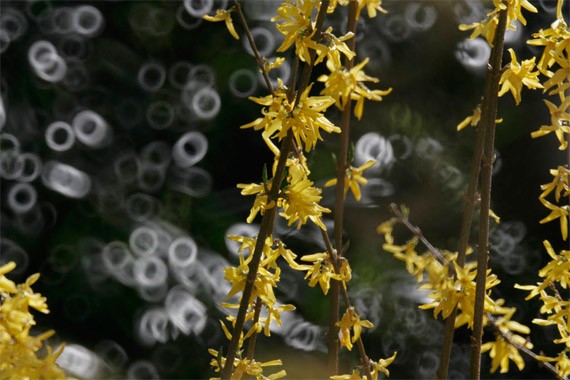
Example of bad bokeh.
Use of Creative Bokeh
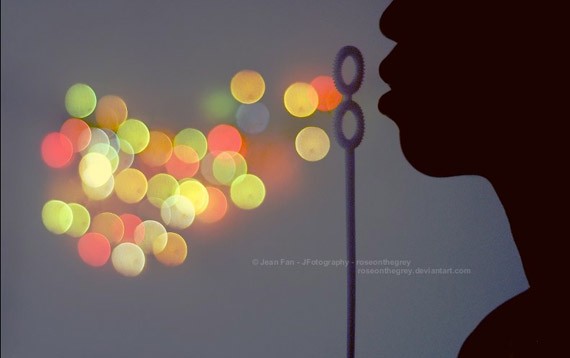
by Jean Fan
You can also create other shapes of bokeh, such as the heart and star bokeh photos shown below. This can be done by using a filter with the desired shape. You can even create your own. Tutorial can be found here.
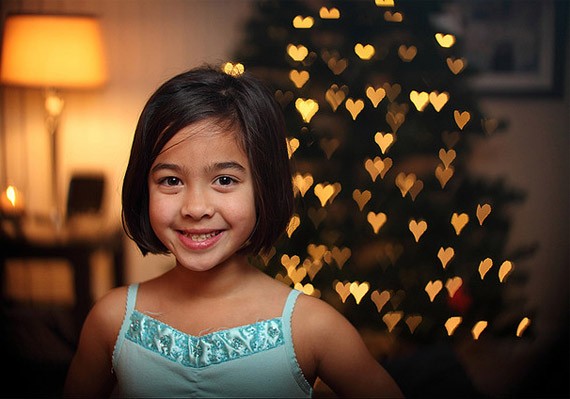
by CT Pham
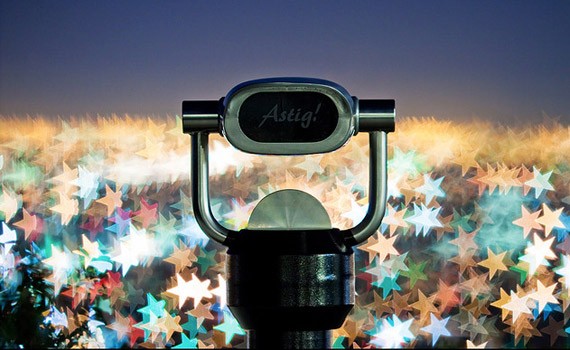
Photo by Astig
2. Panning
Panning refers to the horizontal, vertical or rotational movement of an image still or video. It’s an age-old technique. To achieve panning, you must have a moving subject that you must ‘stay with’ whilst framing the shot before and after you press the shutter.
This will create an interesting effect, with your subject being sharp amid a blurred background. Great for shooting moving subjects or racing and sports events.
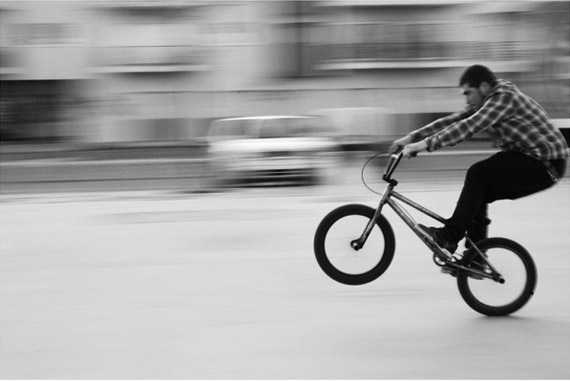
by Sofia Duarte
Panning will take a lot of practice, but you’ll get used to it and the effort is all worth it. Of course, it is easier to ‘follow’ a human subject than faster subjects like a dog, a motorcycle or a car.
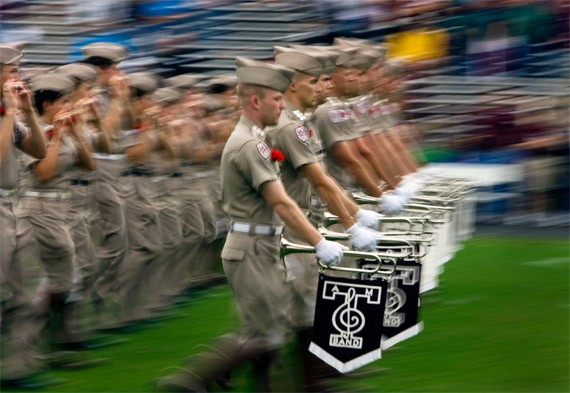
by Statesman
3. Rule of Thirds
The rule of thirds is one of the most basic principles of composition. It has been used for many centuries by artists, painters and now, photographers.
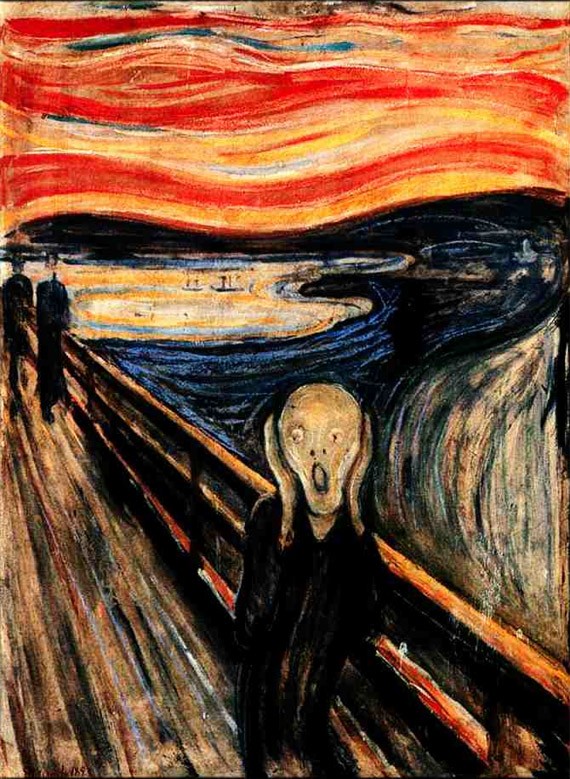
With the Rule of Thirds, the photographer breaks down the photo into thirds, horizontally & vertically so that you have nine equal parts. The main subject is not placed in the middle of the frame, thus it looks dynamic, moving and interesting.
When you are taking a picture you must mentally divide your viewfinder or LCD display into three to frame your shot. With the grid in mind, identify the important points of interest and frame. For some photographers, this comes naturally but for others, it will require practice.
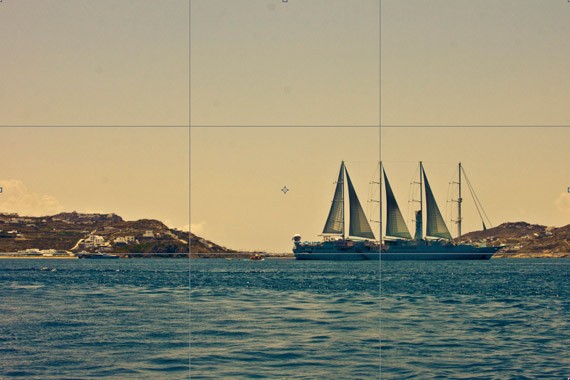
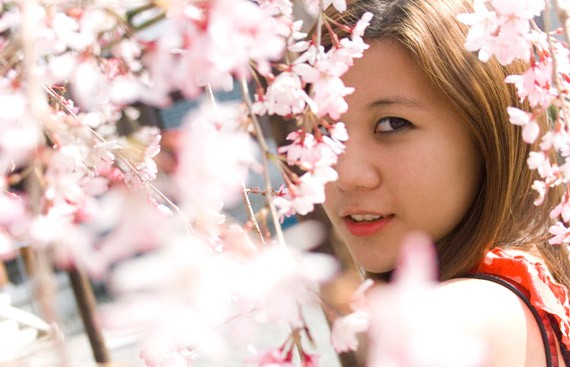
by Rachel Arandilla
Effective use of the rule of thirds create movement and interest in any photograph.

Photo by Majoy Chua
Keep in mind the rule of thirds for post production. If you find an image’s composition boring, you can always post process it by using the cropping and reframing tools of Photoshop. Experiment with the tools at hand to improve your photos.
4. The Golden Hour
The Golden Hour, also referred to as the Magic Hour, refers to the first hour the sun rises and the last hour the sun sets. It creates a different quality of light; it adds interest and drama to the scene. It’s the perfect time of the day for creating magnificent photos–but be quick, because lighting quickly changes and fades away.
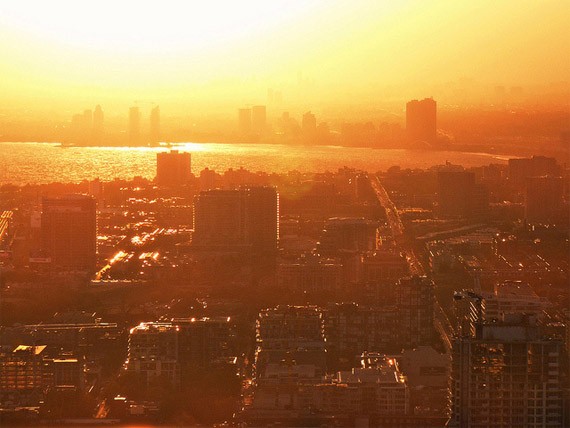
by Torontoist
What really happens during the golden hour? During sunrise and sunset, the sun is near the horizon so the daylight is of the indirect light from the sky, reducing intensity of the sun’s bright light.
There is softer lighting, warmer hues and longer shadows. In other times of the day, the sun’s light can be too bright and harsh. The sun’s harsh light is particularly a problem in portrait photography, for the light can create unwanted strong shadows around the face and body.
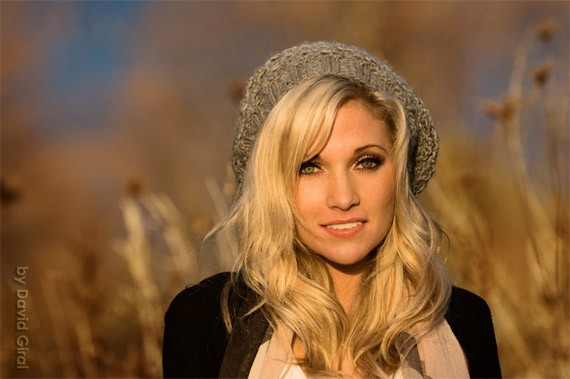
by David Giral
With landscape photography, photographing landscape during the golden hours enhances the colors of the scene.
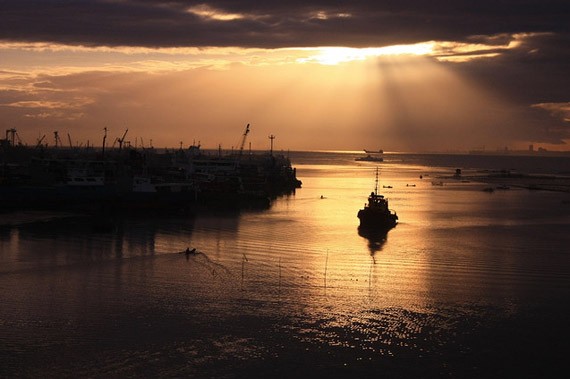
by Karen Bangcot
5. Golden Rectangle
The Golden Rectangle, (also the Golden Mean or the Golden Ratio) is another guideline for composition and a variation of the Rule of Thirds, but more intricate.
The Golden Rectangle is the mean of the ratio of numbers on the Fibonacci Sequence: 1, 1, 2, 3, 5, 8, 13, 21, 34 and so on). The ratio creates a golden rectangle, which is comprised of a square and half of the square in the same dimension.
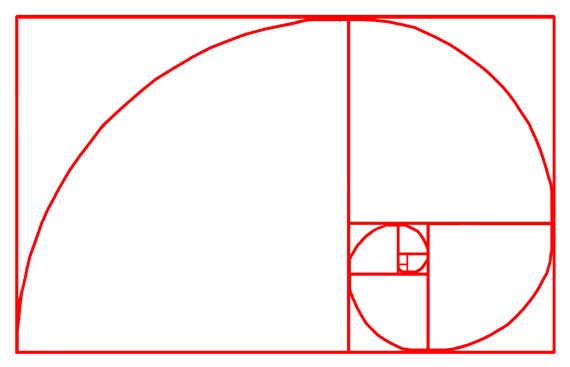
Again, the concept goes back to several centuries. The Golden Rectangle is even used to frame Leonardo da Vinci’s Mona Lisa. Paintings, artworks and photos following the Golden Rectangle tend to be stunning and pleasing to the eye. It’s because it’s an aesthetic proportion that can be found naturally: flowers, shells, butterflies and even the human body.
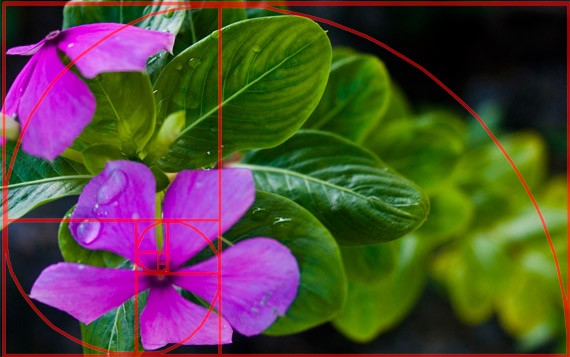
Photo by Rachel Arandilla
It is very hard to frame the image to the Golden Rectangle means directly from the LCD or viewfinder. Thankfully, there are now several programs that you can use to crop your photos to the Golden Rectangle dimensions during post-production.
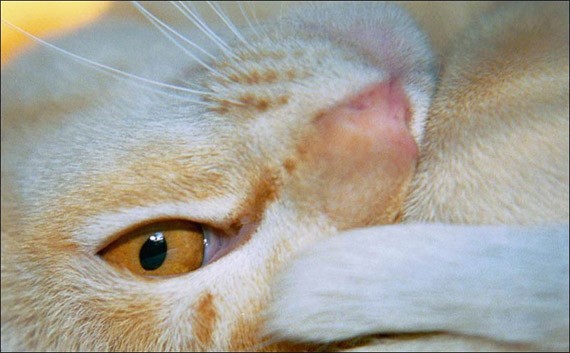
by Chris Ganes
6. Fill Flash
Fill Flash is a technique in photography where the photographer uses flash to ‘fill in’ dark areas of the image. It’s perfect for backlit environments. The background is usually a lot brighter than the subject. To create fill flash, adjust the aperture and shutter speed correctly to expose the background, use flash to lighten the foreground but still retain the qualities of the background.
You can use flash when: the subject is in a shadow, when there is more light on the background than on the foreground, and when you are close enough to the subject for flash. Remember that your built-in flash is only powerful enough to reach up to 9 feet only. Fill Flash can brighten deeply shadowed areas, improving the image without overexposing the other areas of the image.
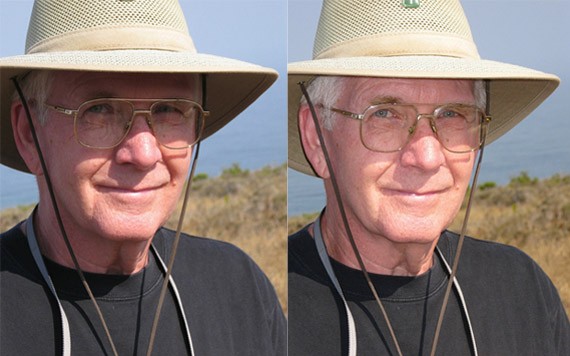
by Mike Baird
Fill Flash is great for illuminating the eyes, especially on bright days and the subject is wearing a cap.
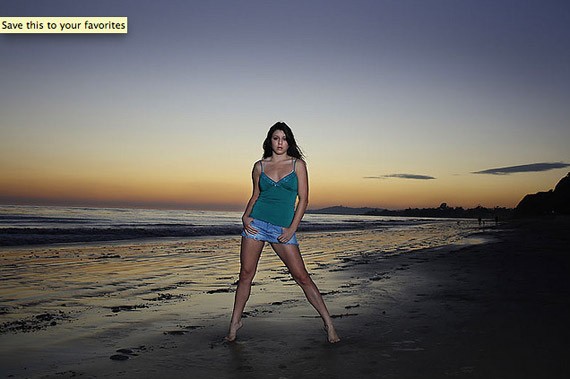
by Don Giannatti
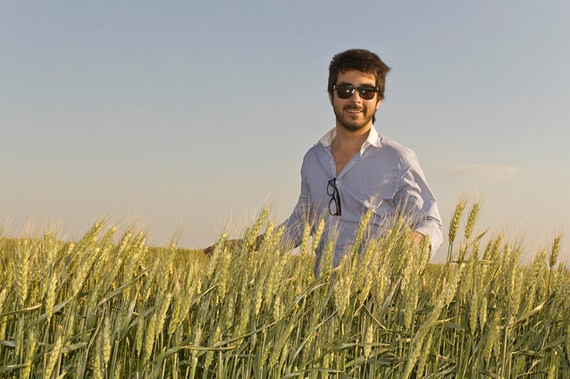
by Adrian Biondi
by Eduardo Muriedas
7. Long Exposure
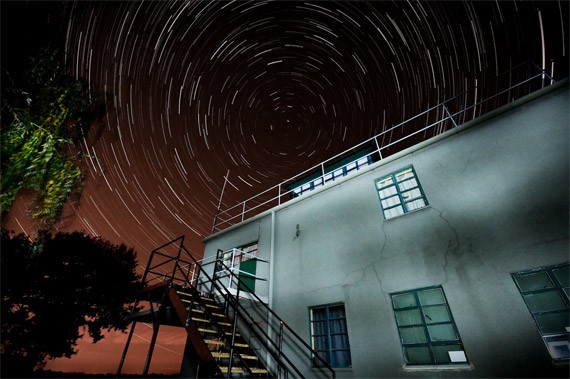
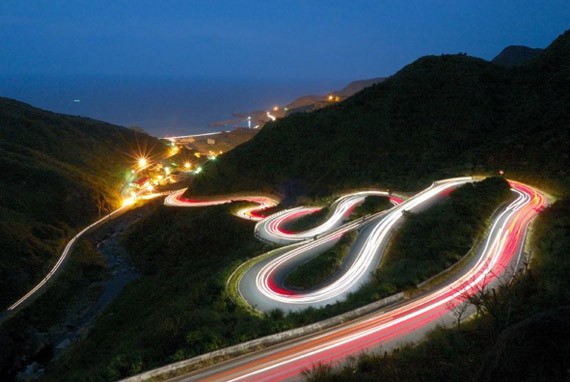
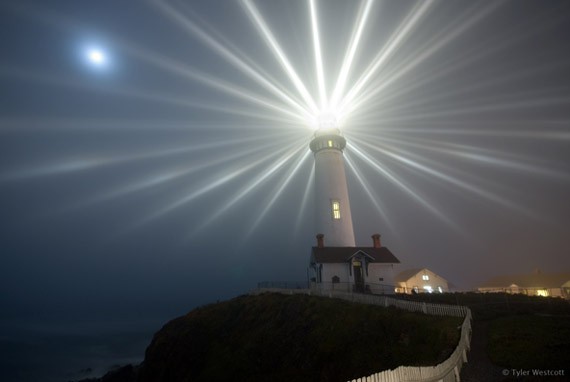
Long exposure is another interesting photography effect which entails a narrow aperture and long duration shutter speed. This is done in order to create dreamy landscapes, capturing the stationary elements while blurring the moving elements of the image.
Long exposure can be tricky. It should be taken in low light situations, most often photos will be overexposed because having long exposure on sunny days can be a problem, as too much light will enter the lens.
It is often referred to as ‘night photography’. Interesting subjects to shoot are stars, moving cars and lights.
by Cretique
by Matthew Fang
by Tyler Westcott
However, there are many beautiful long exposure photographs taken during low light daytime. Shooting fog and water on long exposure is popular in photography.
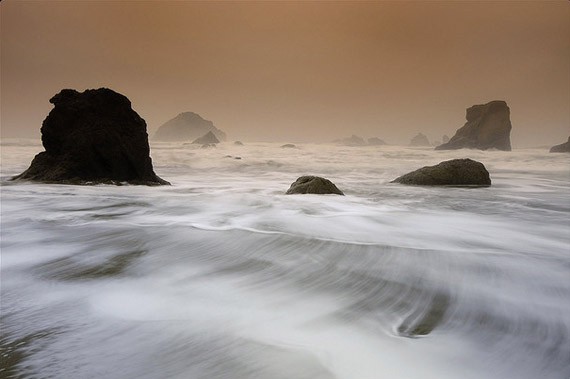
by Dene Miles
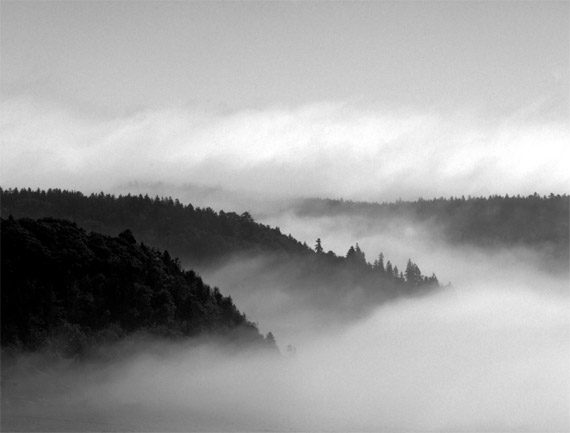
by Stan Mason
8. Contre-jour
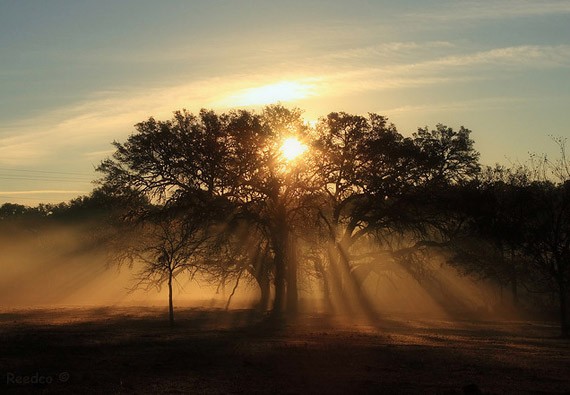
Contre-jour is a popular photography effect. It is French for ‘against daylight’, the camera is directly pointing towards the light source. Countre-jour is, basically, is the fancy speak of ‘silhouette photography’. The light source is located directly behind the subject.
The contre-jour effect produces high contrast photos between light and dark. It hides details yet emphasizes contour of the subject and shapes. Contre-jour is more popular in nature & landscape photography. The effect is often used to add a more dramatic mood and intense ambiance to the scene.
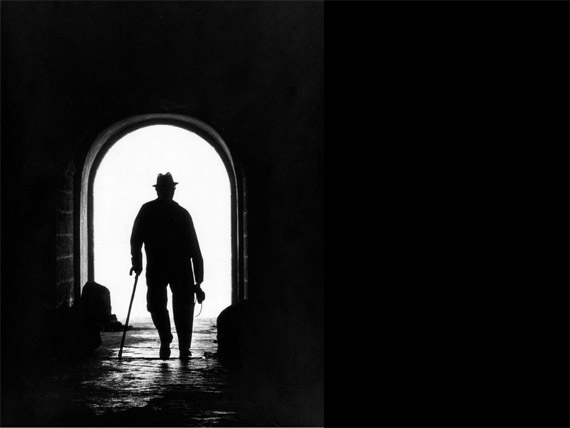
by ArtBible.net
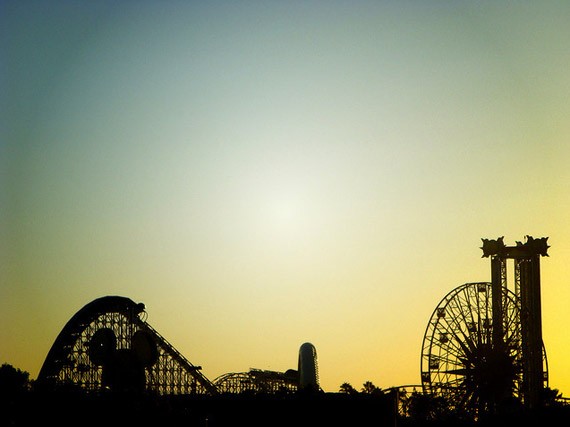
by Karlos Portillo
Ironically though, contre-jour can enhance or reduce the quality of detail in the photo. Some recommend using a lens hood to enhance the effect of contre-jour in photographs, significantly reducing the glare coming into the lens. If too much light enters the lens, it will cause overexposure, causing the photo to lose definition.
Conclusion
You don’t need to follow these terms to the dot in order to create a beautiful and interesting image. In fact, rules are made to be broken! Art is about exploring yourself and your medium, after all. But to be an artist of your own you have to learn the basics first before you break them. That’s what Pablo Picasso and Van Gogh did.
Of course, these are not the only effects in photography. There are dozens more, and you can even create a photography effect through your own experimentation. Photography’s only limits is the photographer’s creativity.
This post may contain affiliate links. See our disclosure about affiliate links here.

