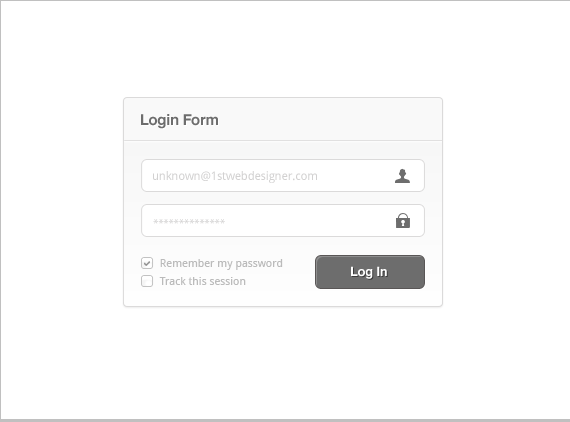
With some simple techniques we will create a beautiful login interface. We will be using some variations of the color gray to help keep the interface as simple, elegant and minimal as possible.
While anyone can follow this tutorial, it is ideal for beginners.
PSD File Download
Your Designer Toolbox
Unlimited Downloads: 500,000+ Web Templates, Icon Sets, Themes & Design Assets
Table of Contents

DOWNLOAD NOW![]()
Step 1
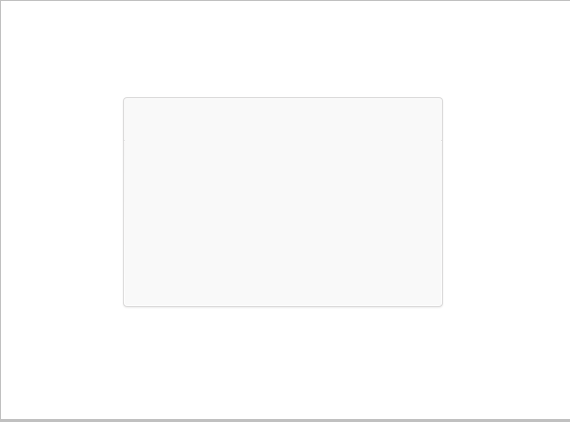
Create a new document 800 pixels high and 600 pixels in wide. It can be any size, but be sure to have some space to work. With the Rounded Rectangle Tool (U) fill in a space of 320 x 210 pixels with a light gray color. This will be the base of our login interface.
Step 2
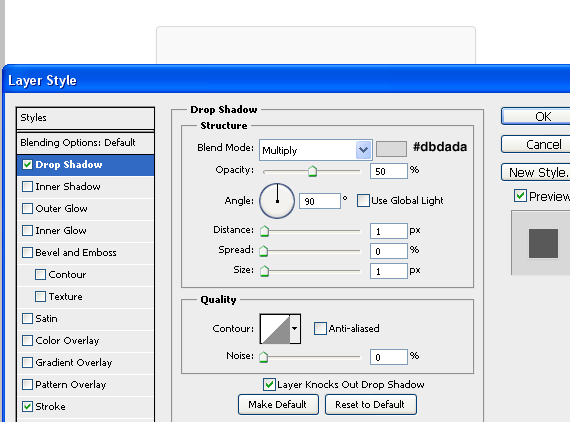
Apply a dark gray (#dbdada) shadow to our light gray base with a distance and size of 1 pixel. The blend mode must be set as “Multiply” and the opacity to 50 percent.
Step 3
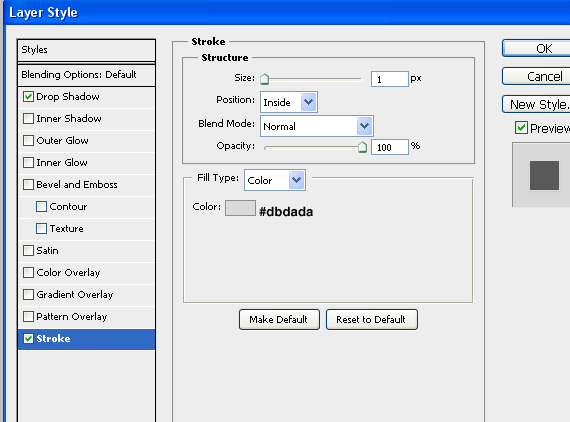
Add a 1px stroke, the color being exactly the same as we used for the drop shadow effect.
Step 4
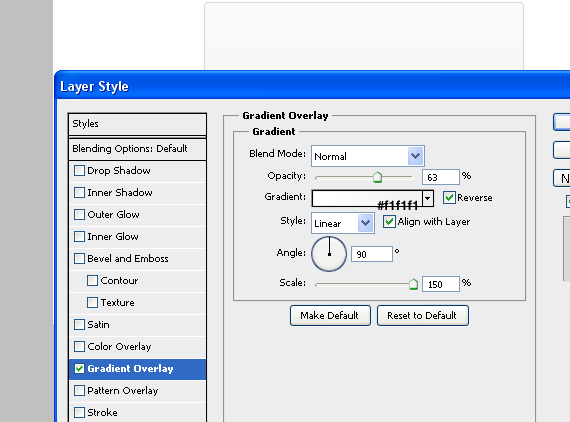
The final effect for our base rectangle will be a light gradient overlay. The colors must be white and a really light-greyish color (#f1f1f1). We want to make our gradient overlay really subtle, almost invisible, that is why the opacity should be reduced to 60-65%.
Step 5
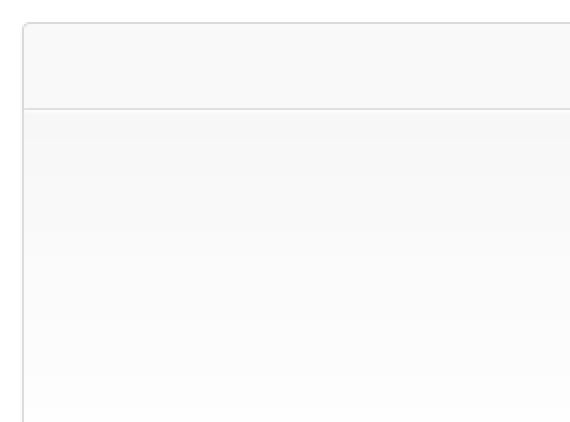
We’re done with the effects for the base rectangle, but we should enhance it a little bit, that is why a 1 pixel line will really make a difference and won’t make it look blank and too simple. The line should be the same color as all previous effects applied, however, besides the gray line, the 1px white line must be placed exactly under the gray one.
Step 6
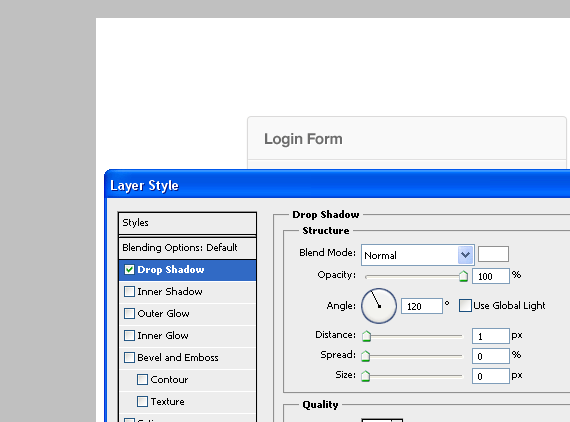
In the upper left corner, we will add some text. I simply wrote “Login Form” which will describe what the interface is for. While this isn’t something we really need in a Photoshop layout, this might be helpful on a live website. The text is a dark gray color, which contrasts well with the rest colors and gives the interface a minimal look.
Step 7
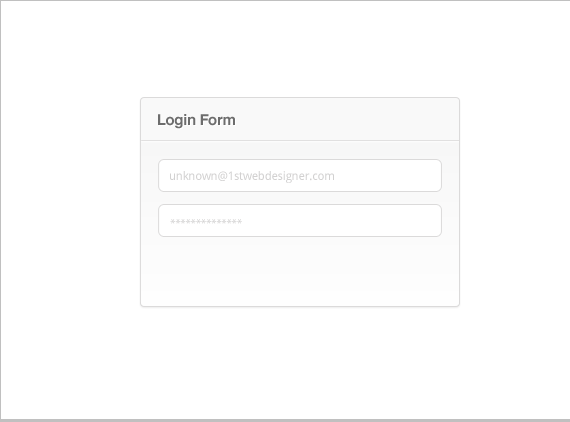
With the Rounded Rectangle Tool (U) create two white shapes. Apply a stroke of 1 pixel (#dbdada) and by using the same color write a random e-mail address in the upper shape (which will be used for inputting e-mail addresses) and in the bottom shape, input some star signs (*) which will show an inputted and hidden password. The font used is Droid Sans, which you can grab for free on Google Fonts
Step 8
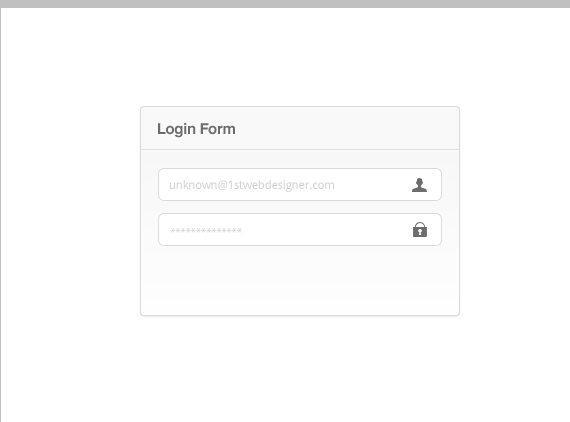
To make it more clear what the forms will be used for, we will add some icons. I am using the YummyGum’s iconSweets 2 set all the time, and find a use for them almost in any project of mine.
Step 9
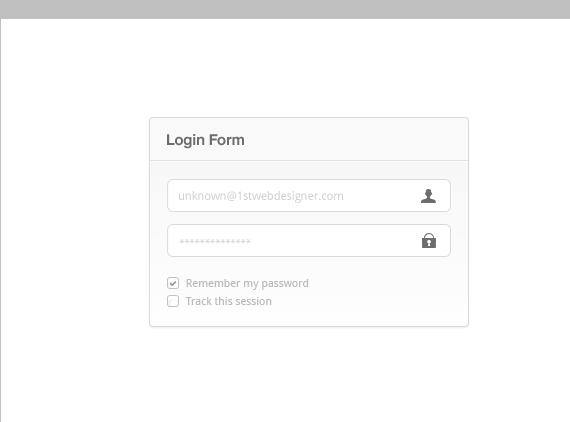
With the Rounded Rectangle Tool, create two small shapes (10×10 pixels) and apply the stroke effect with the same color we used in previous steps. Inside the upper box, with the Custom Shape Tool (U), browse for the “checked” sign you can see in the image, and place it in the center of the box. Using Droid Sans, write some text right next to the boxes
Step 10
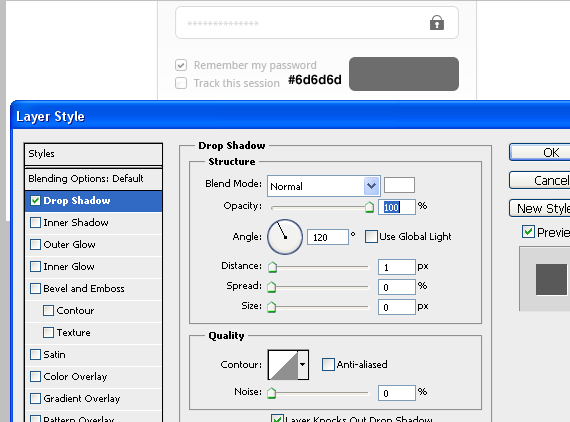
The last touch to our interface will be a big button which will finish the “login process”. By using the Rounded Rectangle Tool (U) create a shape of about 110 x 35 pixels, and make it a dark-gray color (#6d6d6d). Apply some white shadow, and don’t forget to change the Blend Mode from “Multiply” to “Normal”.
Step 11
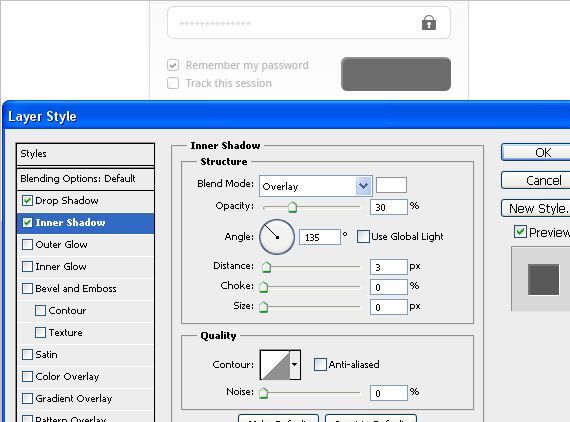
Apply an inner shadow effect to the button, the size and choke being 0, the distance 3 pixels, the opacity 30% and the blend mode: overlay.
Step 12
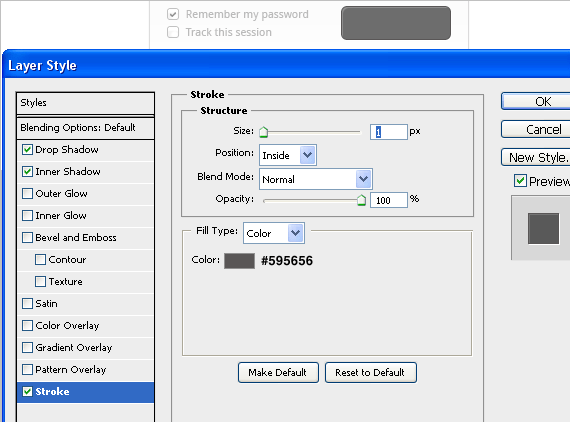
A final touch for the button would be a dark 1 pixel stroke (#595656).
Final Result

This post may contain affiliate links. See our disclosure about affiliate links here.


