They say letters are boring. Unlike videos and music, text is static. It does not move or tickle other senses besides the eyes. Text is usually placed as an information dissemination tool which conveys the detailed message of the media being used.
For example, if you upload a YouTube video tutorial, the video is the dynamic medium which will aid the viewer to achieve the goal. On the other hand, the text will provide all the detail needed in case something is not clear.
This fact might give you an impression that text is really boring. But what if it isn’t? What if text, which is used mainly to detail, is used for design? How is that possible? Of course, through typography.
Unlimited Downloads: 500,000+ Fonts, Web Templates, Themes & Design Assets

DOWNLOAD NOW
Typography has existed for a long time. Basically, typography is the technique of arranging text or type in an orderly manner to make it visible, attractive, and readable. Simply put, typography is the art of working with text, graphically.
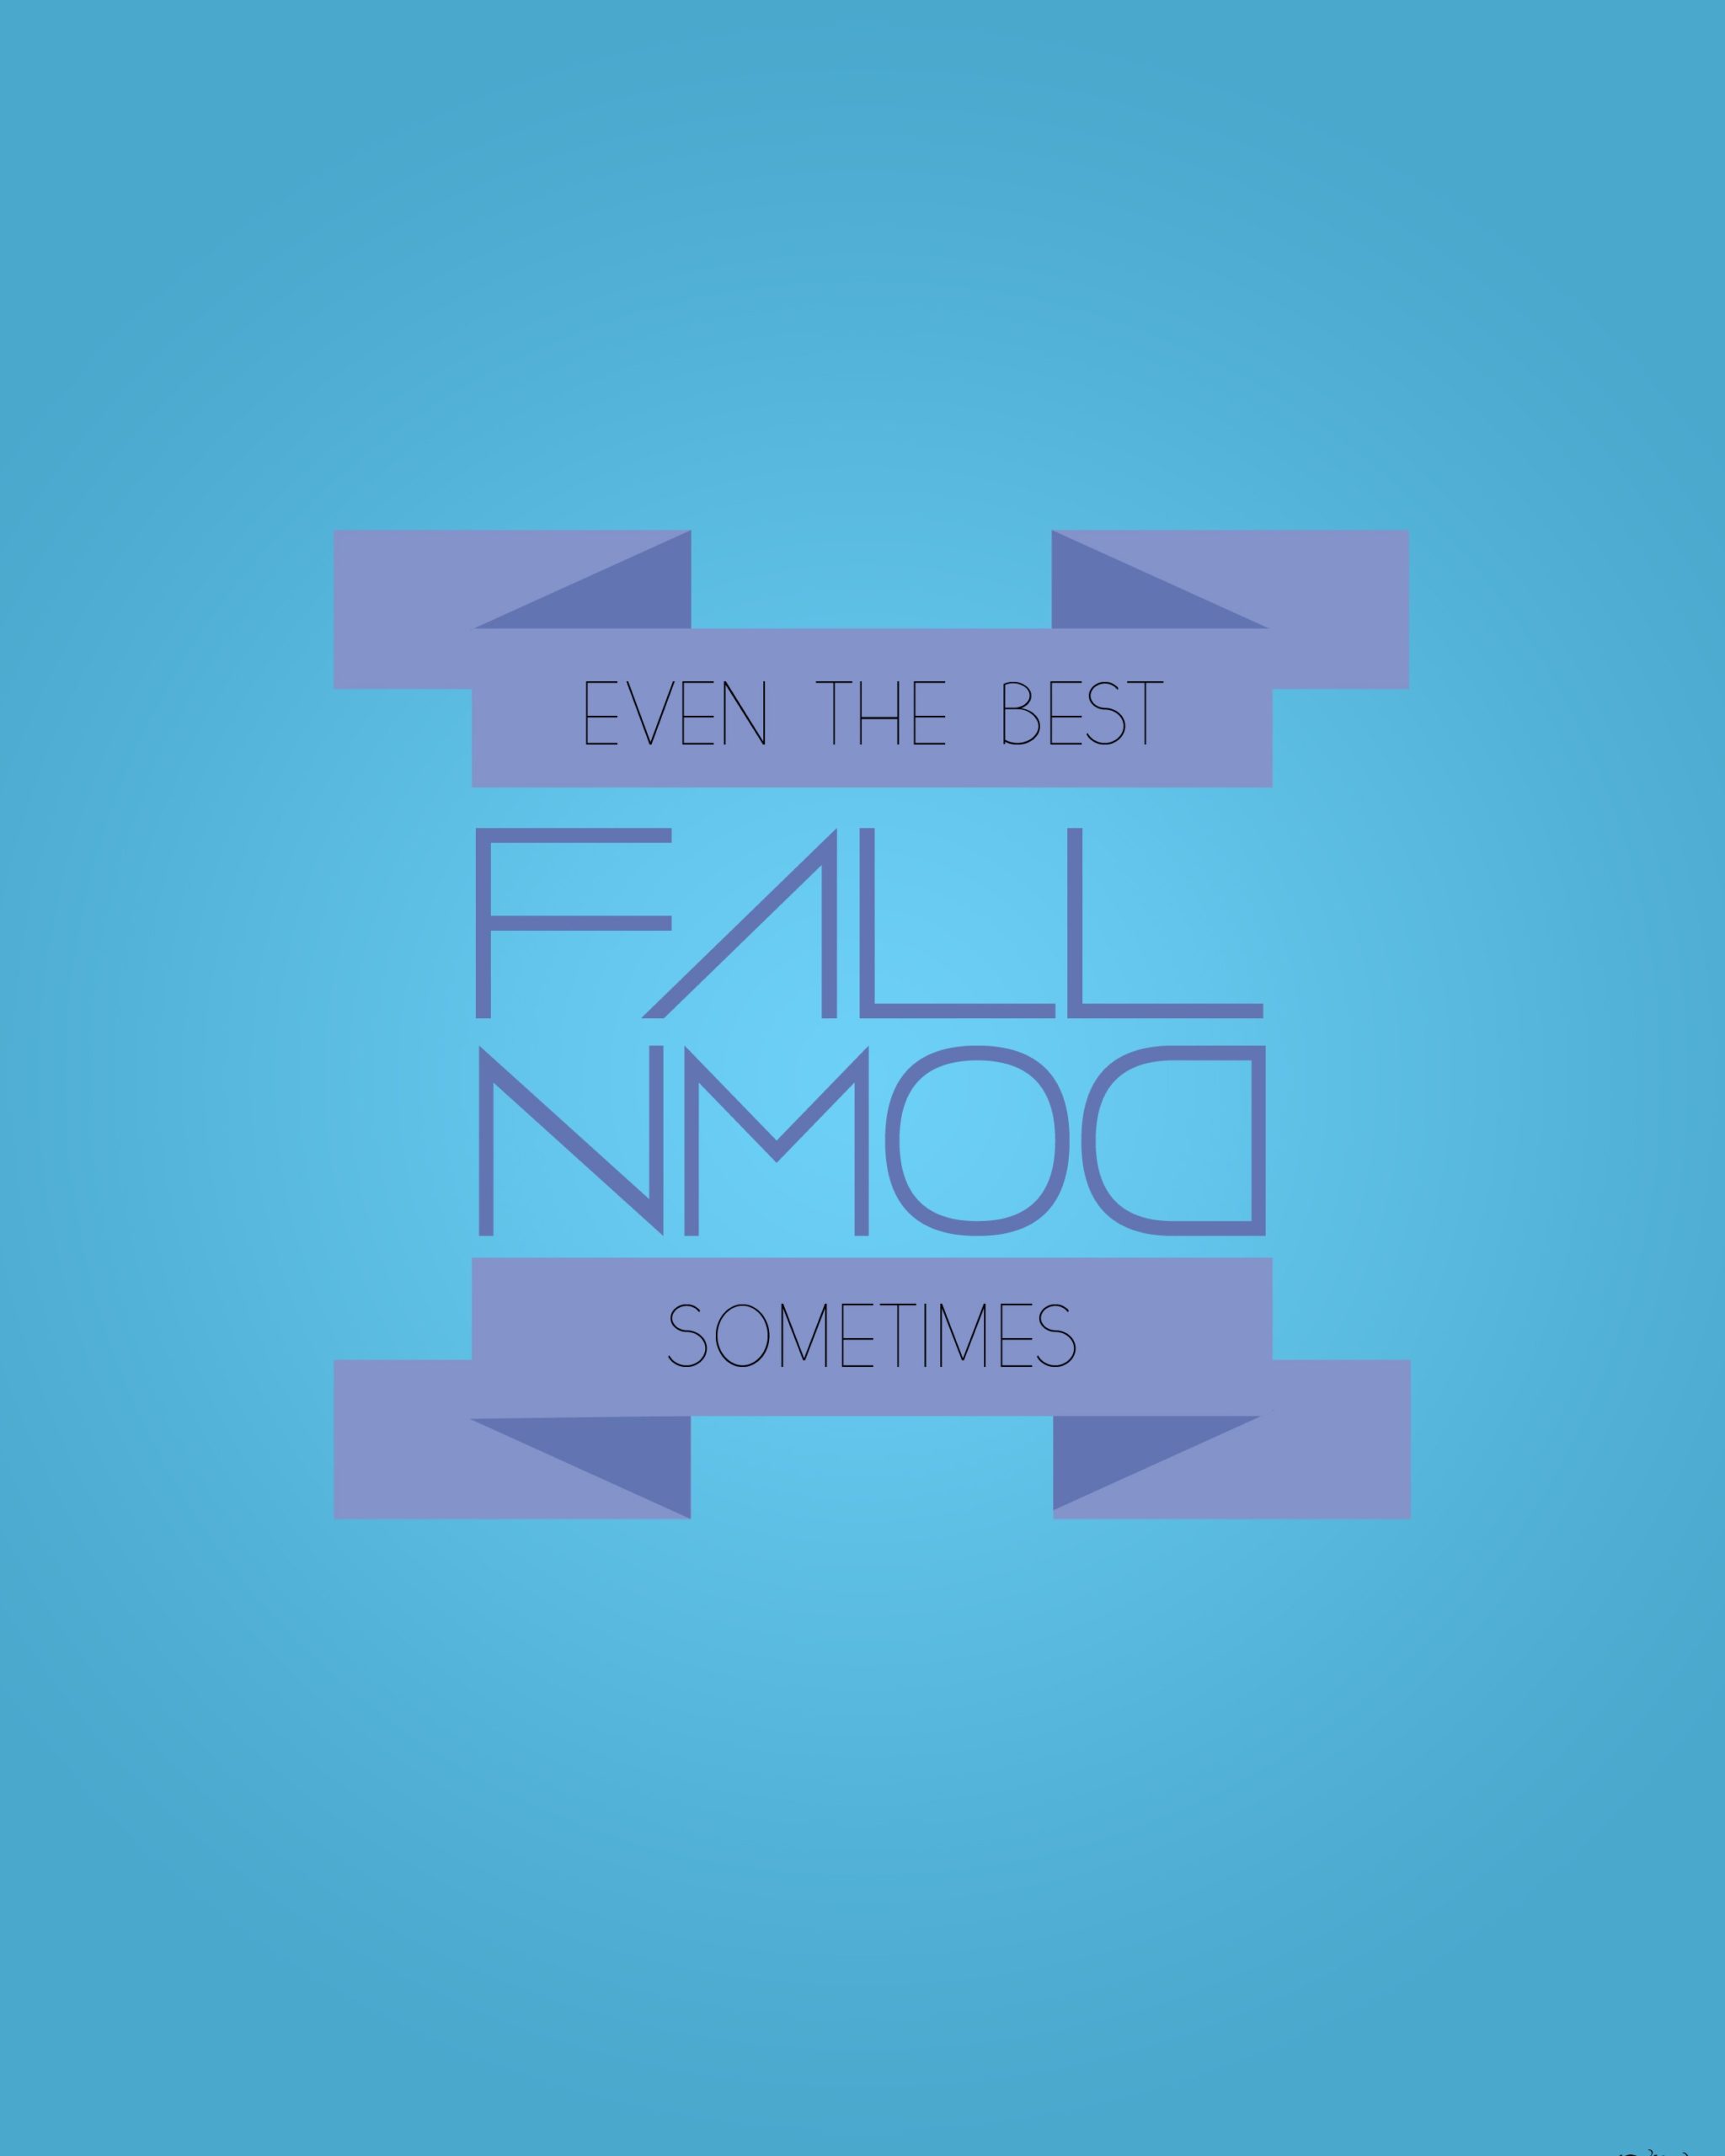
This Adobe Photoshop tutorial is a good example of a typographic image with a simple message: It’s OK to make mistakes. I designed this using the concepts I have discussed in the previous parts of the blog. Let’s get started!
1. Open Photoshop. Create a new file. I used a preset size with a width of 8 inches and height of 10 inches, with 300dpi. You can, of course, change this one to any size you want.

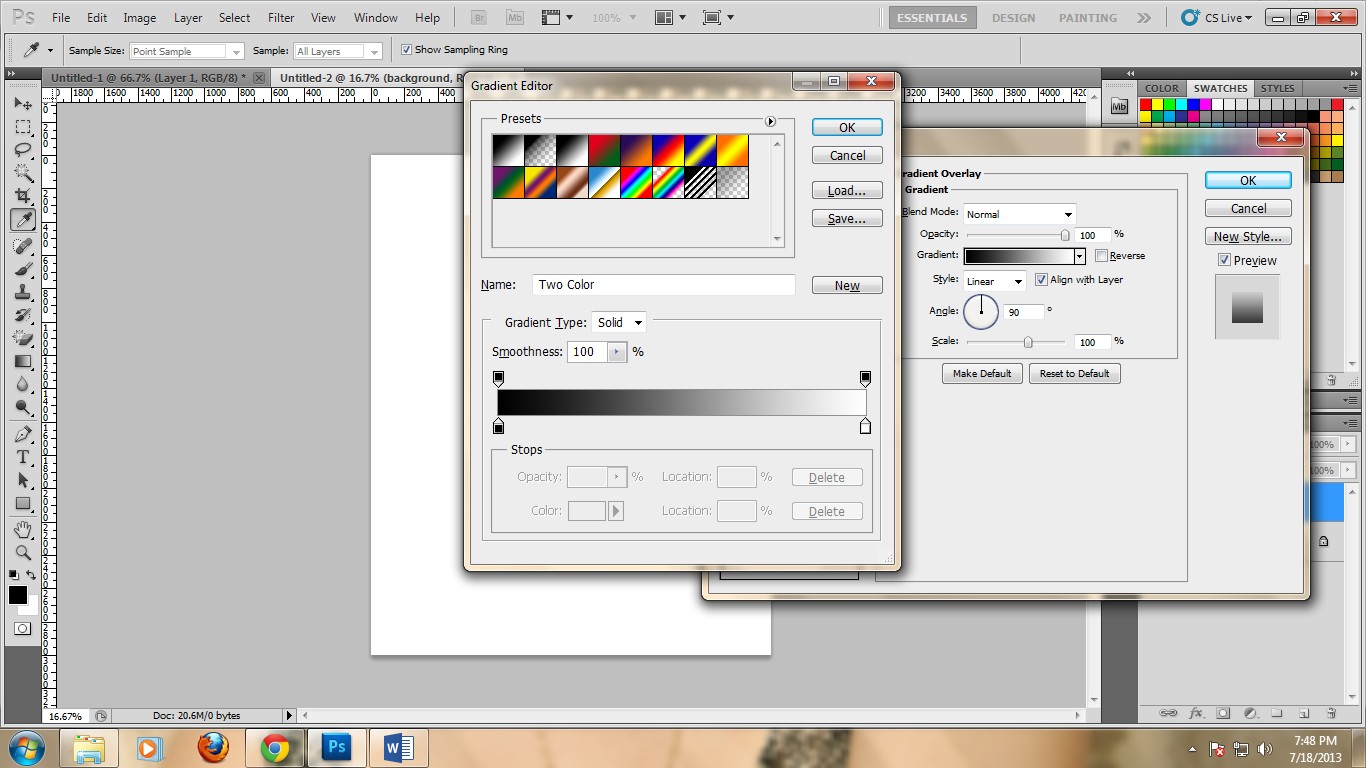
2. Next, add a new layer. Name it “background”. Double click it to show the LAYER STYLE window.

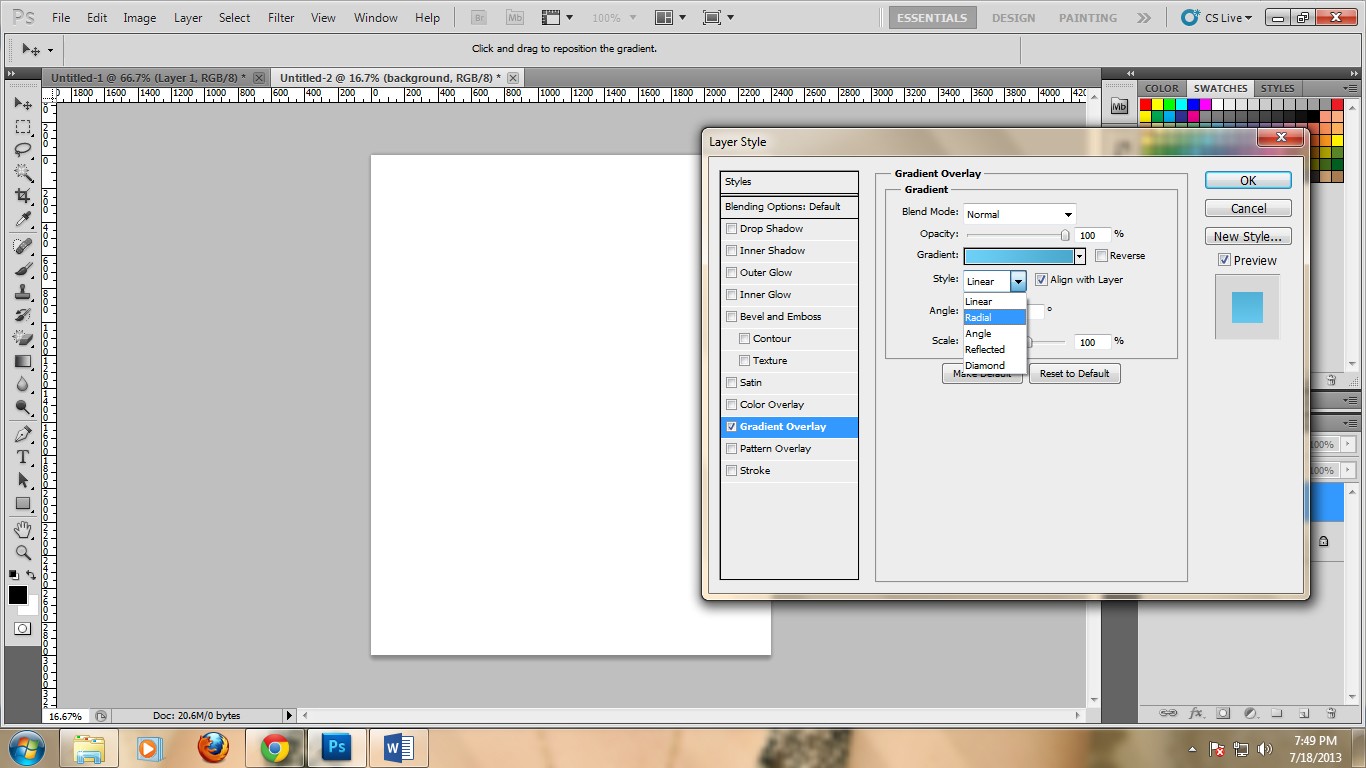
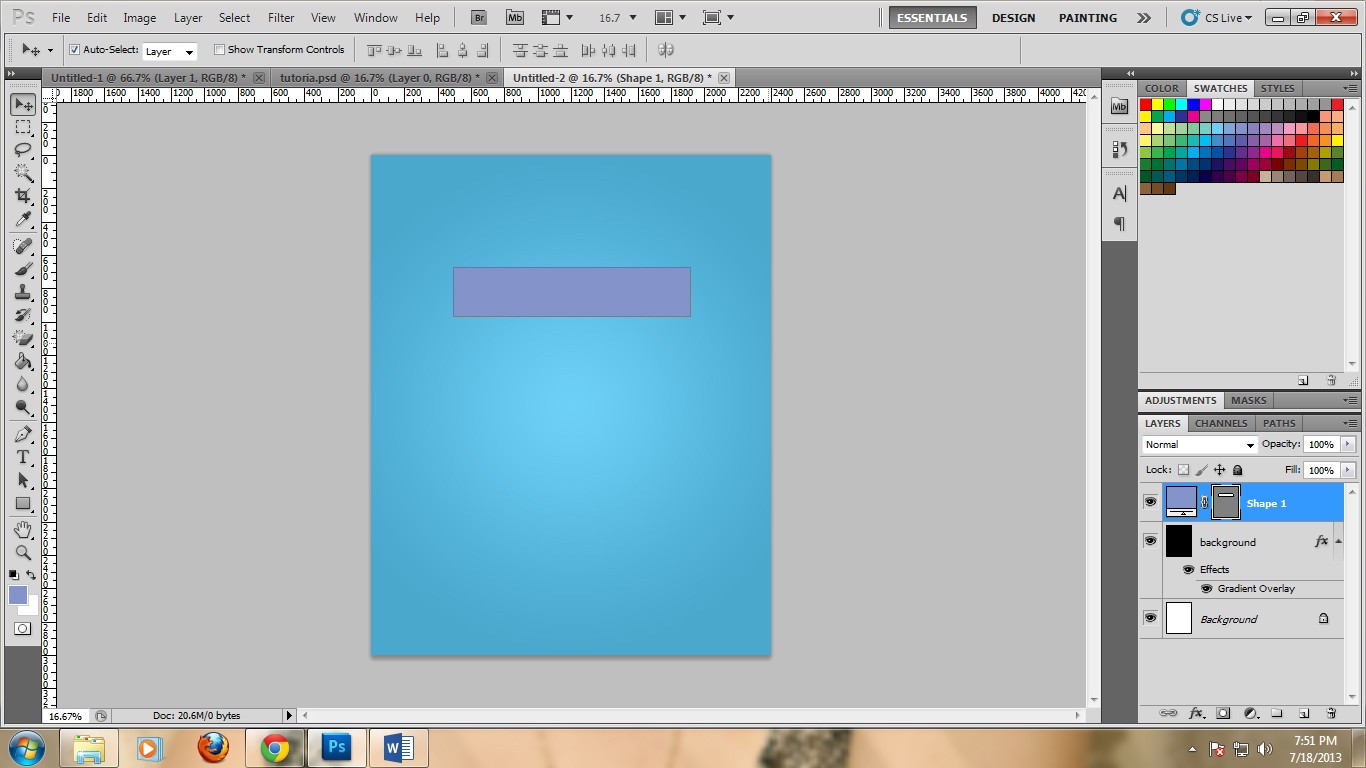
3. Go to Gradient Overlay and click on the gradient. A window will open that will let you select the colors you will use. Use #6dd0f7 and #4aa8cd. Make the Style: Radial.
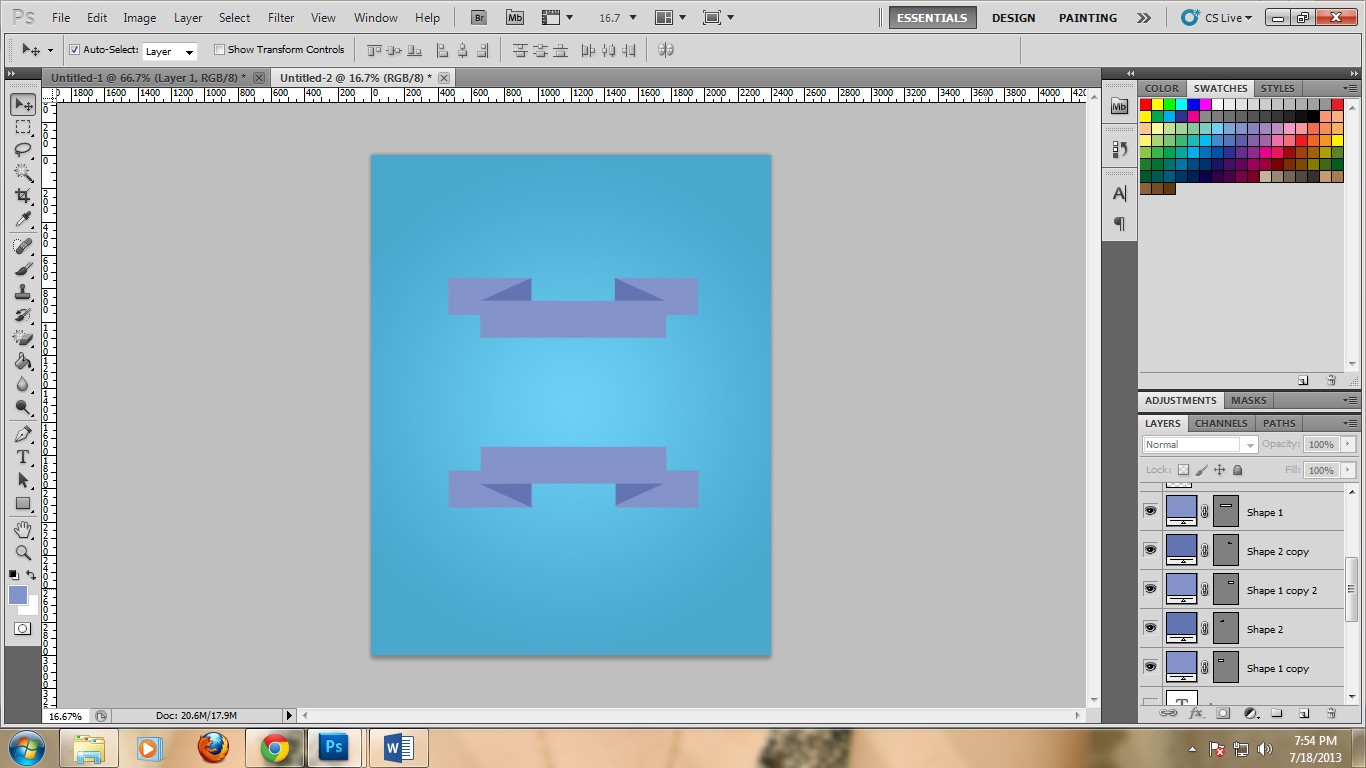
4. Now, we need to do the ribbon design. Go to the Rectangle tool and draw a rectangle. Color it #8393ca.
5. Now, create a triangle using the pen tool. You should be able to create a triangle that would look like a flap of the actual ribbon. Color it #6274b2.

6. Copy the triangle and flip it. Now draw another rectangle using the rectangle tool. Color it #8393ca. Place the rectangles so that they will overlap with the triangle flaps
7. Duplicate the ribbons.
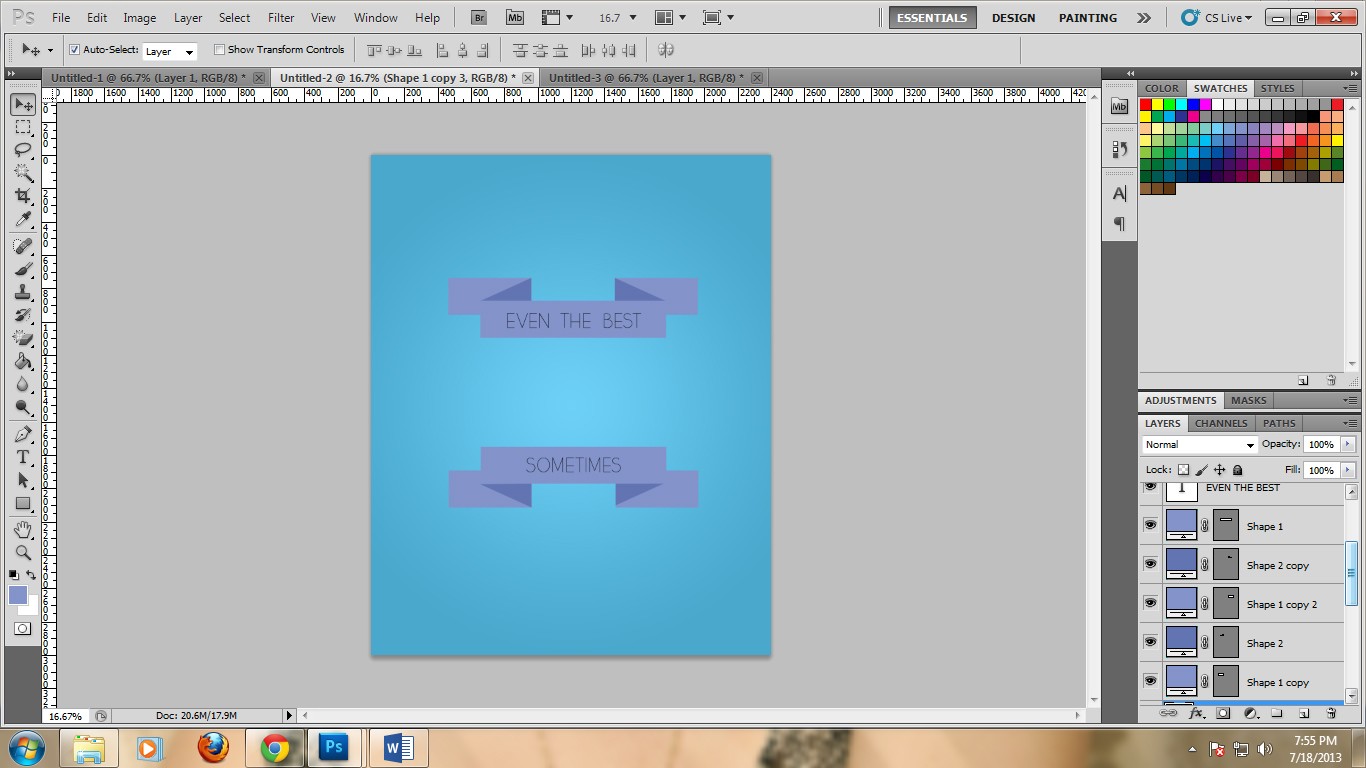
8. Now type the message on the ribbons. In this case I used the Yellow Peas Demo font. I colored it black. For the center message, I used the Vermin Vibes 2 White and colored it #6274b2.
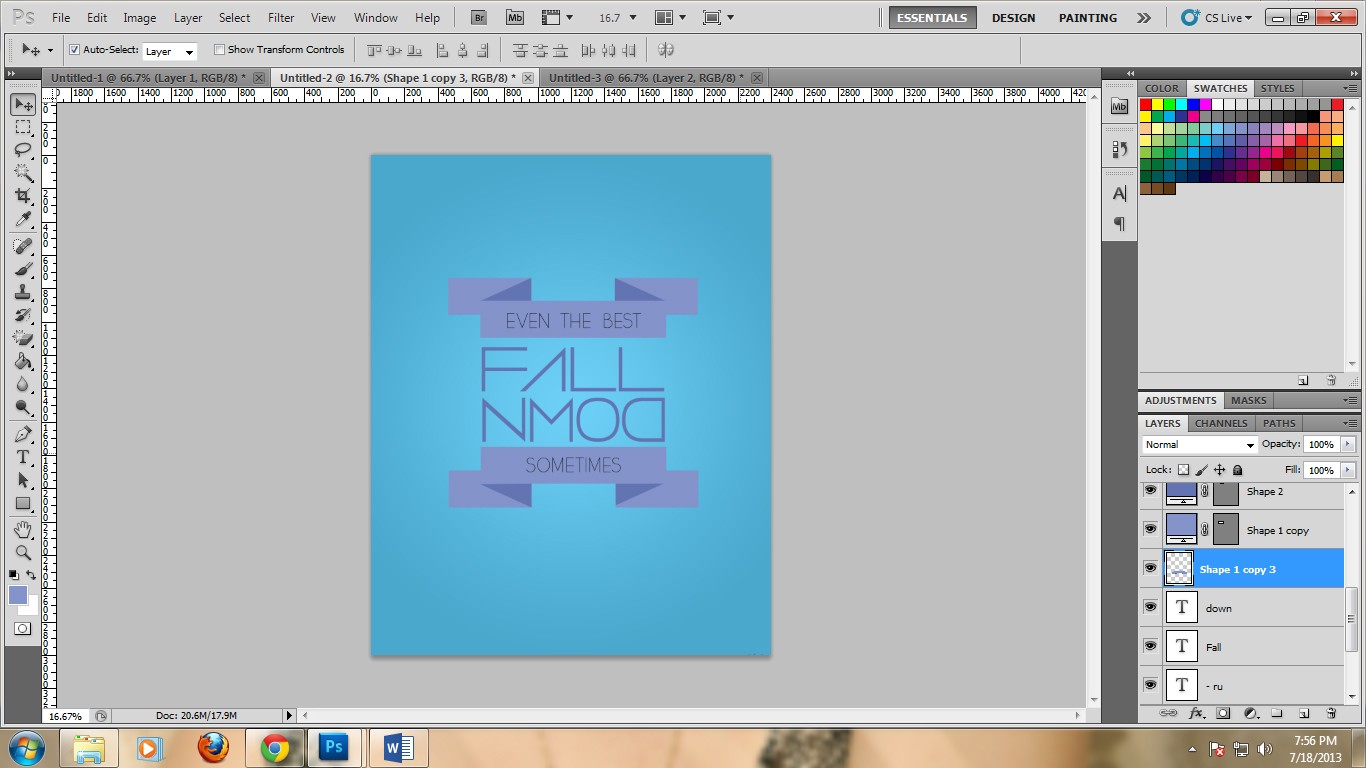
10. Save it as a JPEG file.
And we are done! Thank you for reading! Tell me, how are your Photoshop ideas coming to life? We would love to hear back from you in comment section below!
This post may contain affiliate links. See our disclosure about affiliate links here.