Advertisement
Although it started as a student project by Rick Brewster, the popularity of Paint.NET, as well as the possibilities it offers, have made it a perfect standalone program for raster graphics editing. The biggest advantage that Paint.NET offers is the ability to customize it as you wish thanks to the infinity of plugins created by the community. Of course, customization options include adding new fonts to create amazing text. If you want to know how to add fonts to Paint.NET then you have come to the right guide.
As with all design programs, the tools included in Paint.NET are probably not enough for some people, and they want to add new content to work with. Fonts are the most common content to install, but not everyone knows which ones to download or how to install them.
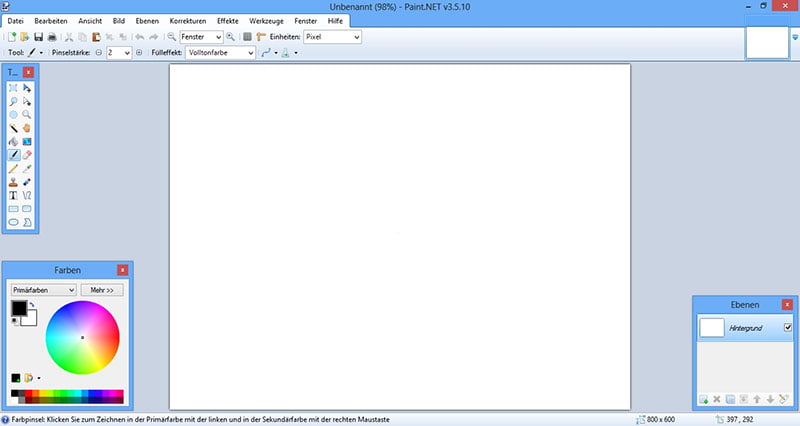

Luckily, adding fonts to Paint.NET is a simple task, so anyone can do it. The best thing is that with this process, you will be able to install fonts for multiple programs, not only Paint.NET, since the installation is done directly to the computer collection.
Side note: Do you want to increase your chances of getting a better design job? Get a Graphic Design Specialization from CalArts (California Institute of the Arts).
What is a font?
Table of Contents
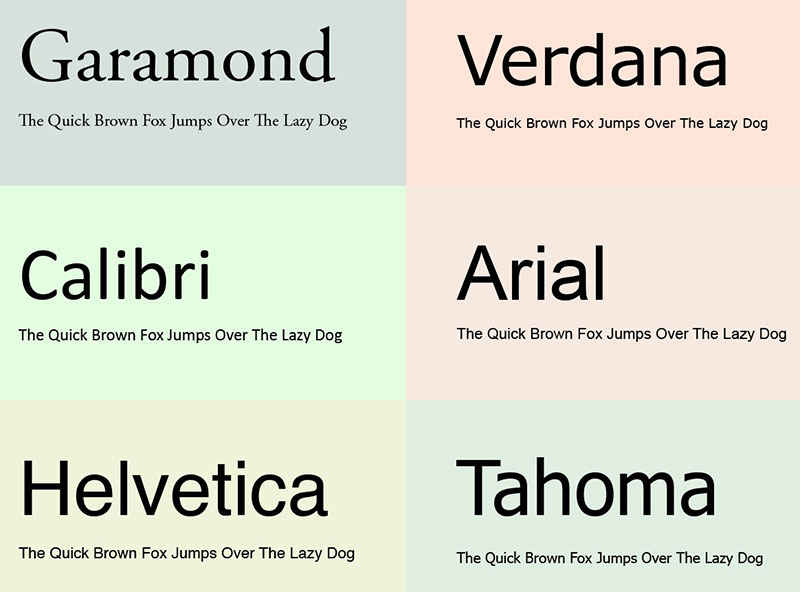

All of us have ever worked with Arial, Calibri, or Times New Roman in programs like Word and Excel. Each of them is a different Font. A font is a set of visual characters that are interpreted by the computer to display glyphs on the screen or for printing.
/*div{padding-right:0!important;padding-bottom:10px}.ml-form-formContent.horozintalForm .ml-button-horizontal{width:100%!important}.ml-form-formContent.horozintalForm .ml-button-horizontal.labelsOn{padding-top:0!important}}
/*]]>*/
/**/
![]()
![]()
Each font has its design, but they can all be enlarged, reduced, transformed into bold, or italic.
Font types
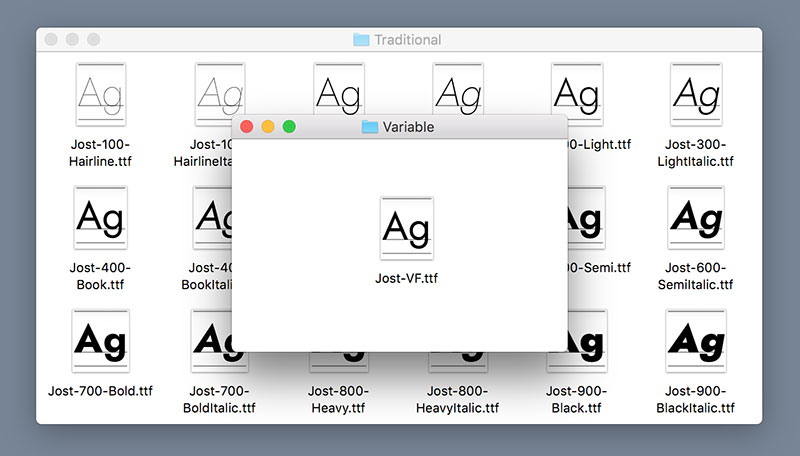

Paint.NET fonts can come in many different formats, all compatible with any computer. However, each one presents its own virtues.
- TrueType Font (TTF): this is the most used format. It was developed in an alliance between Microsoft and Apple to replace the old PostScript format. Because of this, the vast majority of files use it.
- Open Type Font (OTF): created by Adobe and Microsoft, Open Type fonts benefit from a greater number of glyphs, which makes them the evolution of TTFs.
- Embedded Open Type (EOT): due to how difficult it is to control the copyright in previous formats, Microsoft developed this type of font that is perfect for the web, as it provides additional legal tools.
- Web Open Font Format (WOFF): these files are a mixture of TTF and OTF, but compressed to make them lighter for web browsers. Its development was in charge of Microsoft, Mozilla Foundation, and Opera Software.
- Scalable Vector Graphics font (SVG): this type of font uses glyphs made with vectors, which gives them a greater range of customization. Additionally, each character can have more than one color, even creating gradients within letters and numbers.
How to add fonts to Paint.NET – Step by Step
Download the font you want
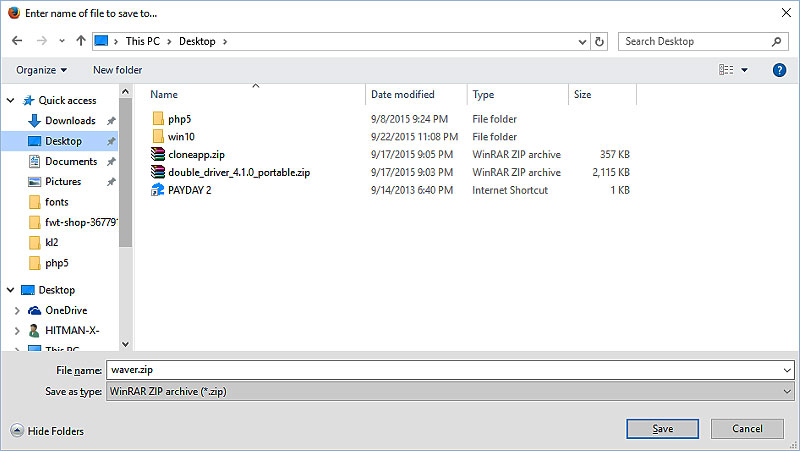

Getting fonts for Paint.net is easy. Many specialized pages have nearly unlimited galleries of free and paid packages. To find them, just search for “Free Fonts” in your favorite search engine and you will find hundreds of pages.
The free options in most cases are of excellent quality and offer almost everything you need to work. However, some fonts offer additional characters in Premium versions, but this will depend on what you are looking for.
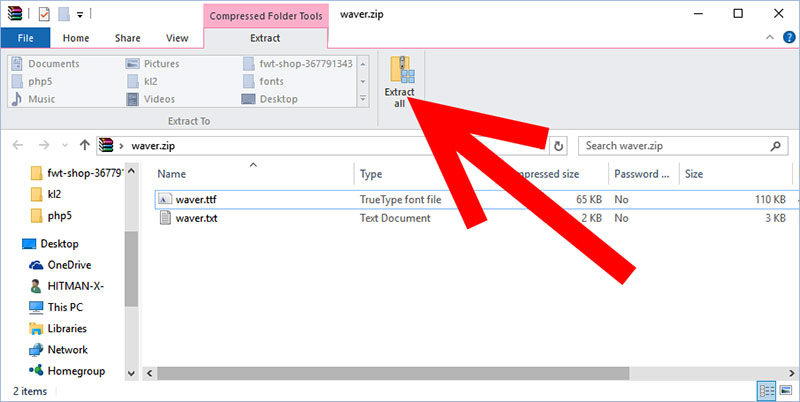

For convenience, when downloading the font, it will most likely be compressed into a ZIP or RAR file, which you will have to unzip using a program like WinRAR or 7- zip.
Open your PC’s Control Panel
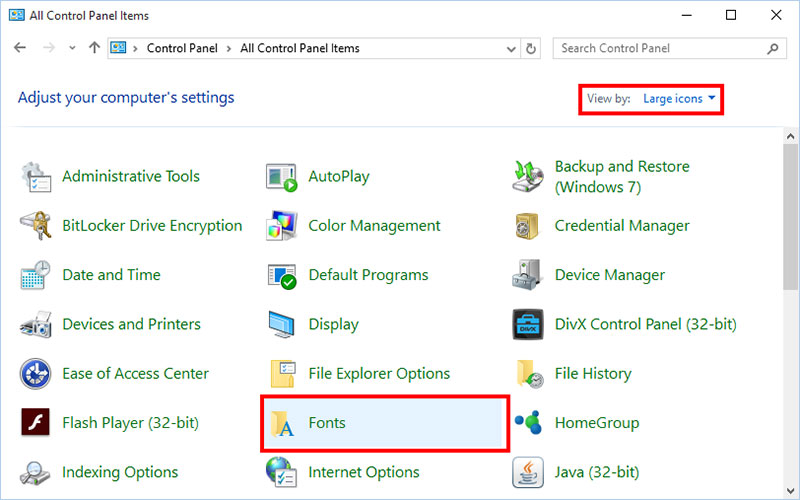

With the file unzipped, now head over to Control Panel to find the Fonts folder. The Control Panel is found in Windows Vista and later located inside the start menu, on one side. In Windows XP this is located inside “My Computer”. In case you can’t find it, you can always search it with Windows Search Tool.
Now, look in the Appearance and Personalization menu, and there you should find the Fonts folder. Opening it will display all the fonts installed on the computer.
As simple as copy and paste
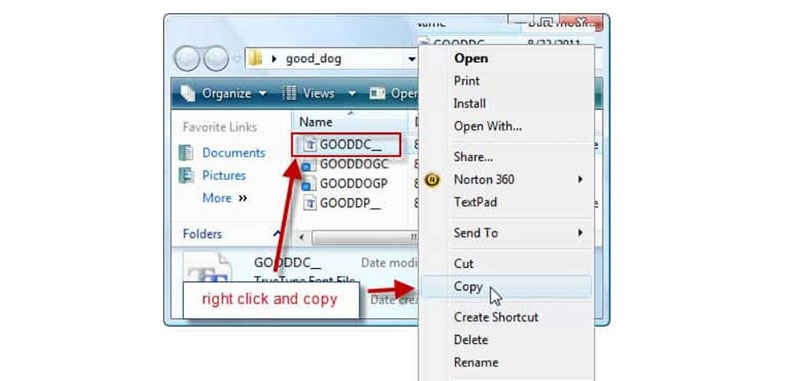

Find your new Font in the folder where you unzipped it, and simply copy and paste it into the Fonts folder in Control Panel. You can also drag and drop the file into the folder. If the system asks you for administrative permissions to perform this operation, grant them or it will not allow you to alter the data in the folder.
Advertisement
How to add fonts to Paint.NET – Alternative way
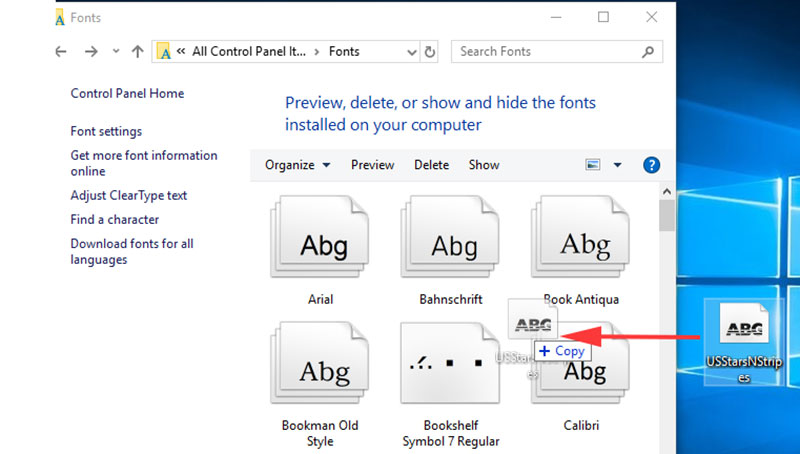

Alternatively, you can find the Fonts folder from the Windows installation path.
Look on the disk partition where you installed the operating system for a folder called Windows, and in it, you should find the Fonts folder. Similarly, you will have to copy and paste your new glyph collection into this location to install it.
You can now use your new font
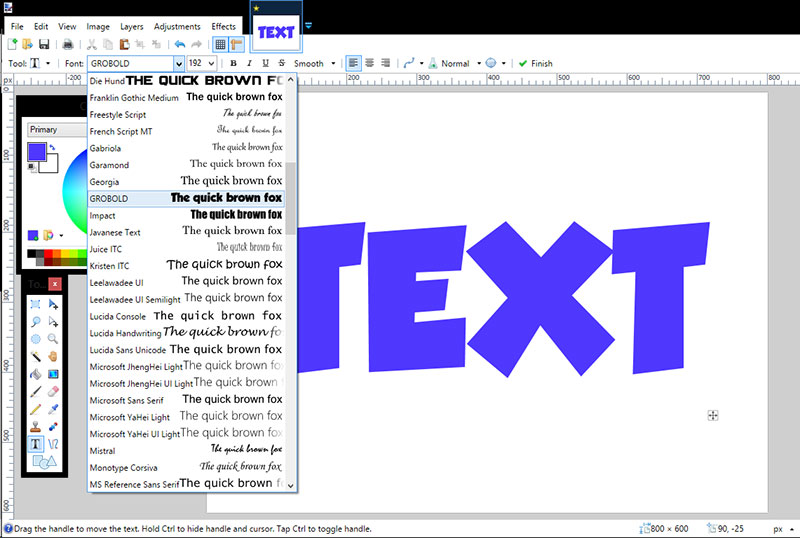

You can now close the Fonts folder and restart the programs you closed. There is no need to restart the computer for the changes to take effect.
You should know that this installation process works for all programs that use fonts since you have placed them directly into an operating system folder. Not only will you see the new glyphs in Paint.NET, but also you can use them in other applications.
Try opening Paint.NET or any other program to check if your fonts were installed correctly. These should be in the drop-down window with the other fonts, arranged alphabetically.
In design programs, you must first place a text box to be able to write on the drawings.
It’s time to customize your programs
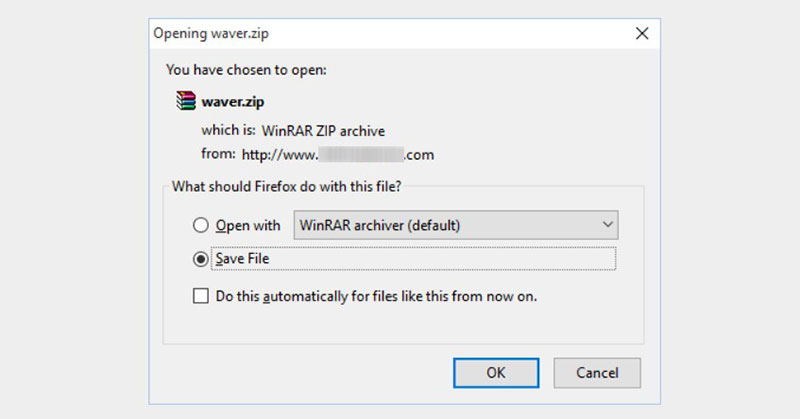

Now that you know how to add fonts to Paint.NET, or to any program in general, you can start downloading all the fonts you want to customize your experience.
A final recommendation is that, although you can install many fonts at the same time, it is best to do it one by one to verify that they work. Some internet files may be corrupt, so they will not be installed correctly even when following all the steps. You may even run into compatibility issues.
How to uninstall font files
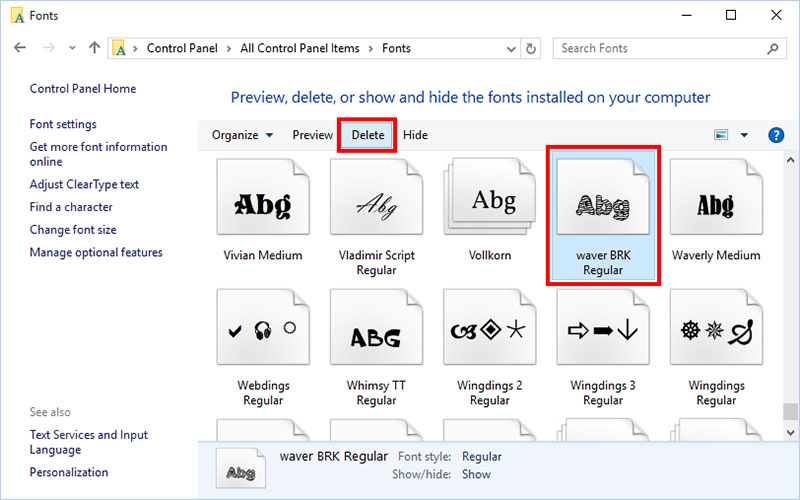

Uninstalling fonts is as easy as installing them. Again, you must find the fonts folder from the Control Panel. Once there, find the file you want to delete, and simply click “Delete” within the Fonts panel.
The system will ask you if you are sure to delete it, confirm your request, and voila, the font will have been deleted. Remember that it is best to perform this process with all programs closed to avoid errors.
If you enjoyed reading this article on how to add fonts to Paint.NET, you should read these as well:


