Advertisement
When you buy the Adobe Creative Cloud, it includes a large number of programs that allow you, as the name implies, to become a powerful creative mind. Among them is Adobe Premiere, one of the most used software in professional video editing. As a professional tool that it is, Premiere offers unique customization options, being able to adapt the program to the needs of each person. Of course, among these options is to add new sources. If you don’t know how to do it, today we show you how to add fonts to Premiere.
Premiere has been on the market since 1991. This was born being exclusively for Mac systems, but its success made it expand to Windows. Together with other Adobe tools, such as Photoshop and After Effects, you can create unique, cinema-quality video.
From special effects to simple texts, Premiere can do it all. However, to make these tasks even easier, the software has a wide gallery of resources with which you can modify the videos.
Every movie must have striking text, but the format you want may not be included in the Adobe Premiere fonts. If this is your case, you should know that the solution is on the internet, and that is that currently there are huge fonts’ repositories, so you only have to download them and add them to the program. Knowing how to add fonts is not difficult, so with a few steps, you can start expanding your collection.
The power of the ideal font
Table of Contents
Learning how to add fonts to Premiere is important because the letters help express a project, but only if they are appropriate. Correct typography helps the viewer be captivated by what they see.
/*div{padding-right:0!important;padding-bottom:10px}.ml-form-formContent.horozintalForm .ml-button-horizontal{width:100%!important}.ml-form-formContent.horozintalForm .ml-button-horizontal.labelsOn{padding-top:0!important}}
/*]]>*/
/**/
![]()
![]()
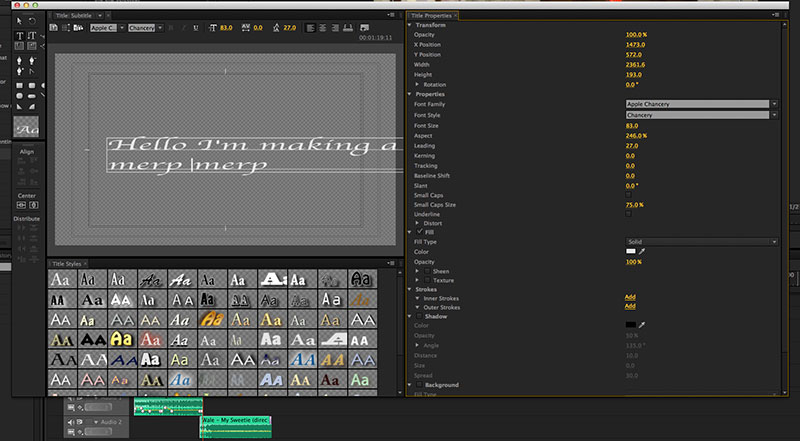
As in any project, the letters must be legible so that everyone can read them, but this does not mean that they must abandon all decorative visual aspects. You have to know how to limit them so that they do not become reading challenges. Size is also essential in this regard.
Adobe Premiere fonts can be used in many ways. You can create texts that give more credibility to your landscapes, filling in signs or store names. You can also use them to create eye-catching subtitles like those in old silent movies. If you want to give information to the viewer, there is nothing better than clear writing.
How to add fonts to Premiere – Preparations
Regardless of the operating system you use, there are a couple of steps you should always take before proceeding with the installation.
Download fonts for Adobe
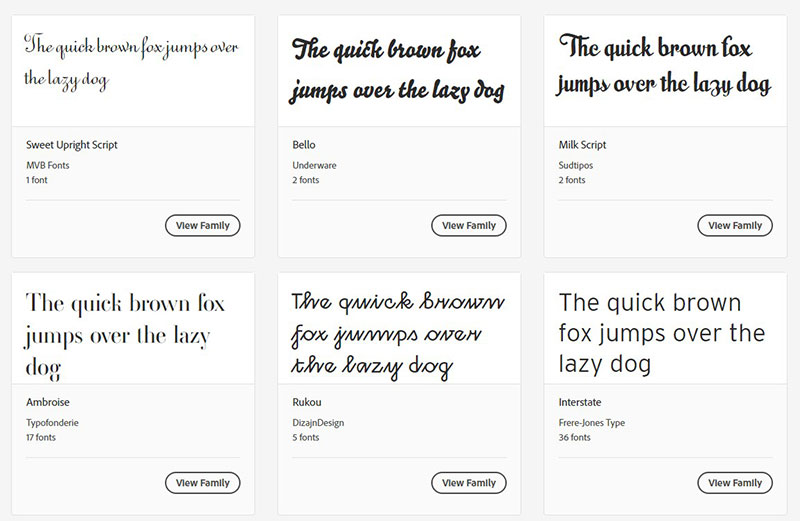
The first step, of course, is to get the font you want to install. Our recommendation is to first search the Adobe Fonts gallery. It offers thousands of free options, all high quality and company-approved. Some Adobe programs even allow immediate installation.
If you choose to search for a font from another page on the internet, try to use a reliable site to avoid viruses.
You will find free and premium options, whose difference is mostly found in the number of characters they include. Once you get the one you want, you simply have to download it.
Unzip the file
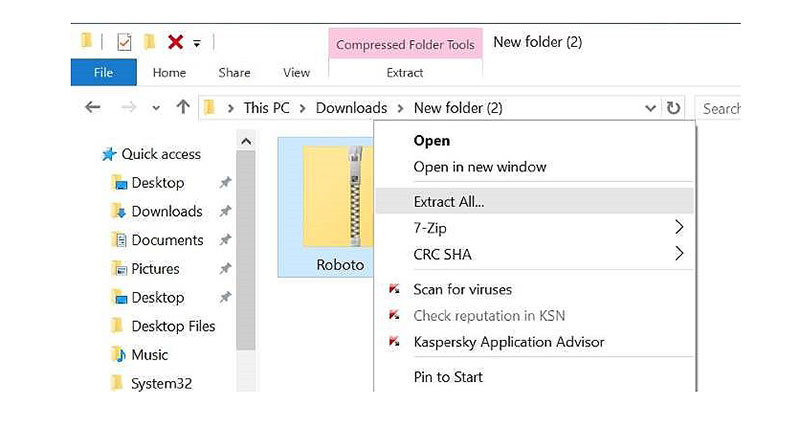
The downloaded files will generally come compressed to include multiple files. Before you can install them, you must unzip the correct file, which can be identified by having a TFF, OTF, WOFF, etc. extension.
Some packages will include all styles in separate files (such as bold, italics, etc.). Extract all these files and leave them in a place you remember.
In Windows, you likely require some program to extract ZIP or RAR files. Mac has the advantage of including its unzipping program, so you only have to double-click on the downloaded file.
How to add fonts to Premiere in Windows
With the help of the assistant
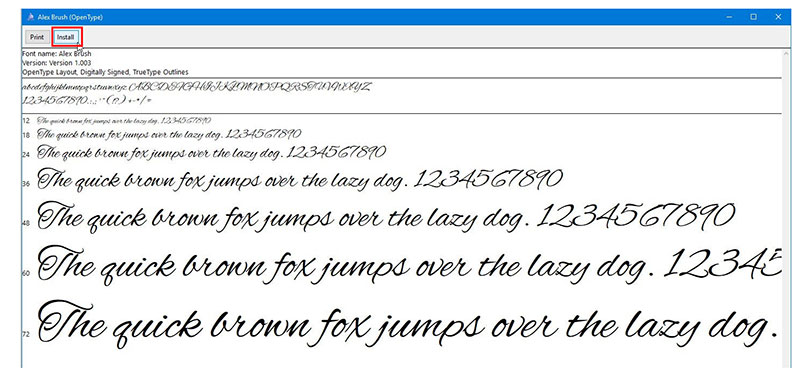
The first way to know how to install fonts to Adobe Premiere only works with TFF file type. Windows will recognize these files, so when you double-click them, an installation wizard should appear.
Advertisement
In this large window, you will see a preview with different font sizes. At the top, you will find a button that says “Install.” Just press it to add it to your operating system.
From the “Fonts” folder
For other fonts, like OpenType, you will have to put the files directly in the Windows font directory.
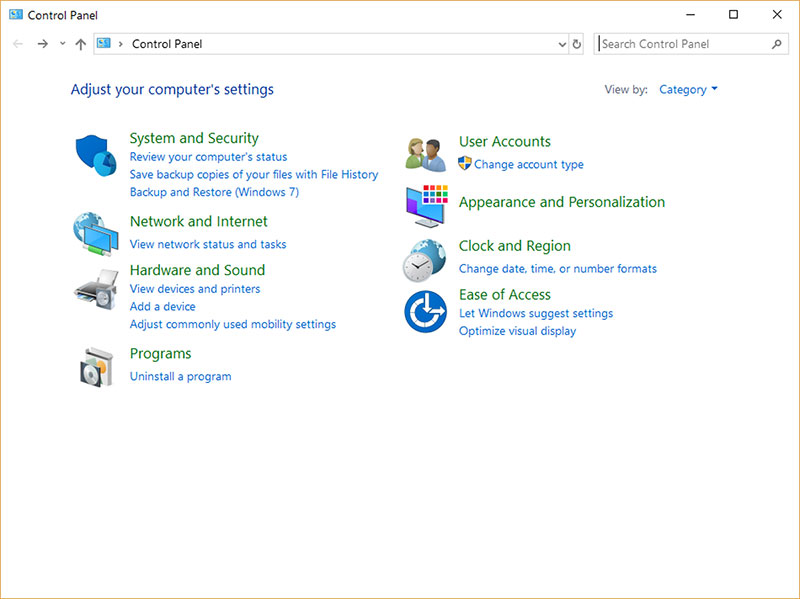
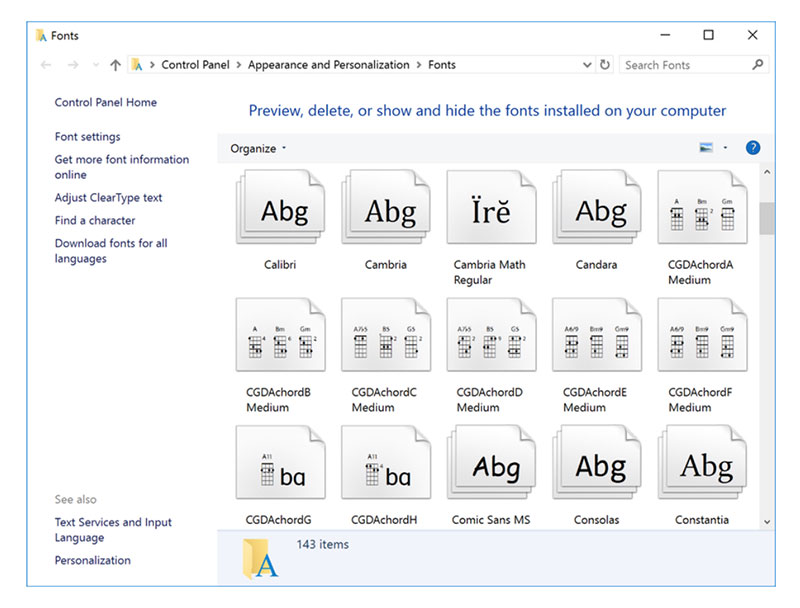
There are two ways to find this folder to import fonts. The first is from the Control Panel. In this, you will see a submenu called “Appearance and Personalization”, and in it, there will be an option called “Fonts”. When you open it, you will see all the fonts installed on the computer.
The other way is to use Windows Explorer to get to the specific path. In “My Computer”, select disk C (or the one where your Windows installation is), then go to the “Windows” folder and finally to “Fonts”.
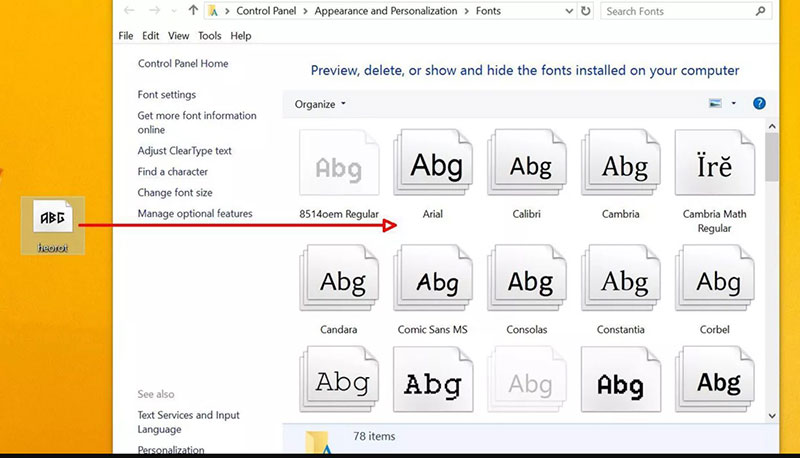
Regardless of the method you have followed, the next thing to do is drag (or copy and paste) the fonts you downloaded into the folder. This should be enough to install them, but you can check this by opening any program that allows you to create texts.
How to add fonts to Premiere in Mac
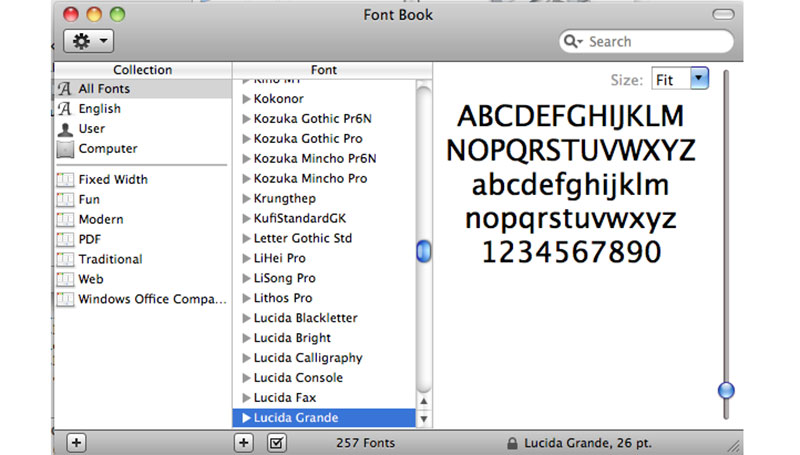
The easiest way to install a font on Mac is with the use of the Font Book utility. This application will open by default by double-clicking on a compatible font file.
Font Book will show you a screen with all the fonts installed on the computer, as well as a preview of the new font you want to install. Just press the “Install All” button.
Some programs require to be restarted when you install a new font for the changes to take effect. If you don’t see the fonts you installed in Premiere and had the program open during installation, restart it so that the fonts appear in the editor.
Mac operating systems also support many types of fonts, but if you want to avoid problems, it is best to choose to download TFF and OTF fonts.
How to add new fonts using Adobe Fonts
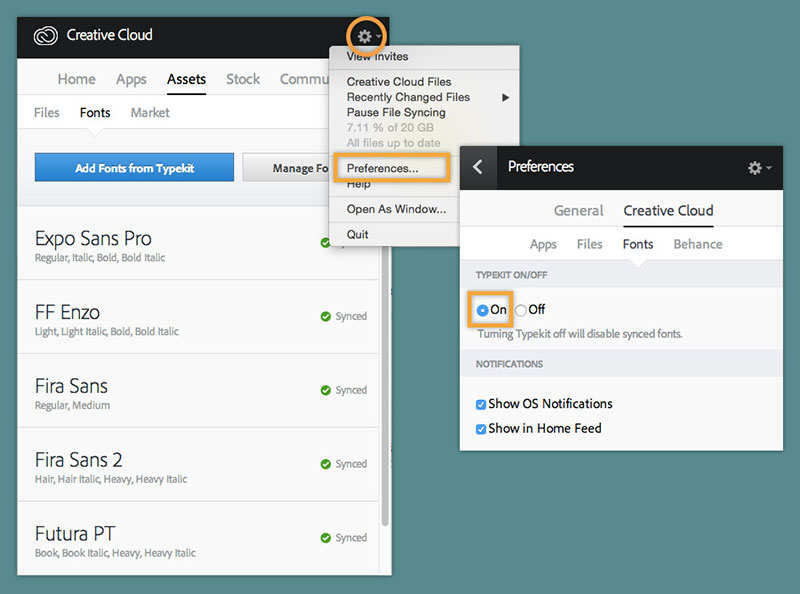
Previously known as Typekit, Adobe Fonts is a huge gallery of completely free fonts for all Creative Cloud users. You can check all the fonts in this library from Adobe applications that are from 2019 or higher.
Before using a font, you must enable the option to manage them from Creative Cloud. For this, you must open the Assets tab and then the Fonts option.
Once enabled, you can use the “Browse Fonts” button. This will open the Adobe website, where you can decide what fonts you want to include in the application.
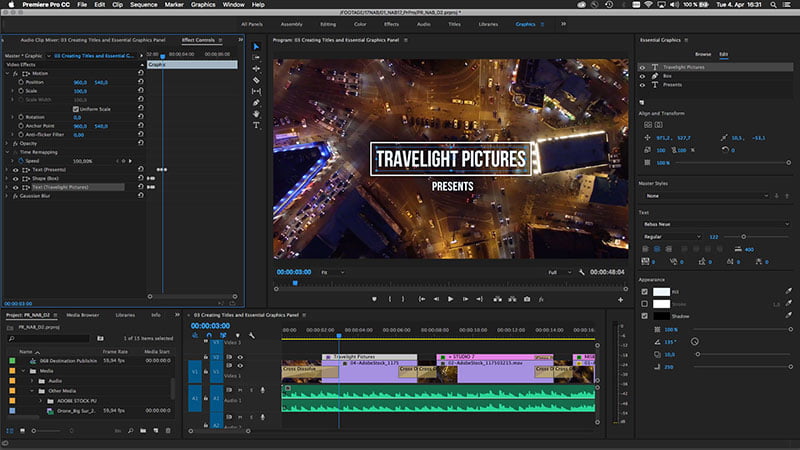
To be able to use them in Premiere, you will have to enable them from the “Graphics” tab. You will see a button that allows you to add fonts from Adobe Font.
Ending thoughts on how to add fonts to Premiere
- Always close all the programs you are running before installing a font. This will avoid possible compatibility problems, in addition to the fact that some programs require a mandatory restart to display new fonts.
- In case a font does not appear after restarting the software, try restarting the computer.
- As previously mentioned, the download of TFF and OTF type fonts is recommended since they are the most common, so they should not cause compatibility problems in any operating system.
- In case you have opted for manual installation by copying and pasting the file into the font folder, you can delete the original version you downloaded on completion so as not to have a duplicate.
If you enjoyed reading this article on how to add fonts to Premiere, you should read these as well: