In this article, we’ll explore what wireframing is, and why it’s worth doing it with Figma — the most-used UI design tool on the market today.
We’ll take a deep dive into Figma, and learn how to design user interfaces with it — digging into wireframing as we go.
BTW: if you take a look at the 2020 Design Tools Survey, Figma won in most categories: User Flows, UI Design, Prototyping, Handoff, Design Systems, Versioning, and even “most excited to try in 2021”.
Wireframing
Table of Contents
Wireframes are diagrams that depict the structure of a design, and they can be either low-fidelity (for user research) or mid-fidelity (for UX research). We’ll be focusing on the latter (UX research), and visuals will be of no concern to us here, because all we want to do at this stage is figure out the content and layout (otherwise known as the “information architecture”).
What are we wireframing?
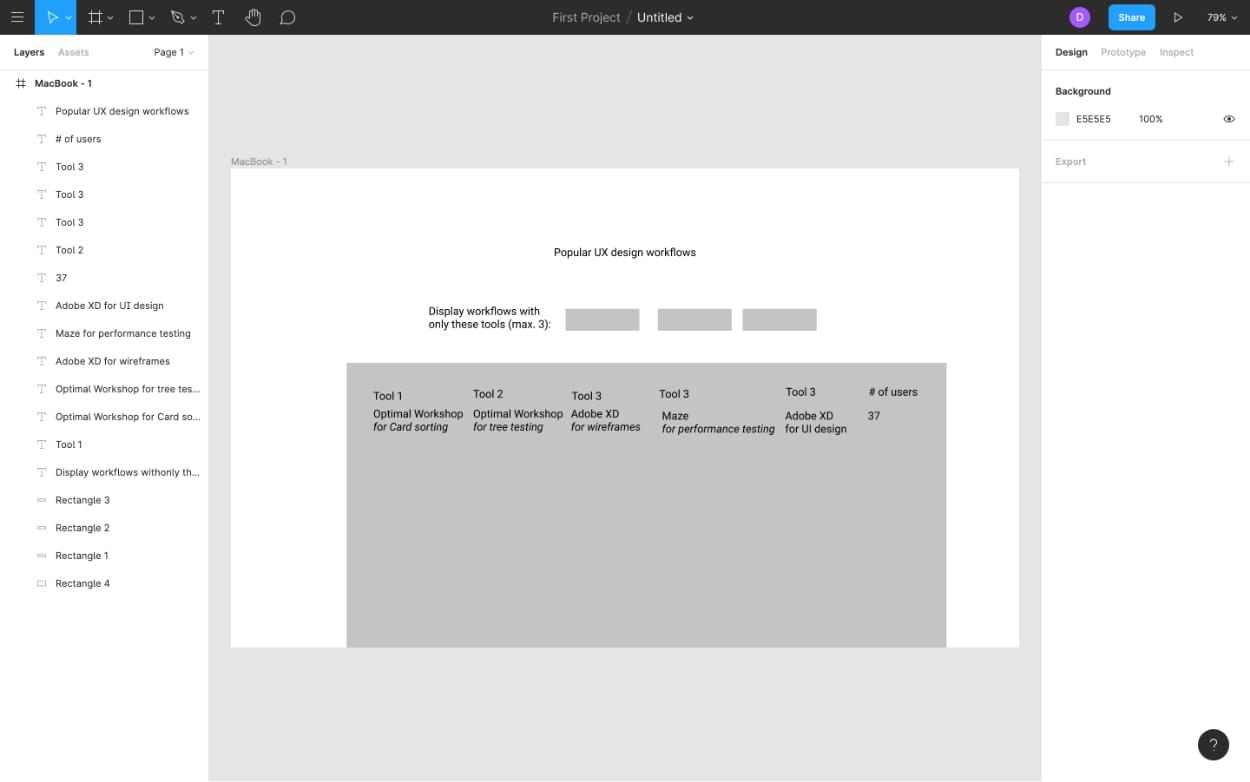
First, a little background on the UI we’ll be building. It will be a table-like structure showing various UX design tools and which step of the UX design workflow each tool is used in. The data will be user-submitted, so the aim is to see which UX design workflow is best, rather the overdone “which UI design tool is best?”
Wireframing will help me to figure out how best to structure this interface without wasting time on figuring out the little visual details. It won’t look amazing, but that’s fine; it just needs to look nice enough that users can offer me some feedback.
Yes, it’s a real UI. At the moment I’m calling it “Toolflows”.
Let’s begin!
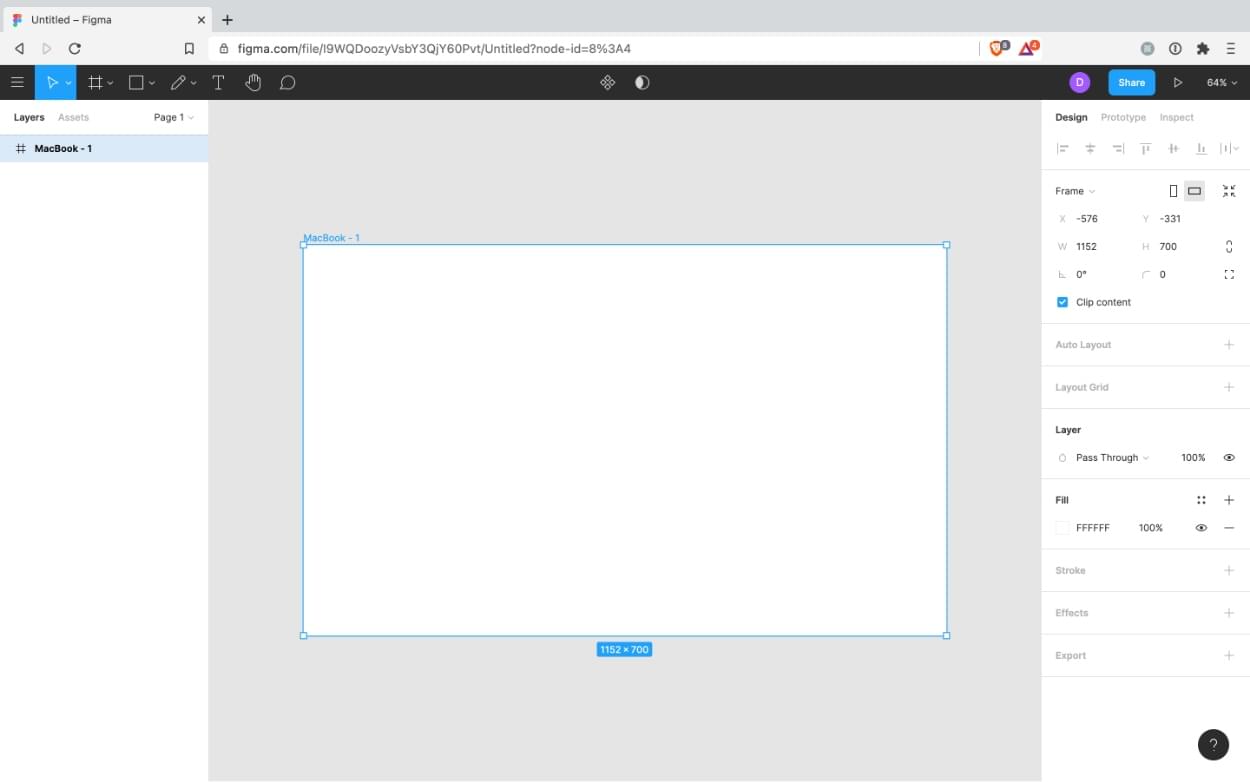
Step 1: Set Up the Artboard
The majority of my website’s users are desktop users, so it makes sense to wireframe my design on a desktop artboard. Press A on your keyboard, then click Design > Desktop > MacBook from the right sidebar of Figma.
Step 2: Gather Functional Requirements
Assuming that you or somebody else did some user research at some stage, we’ll need to refer to that to create our wireframe. While conducting user research (specifically, user interviews, focus groups, and user testing with low-fidelity wireframes), we would have been made aware of any functional requirements.
Ours are:
- filter by tool
- number of workflow users
Let’s start wireframing!
Step 3: Create Text and Shapes
First of all, there are Figma wireframe kits available, but I’m not a fan of them exactly. They make me feel constrained to work only with what’s available in the kit, so it hinders creativity.
Instead, we’ll wireframe using text and shapes.
As we learned before with the artboard, the easiest way to create anything in Figma is to abuse the keyboard shortcuts:
- T: Text
- O: Ellipse
- R: Rectangle
- ⇧⌘K: Image
- ⇧L: Arrow
- L: Line
After that, it’s simply a case of clicking on the artboard roughly where you’d like the object to appear, and then you can use your mouse and arrow keys to adjust the size and alignment.
Useful shortcuts:
- ⌘-/+ to Zoom.
- ⌘D to Duplicate selected objects.
- ⌘G to Group selected objects (⌘rc to select within).
- Hold ⌘ when mouse-resizing to rotate objects.
- Hold ⇧ when mouse-resizing to maintain aspect ratio.
- Use arrow keys to move objects by 1px (Hold ⇧ for 10px).
- Arrow keys + ⌘ to resize by 1px (Hold ⌘⇧ for 10px).
Next, we’ll move on to styling.
Continue reading An Introduction to Wireframing with Figma on SitePoint.