With many advances to Photoshop over the last several years, removing the background from an image has never been easier or quicker. Knowing the best method to use for the type of image you’re working with is key to getting the best results with the best technique available.
Here are five ways to remove backgrounds from your photos using Photoshop CC, along with when to use each technique to achieve the best results.
All images used in this article were found on Unsplash.
1. Photoshop Quick Action
Best to use when: you’re doing it for you, you need it fast, and you’re not necessarily looking for perfection. Best to use with high contrast between subject and background, and when the subject has fairly simplistic lines.
By far the quickest method discussed here is the built-in Photoshop Quick Action for removing backgrounds in Photoshop. This is new in Photoshop 2021 (in the Creative Cloud subscription) and provides a very fast way to remove backgrounds.
With speed, however, comes less accuracy. Using Photoshop Quick Action will do most of the work for you, but the results may fall short of your expectations, depending on your image. If that’s the case, you can use any of the methods described here to polish up the result.
Steps:
-
With your image open in Photoshop, right click your Background layer and click Duplicate Layer. In the dialog box that pops up, name your layer (whatever you’d like), and click OK. Click the eye icon to the left of the original layer to turn that layer off.
-
Make sure your Properties panel is open by going to Window > Properties. (If it was already checked, there’s no need to click it; if it isn’t checked, click it to open it up on the right-hand side by default.)
-
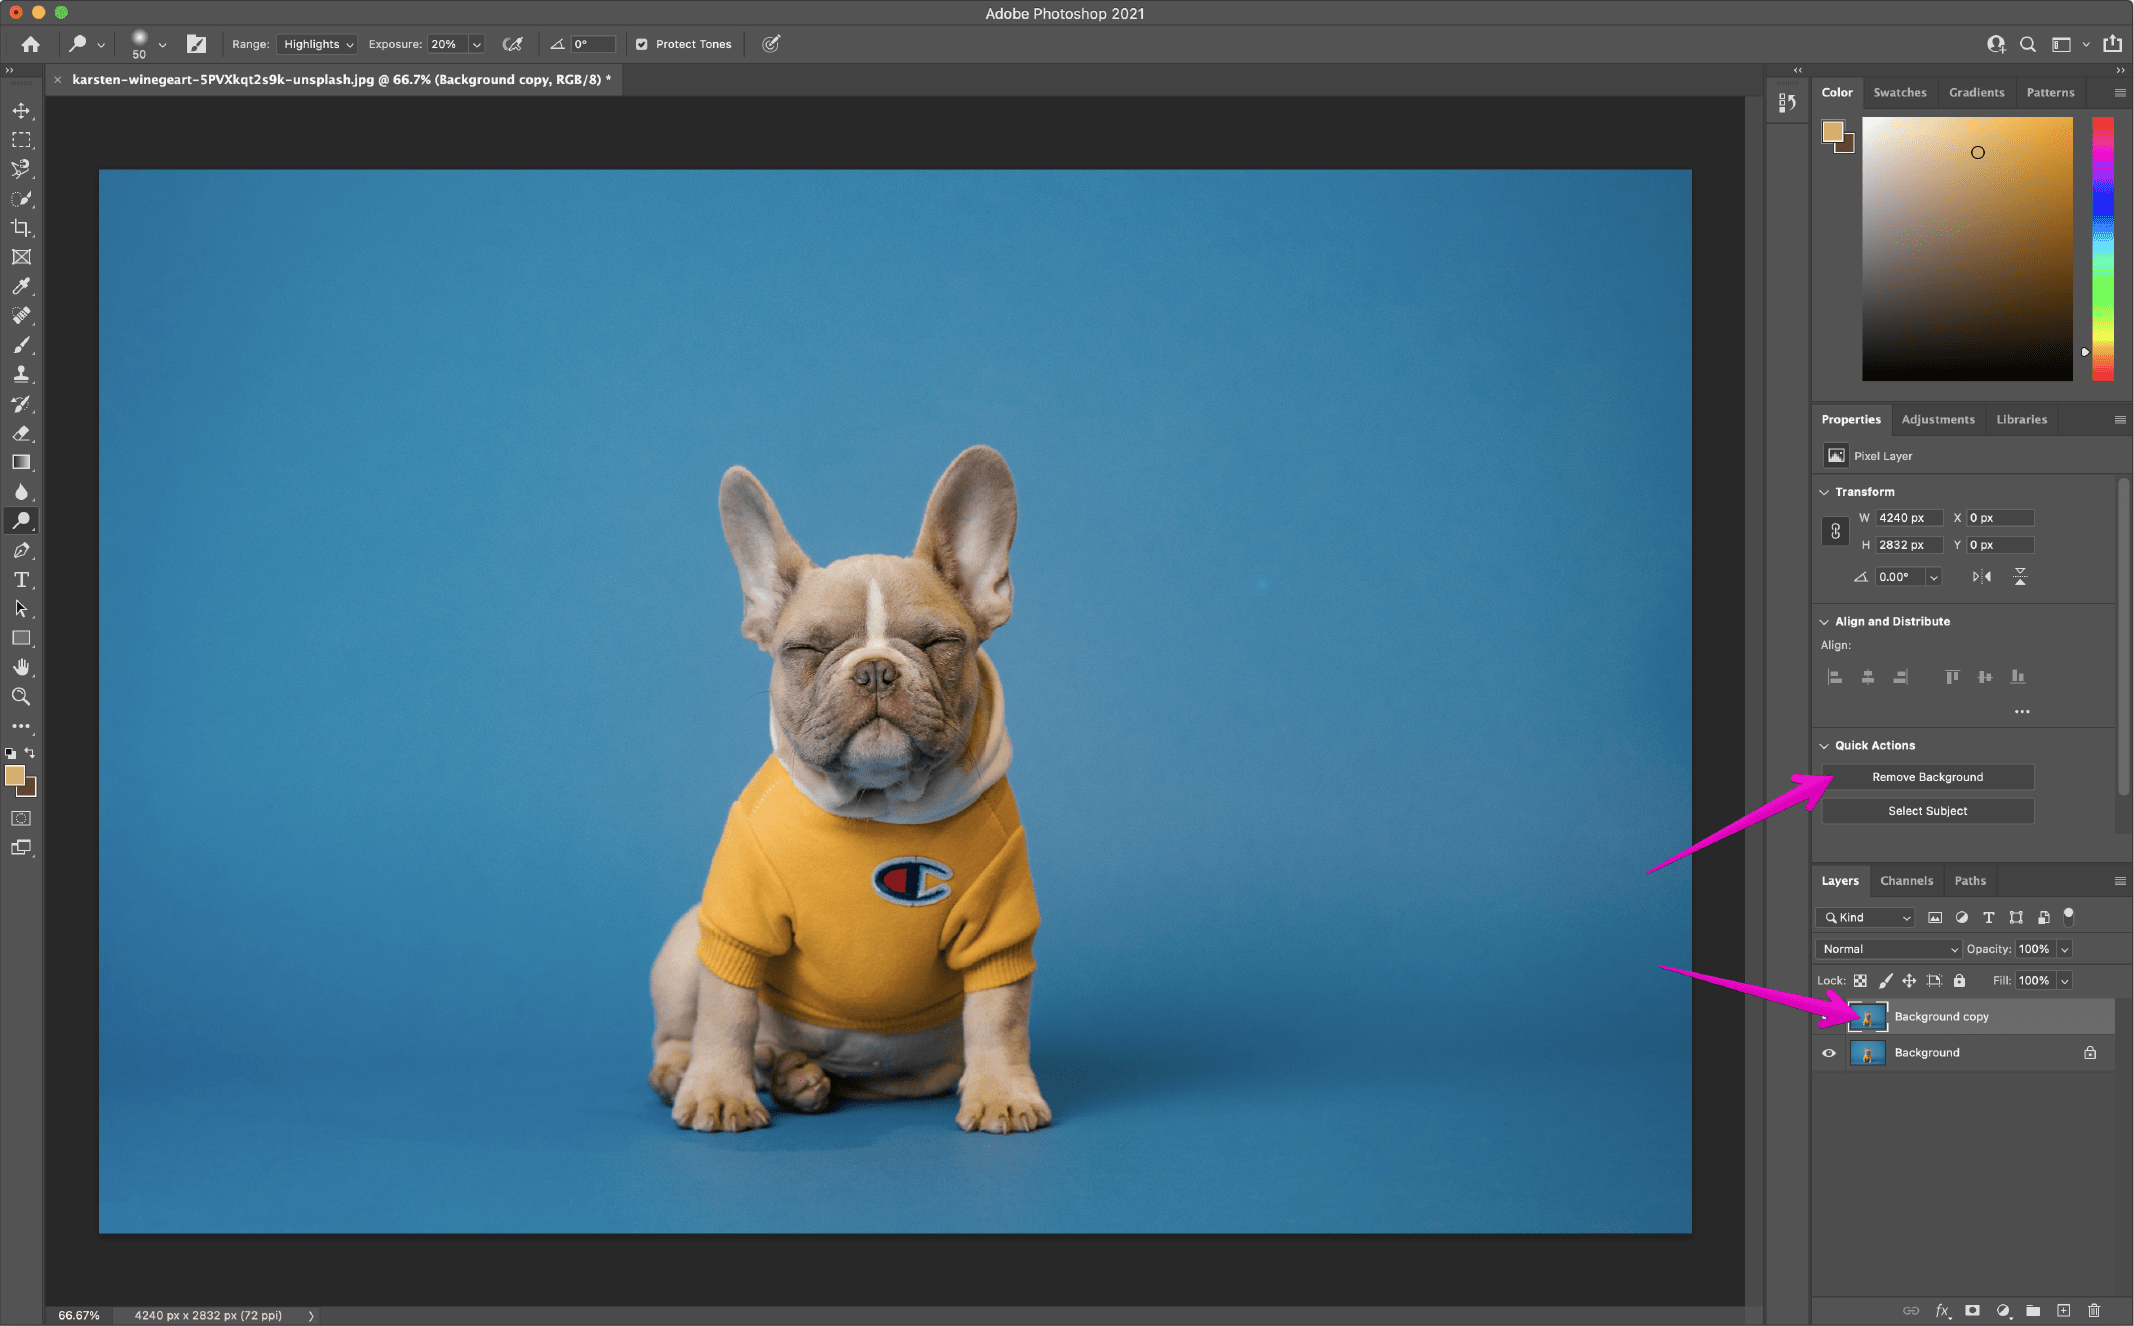
In your Layers panel, click your new layer. In the Properties panel (by default this should be above your Layers panel), click the Remove Background button under Quick Action.
-
The quick action has now removed the background, leaving your layer with a mask around the subject.
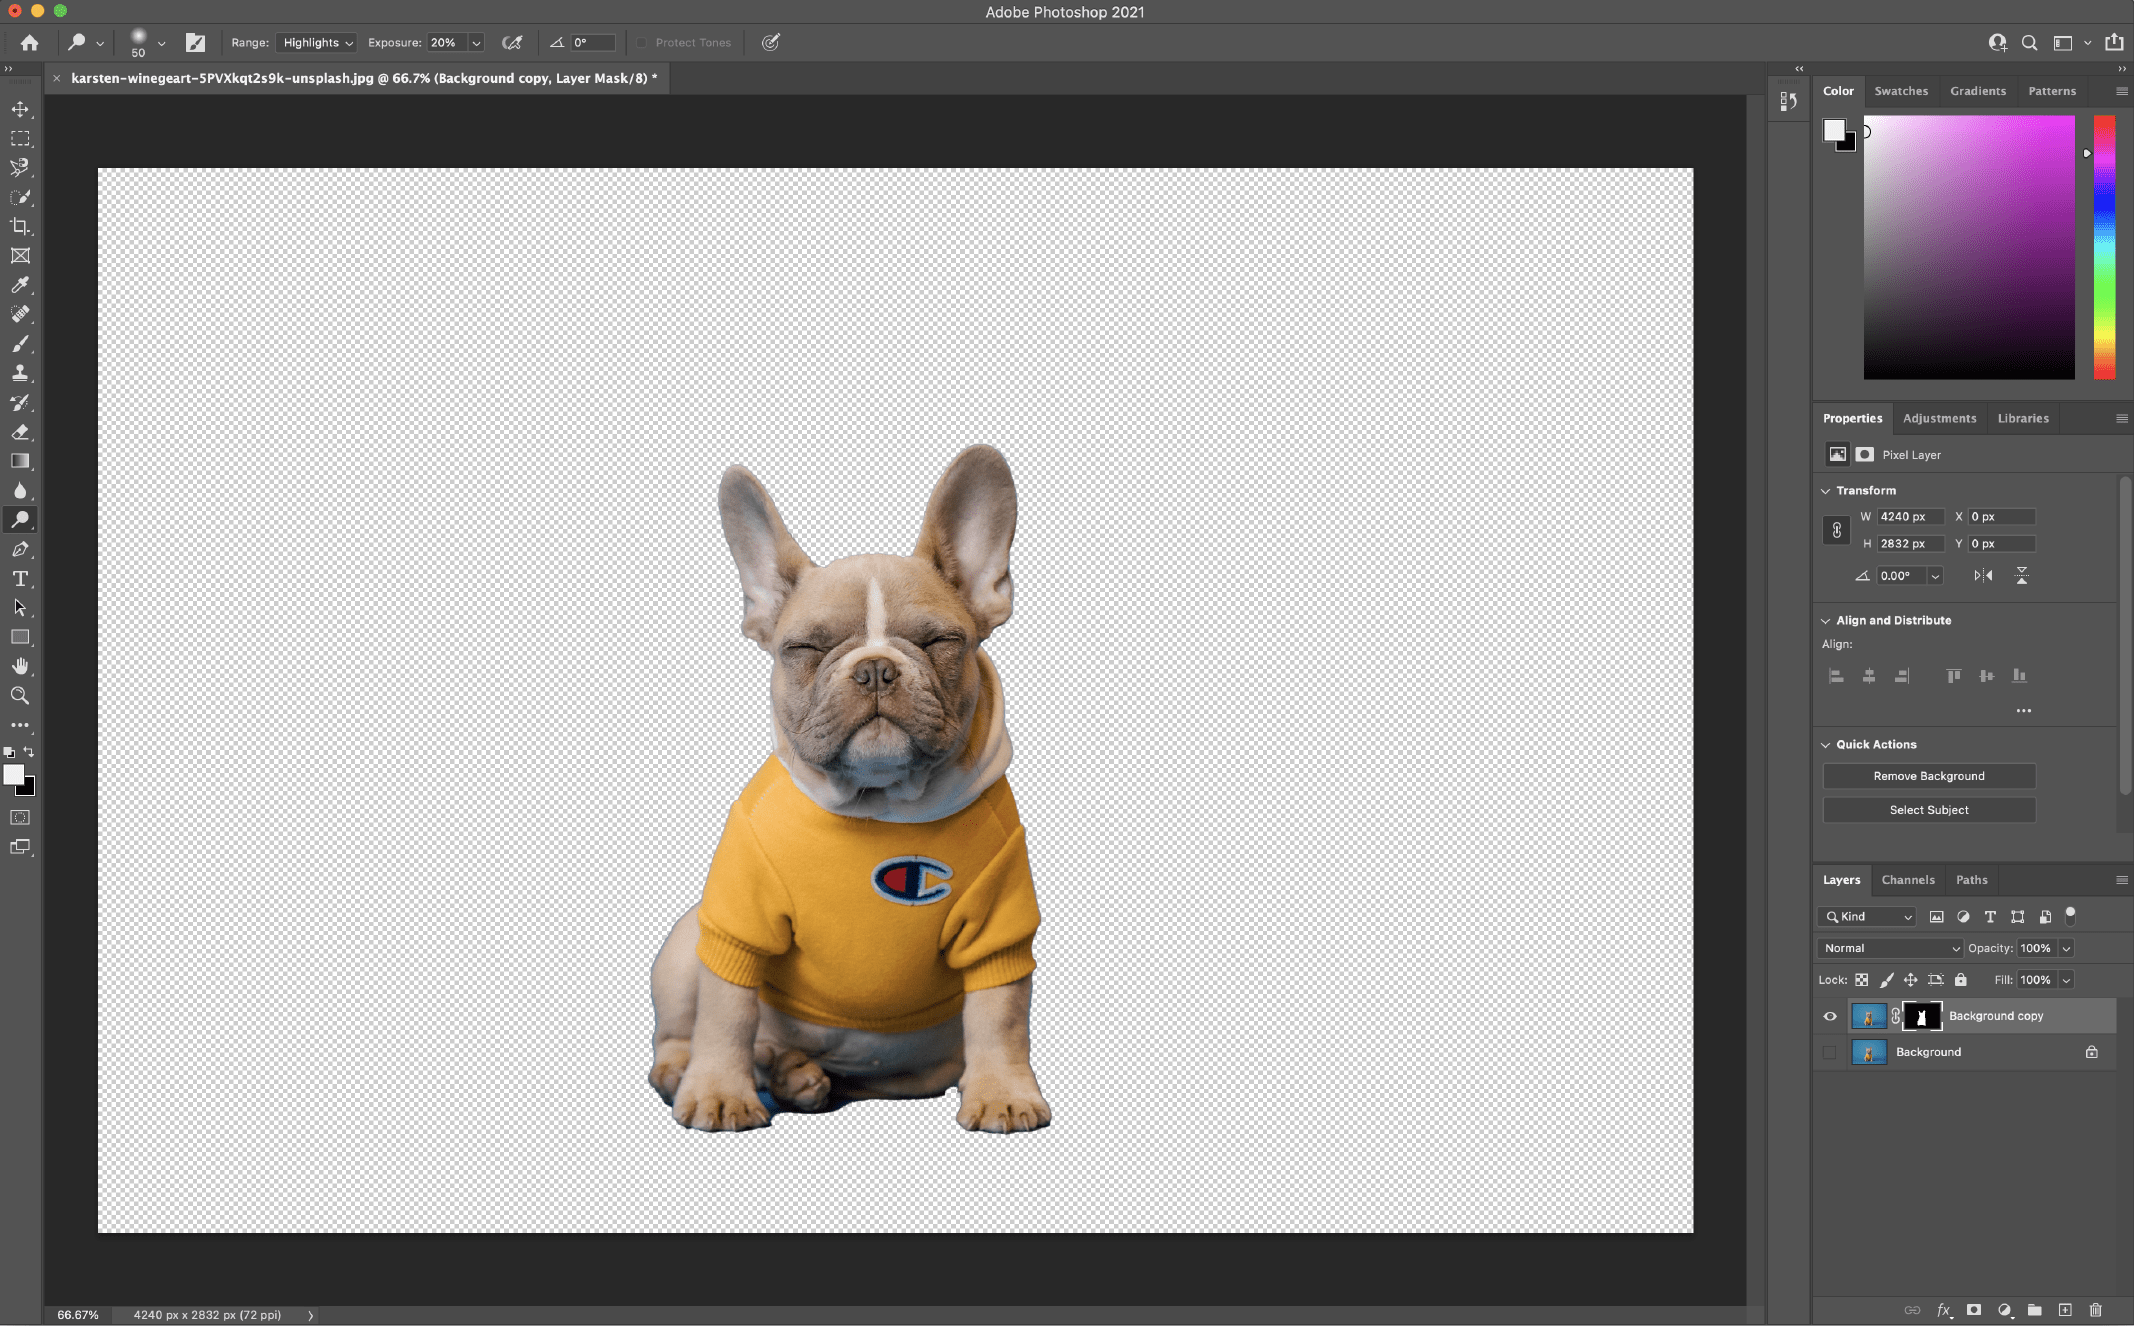
From here, you can make refinements by going into the mask and adjusting as needed (such as around the dog’s feet at the bottom left of the image). While outside the scope of this article, if you need help with working with masks, check out this Adobe tutorial.
Photo credit: Karsten Wingert on Unsplash
2. Background Eraser Tool
Best to use when: working with high contrast images, although it takes a fair bit of time and effort to produce a good outcome.
The Background Eraser tool is great if you need a bit more control over removing the background but still want Photoshop to do some of the heavy lifting for you. For more control, you’ll have to sacrifice some time to get the desired result. Depending on your photo, using the Background Eraser tool could be highly effective and a time saver and/or get you closer to your desired outcome with some time involved.
Steps:
-
With your image open in Photoshop, right click your Background layer and click Duplicate Layer. In the dialog box that pops up, name your layer (whatever you’d like), and click OK. Click the eye icon to the left of the original layer to turn that layer off.
-
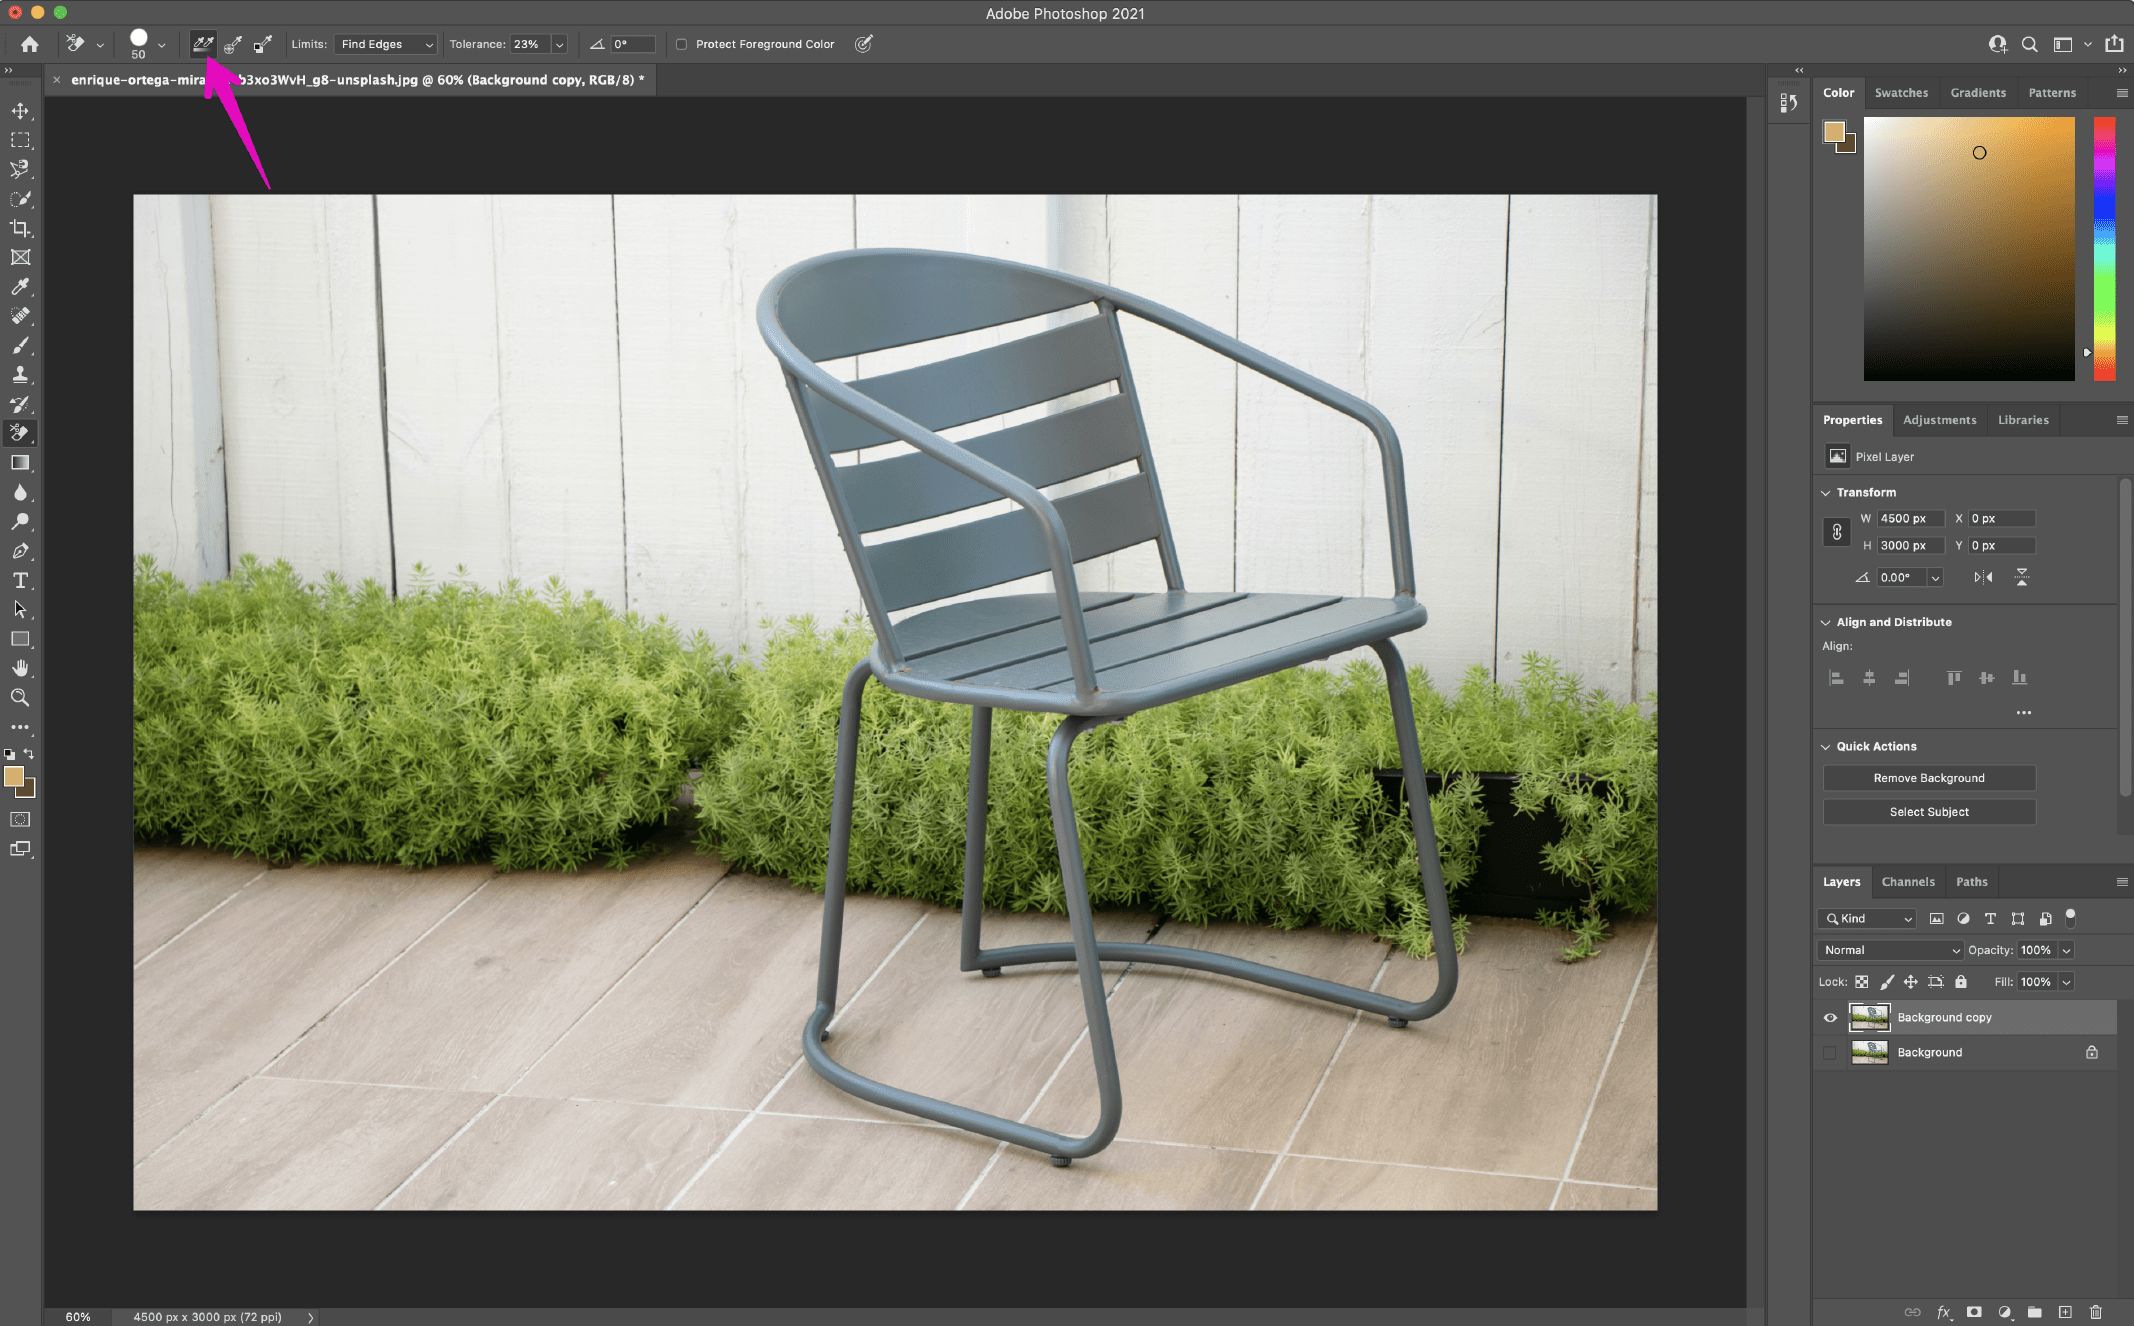
Select the Background Eraser tool from the toolbox on the left-hand side. This tool may be hidden below the Eraser tool. Click and hold the Eraser tool to reveal more options to and select the Background Eraser tool.
-
In the tool options bar at the top of the screen, click the brush icon to reveal the brush panel.
-
Change the hardness so that it’s near or at 100%.
-
The size can be whatever you deem appropriate for the image you’re working with. In this case, I’m starting with 50px.
-
You can adjust it as we go by using the square brackets ([ and ]) to decrease and increase the size of the brush.
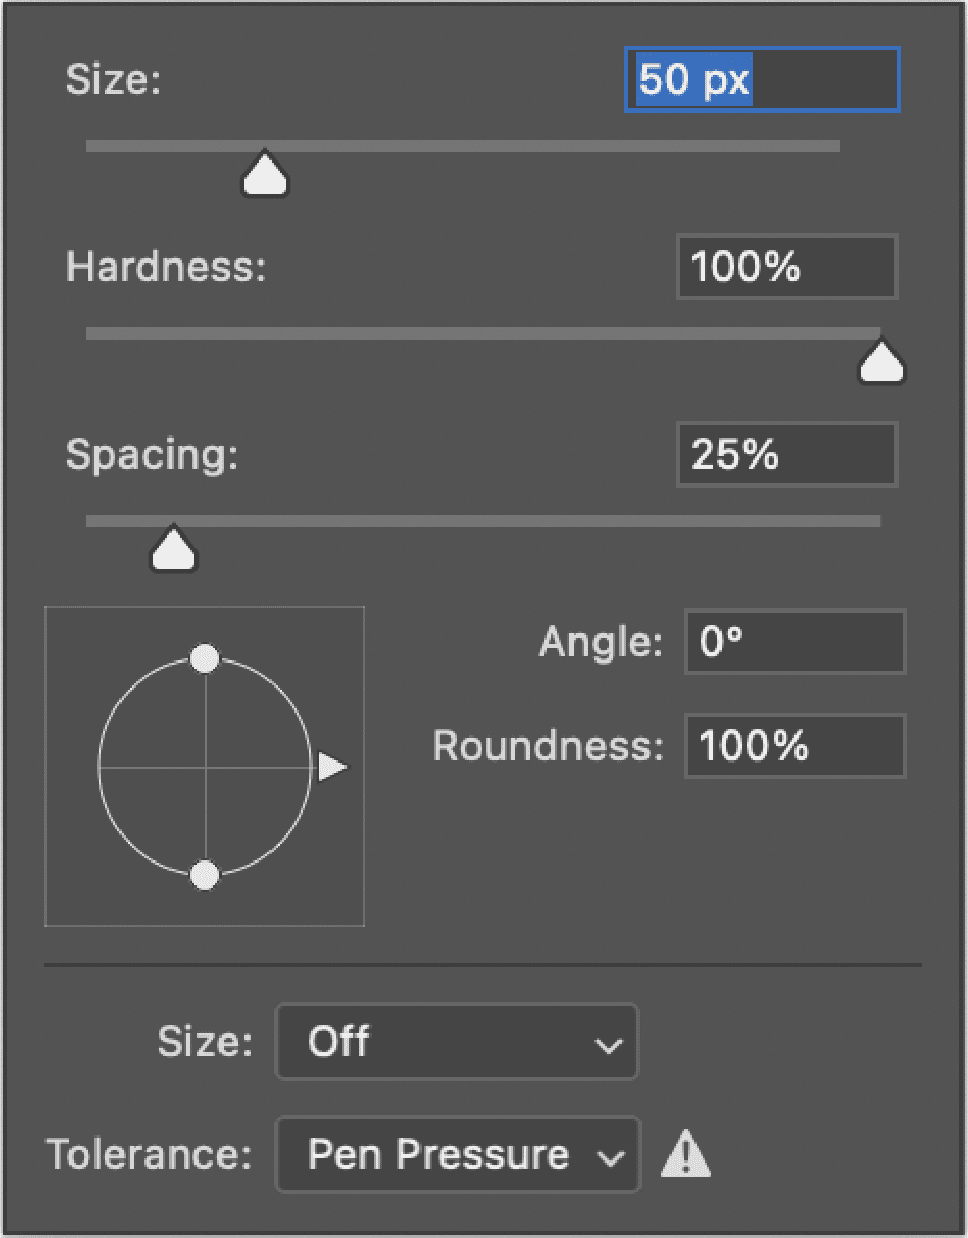
- Still in the tool options bar at the top, set the Sampling to be Continuous. It’s the first of three icons after the brush size option. Next, set the Limits to Find Edges and the Tolerance to be somewhere in the range of 20–25%.
-
Note that the lower the tolerance, the fewer color variations it will pick up. Conversely, the higher the tolerance, the more colors the tool will select.
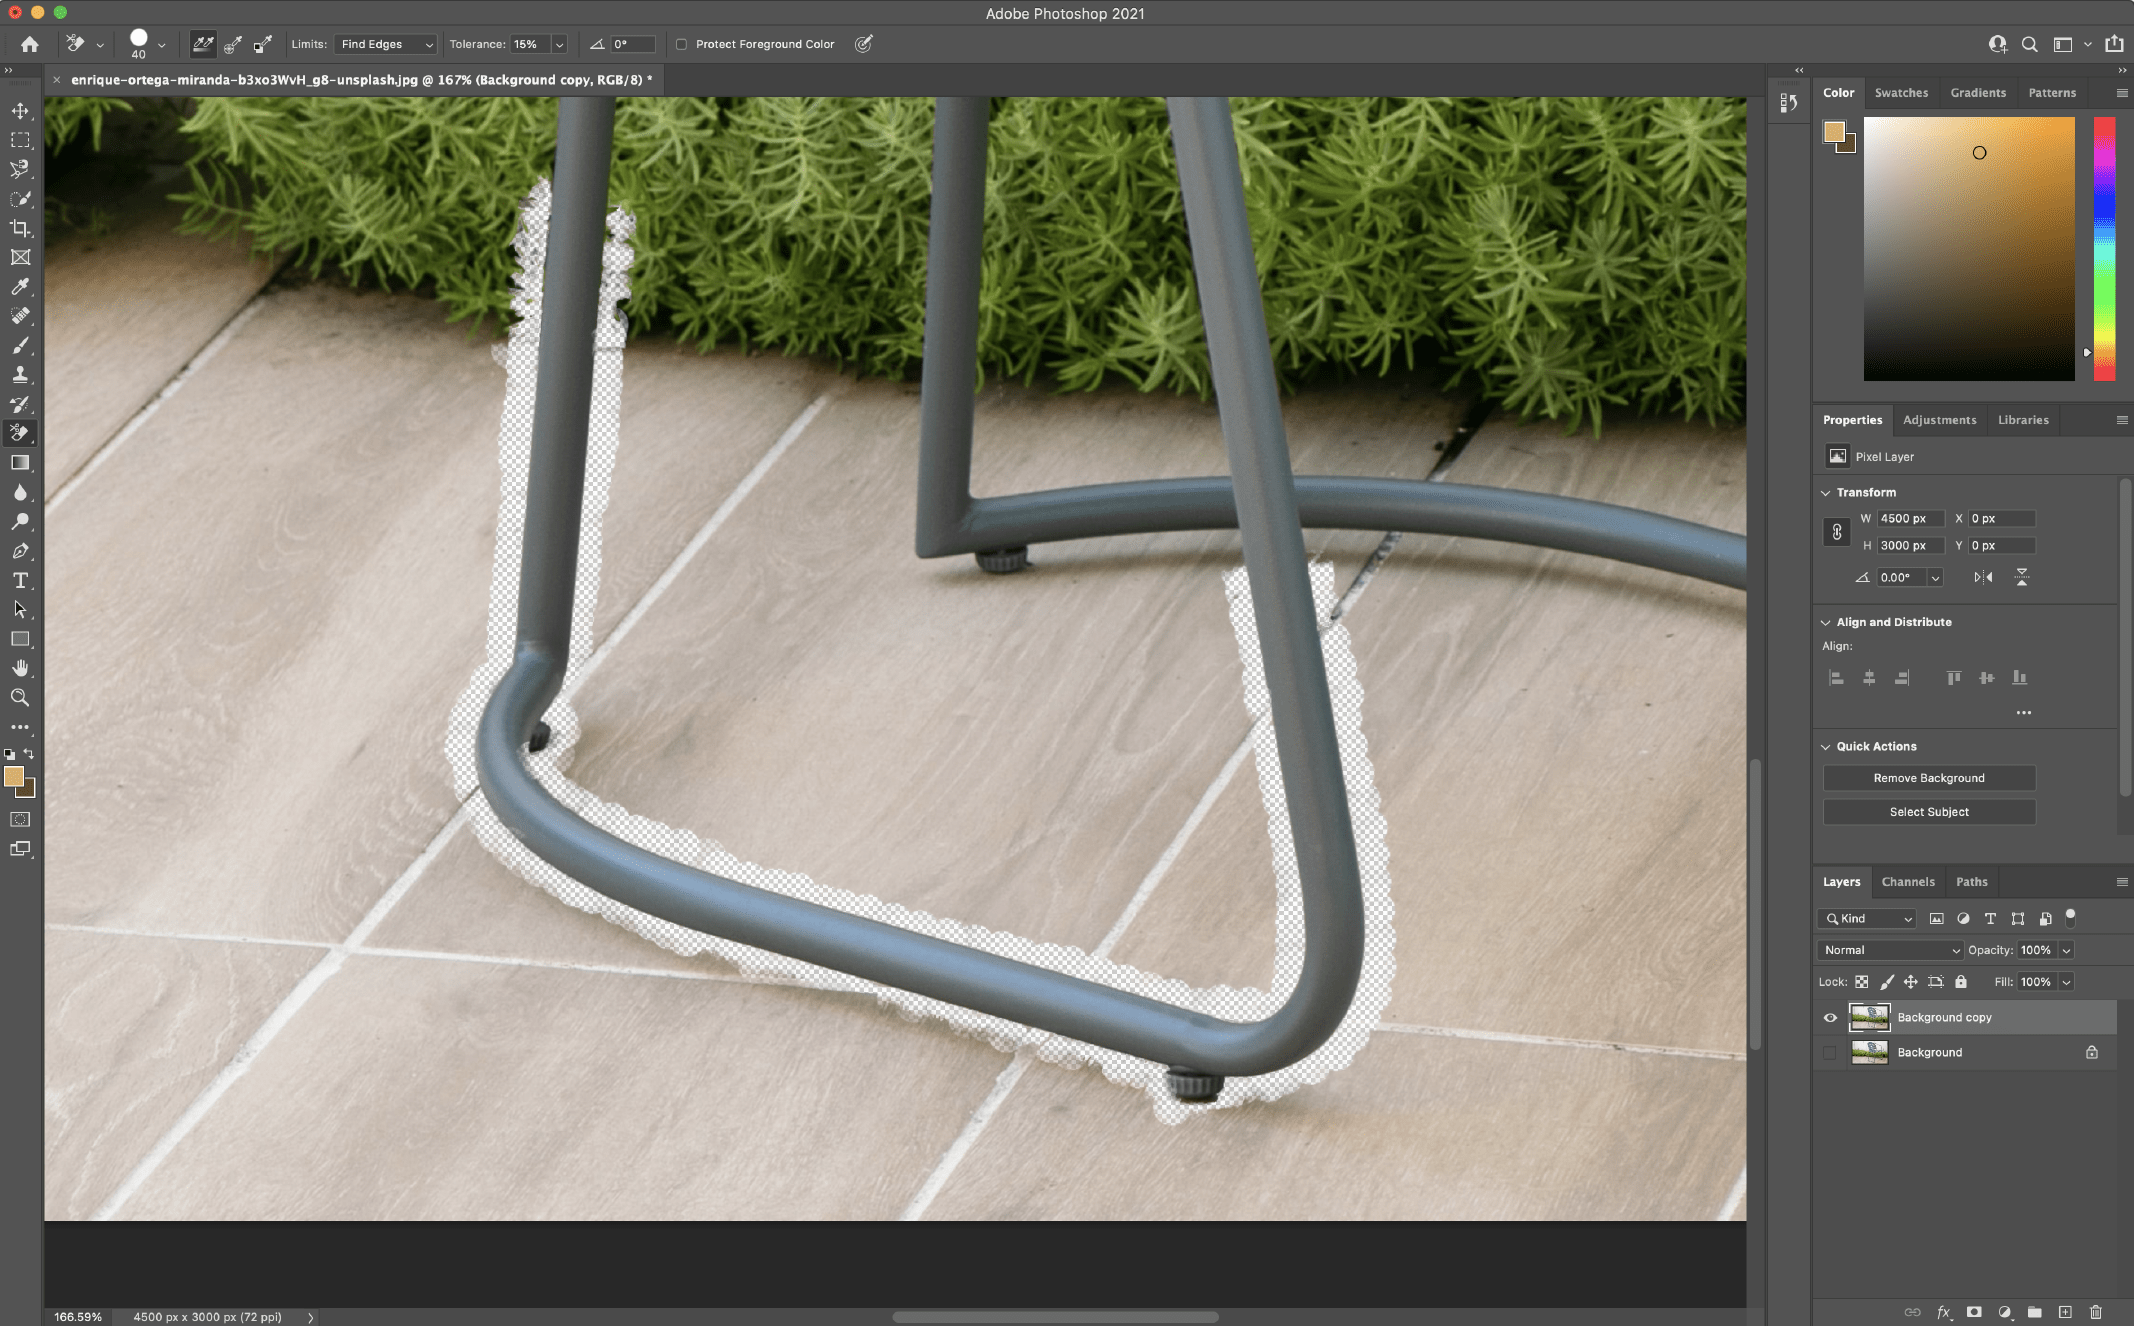
- Start erasing the background around your subject using the Background Eraser tool by clicking and holding while moving the brush. The goal here is to keep the crosshairs inside the tool from touching your subject. Zoom in on the image if you need to see more close details.
-
I recommend you do short strokes with the brush (remembering to let go of the mouse from time to time) so that you can always Undo if the brush goes too far.
-
In the more difficult areas, you may find that you need to adjust the size of your brush as you go. You can do this by revisiting the tools option bar at the top, or using [ and ] to adjust down and up the size of your brush.
-
If resizing the brush doesn’t work and it’s erasing your subject, undo your action, then go into the tool options bar at the top and adjust the Sampling to Once (the middle icon in the set of three), the Limits to Discontiguous, and Tolerance to around 10%. This is telling the brush to only use the color under the crosshairs in that moment and not resample as you go along.
This process can be quick or tedious depending on your image, but provides good results, as you’re in control of determining what is the subject and what isn’t. If this doesn’t complete the job, other methods mentioned here could help you get closer to your desired result.
For more detailed info on the Background Eraser tool, check out this Adobe tutorial.
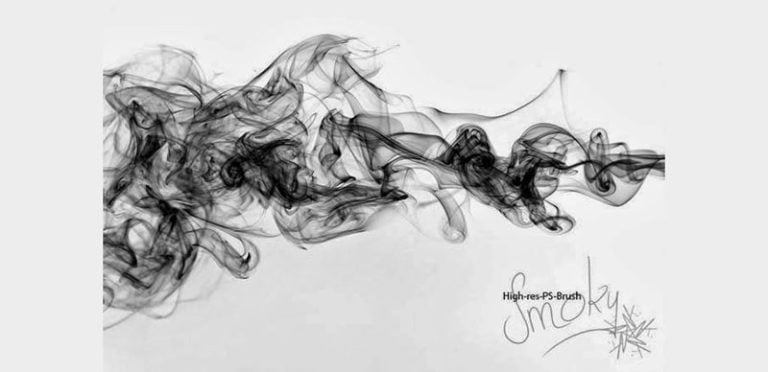
Photo credit: Enrique Ortega Miranda on Unsplash
Continue reading Five Ways to Remove Backgrounds in Photoshop in 2021 on SitePoint.