Django is the most-used Python framework for web development. Its built-in features and robust structure make it an excellent option when building web applications. But there are so many resources out there that it’s sometimes overwhelming to apply that knowledge to real-world projects. In this tutorial, we’re going to build a full-stack web application, using Django on the back end and Django Templates stylized with Bootstrap on the front end.
Requirements
Table of Contents
To get the most out of this tutorial, you’d ideally have a grasp of the following:
- the basics of Python
- object-oriented programming in Python
- the basics of the Django web framework
If you don’t have previous experience with Django, don’t be afraid of continuing with this tutorial. This will be a step-by-step process, and each step will be explained.
Before starting, I want to introduce you to your new best ally, the Django documentation. We’ll be referencing it throughout the article, so make sure to get acquainted with it.
A Django Photo-sharing App
All the source code of this tutorial is available on this GitHub repo.
The complexity of a project depends on all the features we want to include. The more features we want to offer to users, the more time we’ll need to spend building and integrating everything into a unique project.
Taking that into account, we’re going to see a quick distinction between what we’re going to build and what we’re not.
What we’re going to build
In this tutorial, we’ll build a full-stack (back-end and front-end development) photo-sharing app. Our app will include the following features:
- CRUD (Create, Read, Update, Delete) database functionality
- a user management system, so that users will be able to create an account, upload photos, see other people’s photos and edit or delete their own photos
- a simple web interface made with Bootstrap
Note: although this app seems quite similar to a social network, it isn’t one. An app like Instagram or Twitter has a lot of complexity that can’t be covered in a single article.
Tech stack
Let’s define the technologies we’re going to use. We’ll cover the installation process of each one when we need to use it.
On the back end, Django will be the core framework of the app. It allows us to define the URLs, define the logic, manage user authentication, and control all the database operations through the Django ORM (object-relational mapper).
Also, we’ll be using a couple of third-party packages to accelerate the development of some features.
Django-taggit provides us the ability to set up a simple tag system in few steps. Pillow is a Python package that provides Django image manipulation capabilities. Finally, Django-crispy-forms gives us a simple way to display Bootstrap forms.
On the front end, we’re going to use the Django template language, which consists of HTML files that display data dynamically.
We’ll also be using Bootstrap 5 (the latest version at the time of writing) for the design of the site.
Note: you can always check the dependencies used in this project in the requirements.txt file.
Create a Django project
Let’s start with Django!
First of all, make sure you have Python 3 installed. Most Linux and macOS systems have already Python installed, but if you use Windows you can check the Python 3 installation guide.
Note: we’ll be using Unix commands (macOS & Linux) along the tutorial. If you can’t execute them for any reason you can use a graphical file manager.
In some linux distributions, the python command refers to Python 2. In others, python doesn’t exist at all.
Let’s see what Python command you need to use to follow along. Open your terminal (on Unix) or command line window (on Windows) and type python --version:
python --version # My result Python 3.9.5 If you’ve got a Python version above 3.6, you’re ready to go. If you don’t have the right version of Python, you might get a message like one of these:
Command 'python' not found Python 2.7.18 The Python command you need to run to follow along with this tutorial will be python3:
python3 --version Python 3.9.5 Virtual environments
A virtual environment is an isolated Python environment, which includes all the files you need to run a Python program.
Virtual environments are a crucial part of any Python (and Django) project, because they let us manage and share dependencies (external packages the project depends on) with other people.
To create a virtual environment natively, we’ll use the built-in module venv, available from Python 3.6 or greater.
The following command will create a virtual environment with the name .venv (you can choose another name if you prefer):
python -m venv .venv If you’re using Ubuntu Linux, or any other Debian-based distribution, it’s possible you’ll get the following message:
The virtual environment was not created successfully because pip is not available ... To solve this, you can run the following command:
sudo apt-get install python3-venv If the command above doesn’t work, you can use virtualenv, which is another library to work with virtual environments:
virtualenv .venv After running this command, a folder named .venv (or the name you’ve chosen) will appear.
All of the packages we install will be placed inside that directory.
To activate a virtual environment, you’ll need to run a specific command depending on your OS. You can refer to the table below (extracted from the Python docs).
| Platform | Shell | Command to activate virtual environment |
|---|---|---|
| POSIX | bash/zsh | $ source .venv/bin/activate |
| fish | $ source .venv/bin/activate.fish | |
| csh/tcsh | $ source .venv/bin/activate.csh | |
| PowerShell Core | $ .venv/bin/Activate.ps1 | |
| Windows | cmd.exe | C:> .venvScriptsactivate.bat |
| PowerShell | PS C:> .venvScriptsActivate.ps1 |
Since I’m using a bash shell on a POSIX operative system, I’ll use this:
source .venv/bin/activate Note how a .venv caption is added to my shell once I’ve activated the virtualenv.

Installing Django
Django is an external package, so we’ll need to install it with pip:
pip install django # Use pip3 if the command above doesn't work pip3 install django Note: we can always take a look at the packages installed in our venv with pip freeze.
Next, let’s start a Django project with the name config with the command-line utility django-admin.
django-admin startproject config Here, config is the name of the project, and it’s used as a naming convention to keep all your projects with the same structure. For instance, Django cookiecutter uses this convention name to start a project.
That being said, you can create the project with any other name.
After running these commands, you should have the regular file structure of a Django project. You can check it with the command-line utility tree, or with any file manager.
Note: if you can’t run tree you’ll need to install it.
$ tree config/ └── config ├── config │ ├── asgi.py │ ├── __init__.py │ ├── settings.py │ ├── urls.py │ └── wsgi.py └── manage.py Now let’s enter the project folder with cd, and run the server to check everything is correctly set up:
cd config/ python manage.py runserver You’ll see a warning message pointing out that there are unapplied migrations. This is a totally normal message, and we’ll learn how to run migrations in the “Creating the Photo Model” section.
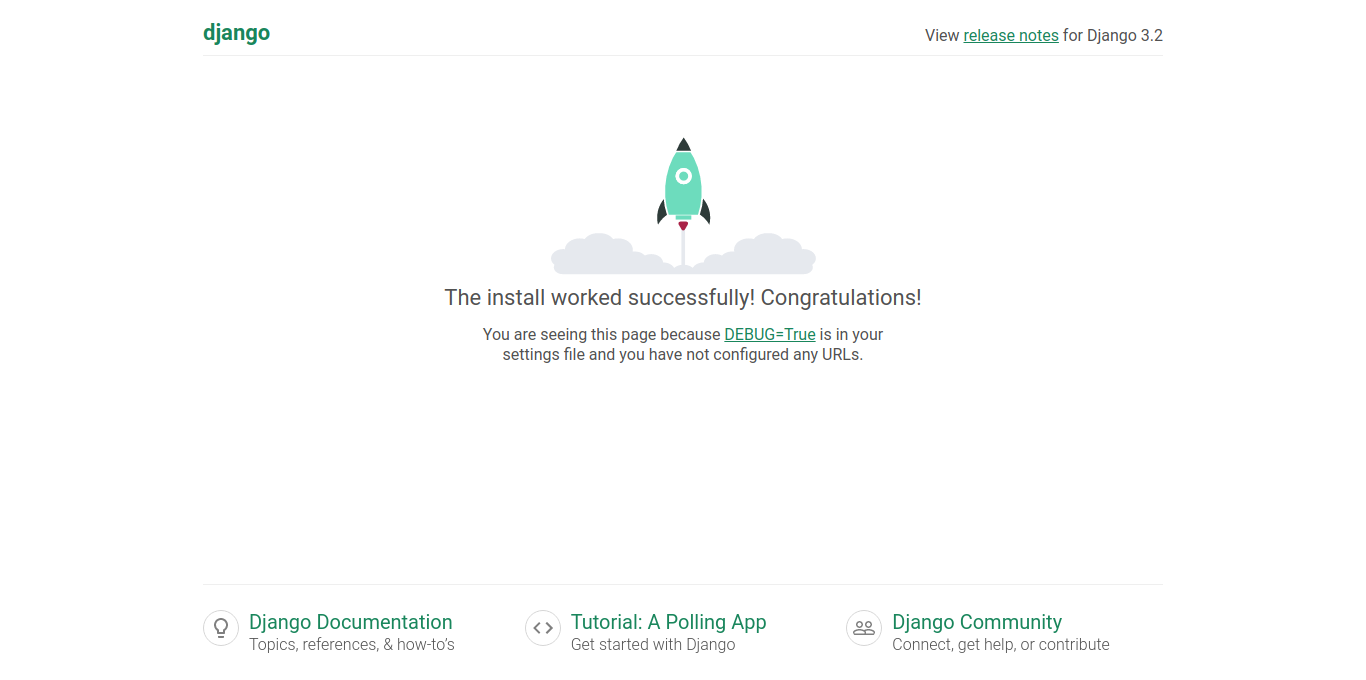
Now, visit localhost:8000 in your browser. You should see the iconic Django congratulations page.
Starting the Photo-sharing App
The manage.py file has the exact same capabilities as django-admin, so we’ll use it many times during this tutorial.
Its location is in the root folder of the project, and each time we want to run a command with it, we need to enter the project directory.
Remember to always list the files of the directory you’re in with ls, to check if we’re in the correct spot:
$ ls Another-files.. manage.py With these tips in mind, it’s time to start the main app of the project. To do this we open a new shell (so the local server is still running), and use the manage.py with the command startapp.
Note: each time we open a new shell session, we’ll need to activate the virtual environment again.
source .venv/bin/activate cd config python manage.py startapp photoapp In this case, the name of the app is photoapp. Once again, you can create it with whatever name you want.
Every time we create an app we must install it. We can do this in the config/settings.py file by adding photoapp to the INSTALLED_APPS variable:
# config/settings.py INSTALLED_APPS = [ 'django.contrib.admin', ... # Custom apps 'photoapp', ] Next, we’ll enter the app directory and create an empty urls.py file. We can do this by running touch, or by creating it with a graphical file manager:
cd photoapp/ touch urls.py Lastly, let’s include all the URL patterns of the photo-sharing app in the overall project. To accomplish this, we’ll use the django.urls.include function:
# config/urls.py from django.urls import path, include # Import this function urlpatterns = [ path('admin/', admin.site.urls), # Main app path('', include('photoapp.urls')), ] The code above will include all the URL patterns of the photoapp/urls.py to the project.
If you take a look at the shell in which the server is running, you’ll see an error:
raise ImproperlyConfigured(msg.format(name=self.urlconf_name)) .... That’s because we haven’t created the urlpatterns list inside the photopp/urls.py file.
To solve this, create an empty list named urlpatterns. We’re going to populate that variable later with Django paths:
# photoapp/urls.py # Empty patterns urlpatterns = [ ] Note: the advantage of using this approach is that we can make the photoapp reusable, by including all the code needed inside of it.
Continue reading Build a Photo-sharing App with Django on SitePoint.