The Media Capture and Streams API (aka MediaStream API) allows you to record audio from a user’s microphone, then get the recorded audio or media elements as tracks. You can then either play these tracks straight after recording them, or upload the media to your server.
In this tutorial, we’ll create a website that will use the Media Streams API to allow the user to record something, then upload the recorded audio to the server to be saved. The user will also be able to see and play all the uploaded recordings.
You can find the full code for this tutorial in this GitHub Repository.
Setting Up The Server
Table of Contents
We’ll first start by creating a Node.js and Express server. So firstly make sure to download and install Node.js if you don’t have it on your machine.
Create a directory
Create a new directory that will hold the project, and change to that directory:
mkdir recording-tutorial cd recording-tutorial Initialize the project
Then, initialize the project with npm:
npm init -y The option -y creates package.json with the default values.
Install the dependencies
Next, we’ll install Express for the server we’re creating and nodemon to restart the server when there are any changes:
npm i express nodemon Create the Express server
We can start now by creating a simple server. Create index.js in the root of the project with the following content:
const path = require('path'); const express = require('express'); const app = express(); const port = process.env.PORT || 3000; app.use(express.static('public/assets')); app.listen(port, () => { console.log(`App listening at http://localhost:${port}`); }); This creates a server that will run on port 3000 unless a port is set in the environment, and it exposes a directory public/assets — which we’ll create soon — that will hold JavaScript and CSS files and images.
Add a script
Finally, add a start script under scripts in package.json:
"scripts": { "start": "nodemon index.js" }, Start the web server
Let’s test our server. Run the following to start the server:
npm start And the server should start at port 3000. You can try accessing it on localhost:3000, but you’ll see a message saying “Cannot GET /” since we don’t have any routes defined yet.
Creating the Recording Page
Next, we’ll create the page that will be the main page of the website. The user will use this page to record and view and play recordings.
Create the public directory, and inside that create an index.html file with the following content:
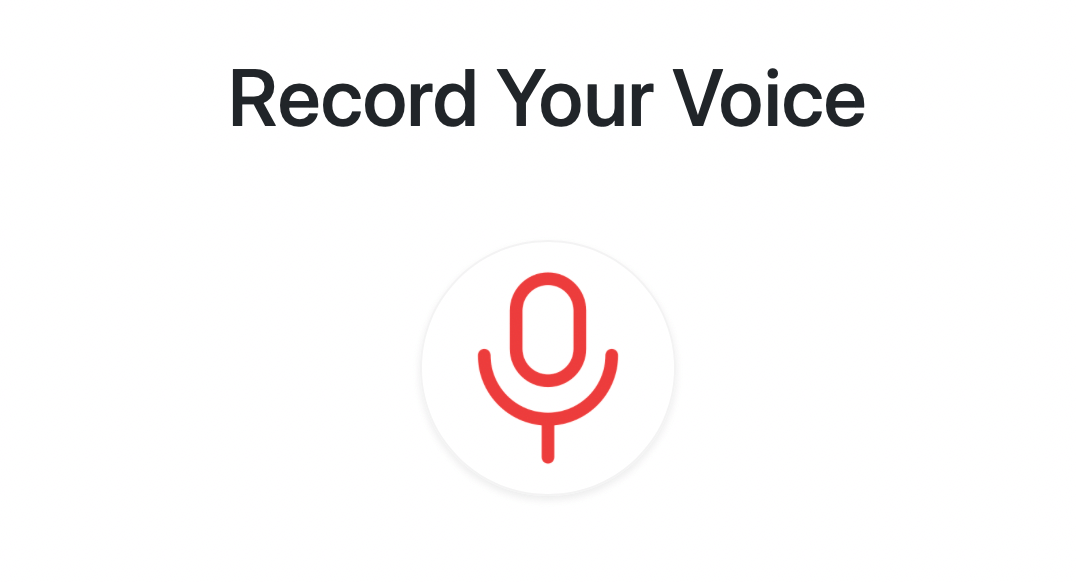
<!DOCTYPE html> <html lang="en"> <head> <meta charset="UTF-8"> <meta http-equiv="X-UA-Compatible" content="IE=edge"> <meta name="viewport" content="width=device-width, initial-scale=1.0"> <title>Record</title> <link href="https://cdn.jsdelivr.net/npm/bootstrap@5.1.0/dist/css/bootstrap.min.css" rel="stylesheet" integrity="sha384-KyZXEAg3QhqLMpG8r+8fhAXLRk2vvoC2f3B09zVXn8CA5QIVfZOJ3BCsw2P0p/We" crossorigin="anonymous"> <link href="/css/index.css" rel="stylesheet" /> </head> <body class="pt-5"> <div class="container"> <h1 class="text-center">Record Your Voice</h1> <div class="record-button-container text-center mt-5"> <button class="bg-transparent border btn record-button rounded-circle shadow-sm text-center" id="recordButton"> <img src="/images/microphone.png" alt="Record" class="img-fluid" /> </button> </div> </div> </body> </html> This page uses Bootstrap 5 for styling. For now, the page just shows a button that the user can use for recording.
Note that we’re using an image for the microphone. You can download the icon on Iconscout, or you can use the modified version in the GitHub repository.
Download the icon and place it inside public/assets/images with the name microphone.png.
Adding styles
We’re also linking the stylesheet index.css, so create an public/assets/css/index.css file with the following content:
.record-button { height: 8em; width: 8em; border-color: #f3f3f3 !important; } .record-button:hover { box-shadow: 0 .5rem 1rem rgba(0,0,0,.15)!important; } Creating the route
Finally, we just need to add the new route in index.js. Add the following before app.listen:
app.get('/', (req, res) => { res.sendFile(path.join(__dirname, 'public/index.html')); }); If the server isn’t already running, start the server with npm start. Then go to localhost:3000 in your browser. You’ll see a record button.
The button, for now, does nothing. We’ll need to bind a click event that will trigger the recording.
Create a public/assets/js/record.js file with the following content:
//initialize elements we'll use const recordButton = document.getElementById('recordButton'); const recordButtonImage = recordButton.firstElementChild; let chunks = []; //will be used later to record audio let mediaRecorder = null; //will be used later to record audio let audioBlob = null; //the blob that will hold the recorded audio We’re initializing the variables we’ll use later. Then create a record function, which will be the event listener to the click event on recordButton:
function record() { //TODO start recording } recordButton.addEventListener('click', record); We’re also attaching this function as an event listener to the record button.
Media recording
In order to start recording, we’ll need to use the mediaDevices.getUserMedia() method.
This method allows us to obtain a stream and record the audio and/or video of the user only once the user provides permission for the website to do that. The getUserMedia method allows us to access local input devices.
getUserMedia accepts as a parameter an object of MediaStreamConstraints, which comprises a set of constraints that specify what are the expected media types in the stream we’ll obtain from getUserMedia. These constraints can be either audio and video with Boolean values.
If the value is false, it means we’re not interested in accessing this device or recording this media.
getUserMedia returns a promise. If the user allows the website to record, the promise’s fulfillment handler receives a MediaStream object which we can use to media capture video or audio streams of the user.
Media capture and streams
To use MediaStream API objects to capture media tracks, we need to use the MediaRecorder interface. We’ll need to create a new object of the interface which accepts the MediaStream object in the constructor and allows us to control the recording easily through its methods.
Inside the record function, add the following:
//check if browser supports getUserMedia if (!navigator.mediaDevices || !navigator.mediaDevices.getUserMedia) { alert('Your browser does not support recording!'); return; } // browser supports getUserMedia // change image in button recordButtonImage.src = `/images/${mediaRecorder && mediaRecorder.state === 'recording' ? 'microphone' : 'stop'}.png`; if (!mediaRecorder) { // start recording navigator.mediaDevices.getUserMedia({ audio: true, }) .then((stream) => { mediaRecorder = new MediaRecorder(stream); mediaRecorder.start(); mediaRecorder.ondataavailable = mediaRecorderDataAvailable; mediaRecorder.onstop = mediaRecorderStop; }) .catch((err) => { alert(`The following error occurred: ${err}`); // change image in button recordButtonImage.src = '/images/microphone.png'; }); } else { // stop recording mediaRecorder.stop(); } Browser support
We’re first checking whether navigator.mediaDevices and navigator.mediaDevices.getUserMedia are defined, since there are browsers like Internet Explorer, Chrome on Android, or others that don’t support it.
Furthermore, using getUserMedia requires secure websites, which means either a page loaded using HTTPS, file://, or from localhost. So, if the page isn’t loaded securely, mediaDevices and getUserMedia will be undefined.
Start recording
If the condition is false (that is, both mediaDevices and getUserMedia are supported), we’re first changing the image of the recording button to stop.png, which you can download from Iconscout or the GitHub repository and place it in public/assets/images.
Then, we’re checking if mediaRecorder — which we defined at the beginning of the file — is or isn’t null.
If it’s null, it means there’s no ongoing recording. So, we get a MediaStream instance to start recording using getUserMedia.
We’re passing it an object with only the key audio and value true, as we’re just recording the audio.
This is where the browser prompts the user to allow the website to access the microphone. If the user allows it, the code inside the fulfillment handler will be executed:
mediaRecorder = new MediaRecorder(stream); mediaRecorder.start(); mediaRecorder.ondataavailable = mediaRecorderDataAvailable; mediaRecorder.onstop = mediaRecorderStop; Here we’re creating a new MediaRecorder, assigning it to mediaRecorder which we defined at the beginning of the file.
We’re passing the constructor the stream received from getUserMedia. Then, we’re starting the recording using mediaRecorder.start().
Finally, we’re binding event handlers (which we’ll create soon) to two events, dataavailable and stop.
We’ve also added a catch handler in case the user doesn’t allow the website to access the microphone or any other exception that might be thrown.
Stop recording
This all occurs if the mediaRecorder is not null. If it’s null, it means that there’s an ongoing recording and the user is ending it. So, we’re using the mediaRecorder.stop() method to stop the recording:
} else { //stop recording mediaRecorder.stop(); } Continue reading How to Record Audio Using the MediaStream API on SitePoint.