
There are many benefits of using Next.js, but one very useful feature is its file routing system. This architecture has significantly simplified the process of creating routes within a website. In this tutorial, we’ll learn how to set up a Next.js project and how the system of file routing in Next.js works.
We’ll also learn how to:
- create static and dynamic pages
- implement page transition with
Link, as well as some of its props - use the
useRouter()hook to obtain query param from the URL - nest routes dynamically
… and a lot more.
We’ll learn all of this by building a portfolio page.
Next.js Features
Table of Contents
Next.js is a React-based web framework built on top on Node.js. Since it’s based on React, it also follows the component architectural design.
Next.js can be used to build static sites. These are sites with pages that get pre-rendered and served to the user at build time. In simple terms, the page is available even before the user requests it.
It also allows for the use of server-side rendering to generate dynamic web pages (pages that change every time a user makes a fresh request).
The architecture of routing in Next.js makes it very easy to create and link pages together. We can dynamically pass query parameters, and create dynamic pages without having to leave the pages folder.
Why use Next.js
The Next.js framework was first released on October 25, 2016. Since then, it’s gone on to become one of the most popular web frameworks, for a couple of reasons.
For one, Next.js is fundamentally React. This is great news for the huge community of developers who come from a React background. Developers can still make use of some React features like the component architecture, JSX and more.
Second is the ability to pre-render pages using Next. By default, Next.js generates all pages in advance, which will then be reused on every user request. Since the site is pre-generated, search engine crawlers can properly index the site for SEO.
As said, one very useful feature is the system of file routing in Next.js, which has significantly simplified the process of creating routes within a website. So you can basically create a bunch of .js files inside a single folder named pages, which Next.js will use for all your routes. Not only is it useful, but it’s very powerful as well.
The Project
The site will have two simple routes and two dynamic routes (we’ll get to the meaning of those later).
The Projects page will render a list of projects. Upon clicking on view more, we’ll be directed to a single project page.
The blog page will render a list of blog posts, and we can also view a single blog page by clicking Read more. The page will contain details about a specific post.
To demonstrate route nesting in Next, we’ll also create a nested /comments route for each blog post. For example, we can view the comments for the first post by visiting localhost:3000/blog/first-post/comments.
Here’s the live preview for the project:
You can get the code from its GitHub repository, run it on your machine and tweak it as you wish. You can delete my images and move yours to the /public folder. You only need to change the filenames in the markup.
Getting Started
To get started with Next, you need to have Node.js installed on your computer. The version of Node should not be lower than 12.x. You can check for the version by typing node -v on the command terminal.
If you don’t have Node.js installed, or have an older version, you can download the latest version from here.
After it’s downloaded, we’ll need to initialize our project. We can do this either automatically or manually. In this tutorial, we’ll be using the create-next-app code generator to automatically build a working framework for us.
Please navigate to the folder you want the project to live in and type in the following command:
cd your/path npx create-next-app next-portfolioFinally, run the following command:
npm run devYou should see the following on your terminal window, if all went well.
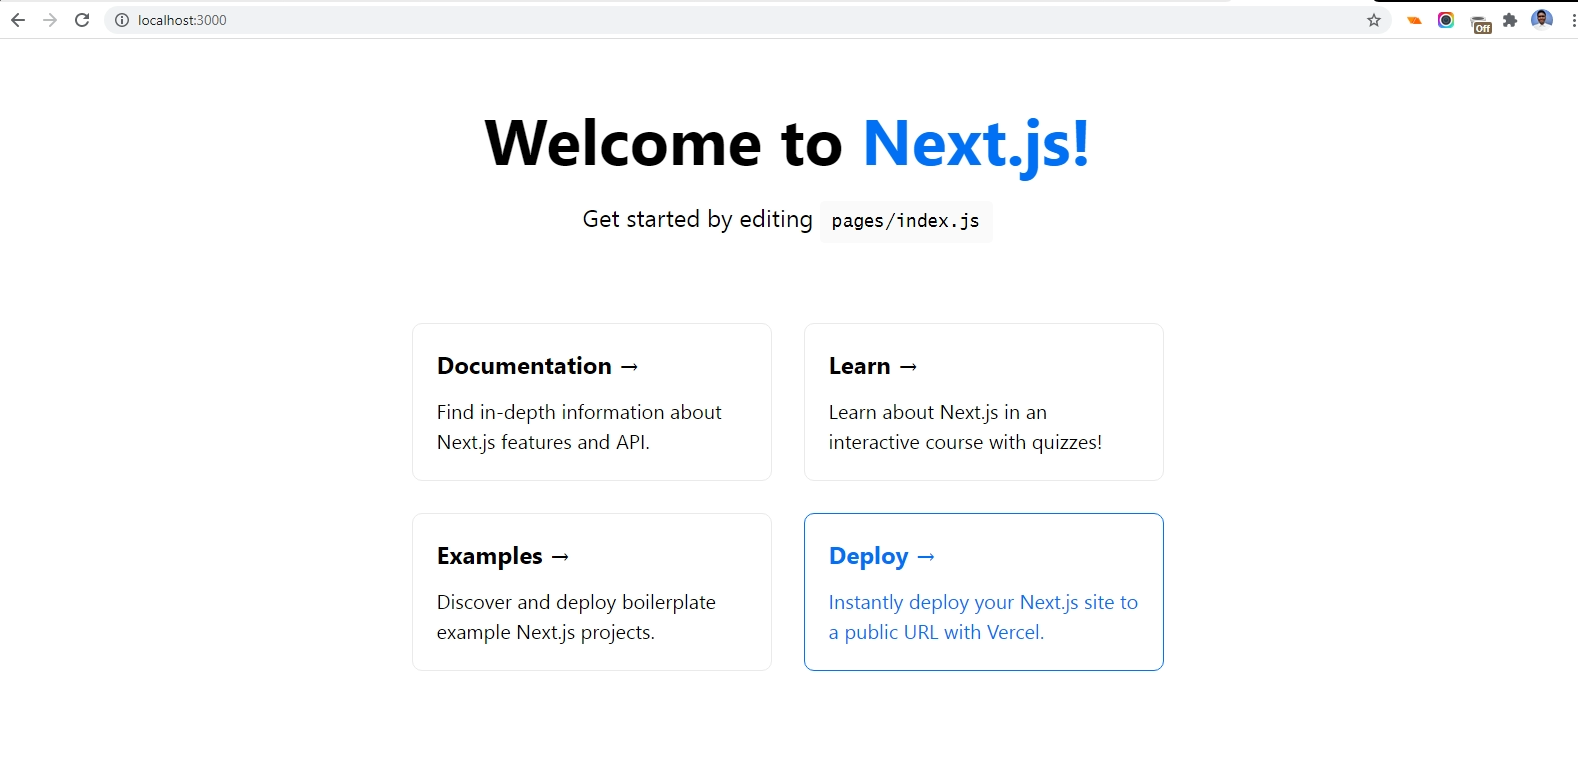
We can view the page on the web browser at http://localhost:3000.
The File-based Architecture of Routing in Next.js
When we ran that command, we created a folder named next-portfolio inside the current directory. Inside next-portfolio, you’ll find some important folders and files.
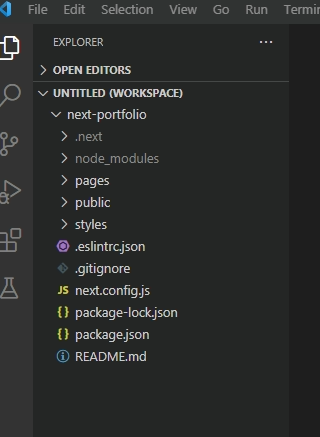
The folder we’ll be working in most frequently is pages. In Next, every .js file defined inside pages maps to a similarly named route:
pages/about.jswill map to/aboutpages/contact.jswill map to/contactpages/blog.jswill map to/blog
Here’s a high-level representation of the pages folder inside a typical Next project:
my-site └── pages └── api // API routes ├── _app.js // custom route (will **not** be used as a route) ├── index.js // index route (will be rendered at my-site.com) ├── about.js // predefined route (will be rendered at my-site.com/about) ├── contact.js // predefined route (will be rendered at my-site.com/contact) └── blog ├── index.js // index route for blog (will be rendered at my-site.com/blog) ├── author.js // predefined route (will be rendered at my-site.com/blog/author) ├── [blog-id].js // handles dynamic route (will render dynamcially, based on the url parameter) └── [...slug].js // handles catch all route (will be rendered at all routes following my-site.com/blog)Each React component will be bundled as a .js file, containing markup and logic for each page.
The public folder
Next.js provides a public folder where you can store static assets like images, custom scripts and fonts, and refer to them from your components/code.
We’ll be using the following images in various pages on our portfolio site:
- A personal photo. This will be used on the home page (
index.js). - Four social media icons. This will be used on the contact page (
contact.js).
Custom pages
You may have noticed the page _app.js in your pages folder. This page is a custom page. Custom pages are not used as routes by Next.js, and they’re prefixed with an underscore (_).
Next.js uses the _app.js to initialize the web page. This component initializes the app and passes down the pageProps prop, which is the data needed by all nested components in our website.
Being the root component, we can define a layout that we want to persist across all pages.
We can also use a global stylesheet that applies to all elements, like in the following example:
//next-portfolio/pages/_app.js import Layout from '../components/Layout' import '../styles/globals.css' function MyApp({ Component, pageProps }) { return ( <Layout> <Component {...pageProps} /> </Layout> ); } export default MyAppIndex routes
Whenever we navigate to index routes (aka home pages) such as my-site.com, my-site.com/blog, or my-site.com/projects, Next.js will read any files from inside that directory named index.js.
So in essence, pages/index.js returns the markup for the home page, which is displayed at localhost:3000. pages/blog/index.js returns the markup for the blog home page, which is at localhost:3000/blog.
In your code editor, please go to the index page and delete all of the file content. The following markup is used for testing purpose:
// next-portfolio/pages/index.js import Image from 'next/image' import Link from 'next/link' export default function Home() { return ( <div className="container"> <h1>Hello World</h1> </div> ) }Note: move into next-portfolio/styles in your text editor, and delete Home.module.css, as we won’t be needing it at all.
Now save the file changes and open http://localhost:3000. The changes in the index file will reflect on the index route.

So much more will go into the index.js file. The top section of the home page will hold navigation links. However, it is more intuitive to build other pages before the home page, so we can link to them properly.
For that reason, we’ll need to first create some of the other pages before building our home page.
Continue reading A Beginner’s Guide to Routing in Next.js, with Examples on SitePoint.