While programming, developers encounter problems requiring code reuse, leading to repetitive programming that can be time-wasting and reduces productivity. This gives rise to the need for reusable source code called “code snippets”. These snippets prevent repetitive code during programming, can be saved for future use, and are sharable.
In this tutorial, we’ll build a website to help users save daily code snippets using the Next.js web development framework, and powered by the Fauna database to handle the storage, manipulation, and display of code snippets. By working on this fun project, we’ll also learn how to create a basic CRUD app with Next.js and FaunaDB that could also be used for building other similar projects.
A working version of this project can be found at GitHub. To follow along, you’ll need Node installed on your machine, as well as a FaunaDB account and a Google account (for authentication).
Installing Dependencies
Table of Contents
In this section, we’ll look at how to install Next.js using the npx create-next-app command. This will initialize the Next CLI and build a new Next.js application.
We’ll also install the dependencies we’ll be using for the back end — FaunaDB and SWR — via the command line. SWR (state-while-revalidate) is a Next.js hook for fetching data. We’ll go into this in depth later in this tutorial.
Next.js installation
To install Next.js, enter the following command in the CLI:
npx create-next-app snippetapp The above command creates a project directory called snippetapp with the Next.js starter template, which contains the required files for coding with Next. When Next has finished installing, change into the newly created directory:
cd snippetapp FaunaDB and SWR installation
To install Fauna, we’ll be using the following command in the CLI:
npm install --save faunadb Then to install SWR:
npm install swr@0.3.8 With this, we’ve installed all the dependencies we’ll be using to build our application and can now proceed to set up our database on Fauna.
FaunaDB Setup
FaunaDB is a serverless, real-time database. It transforms a traditional database into a flexible data API that still retains the capabilities of a database and its performance while delivering secure and scalable access to app data.
Here, we’ll create a user account and set up the database to store the data we’ll be using in our snippet application.
Creating a user account
To create a user account, navigate to the Fauna signup page and create an account.
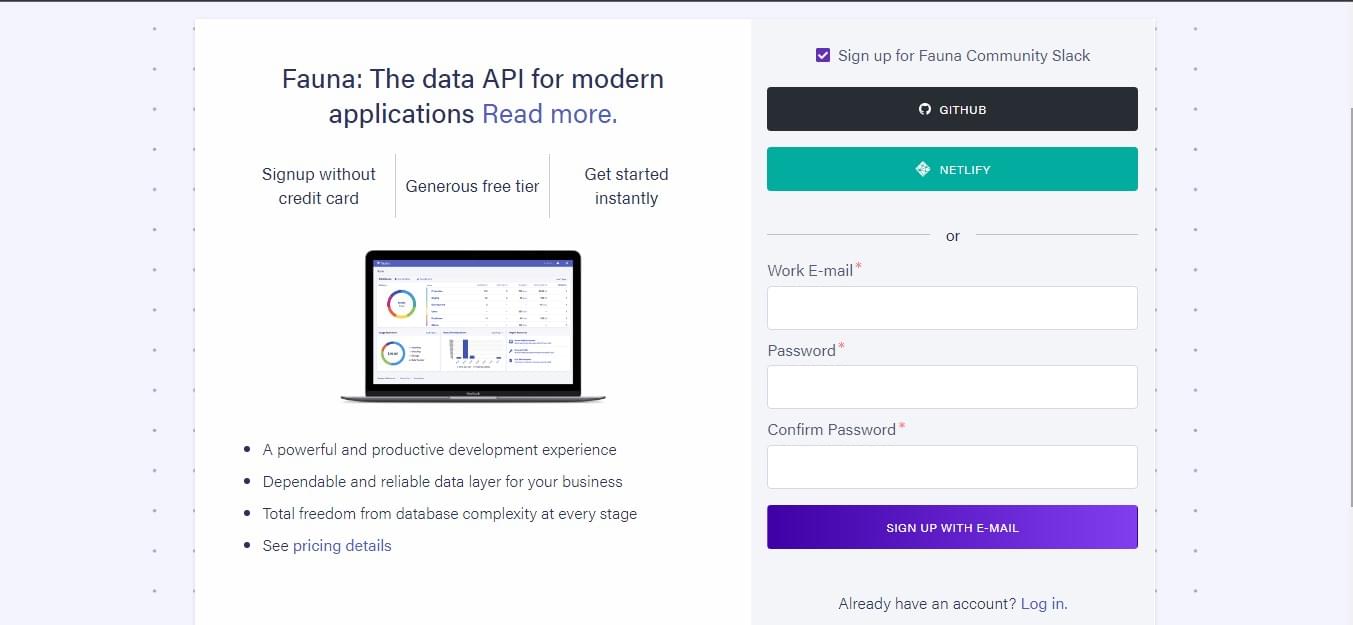
After creating a user account, you’ll be redirected to the dashboard.
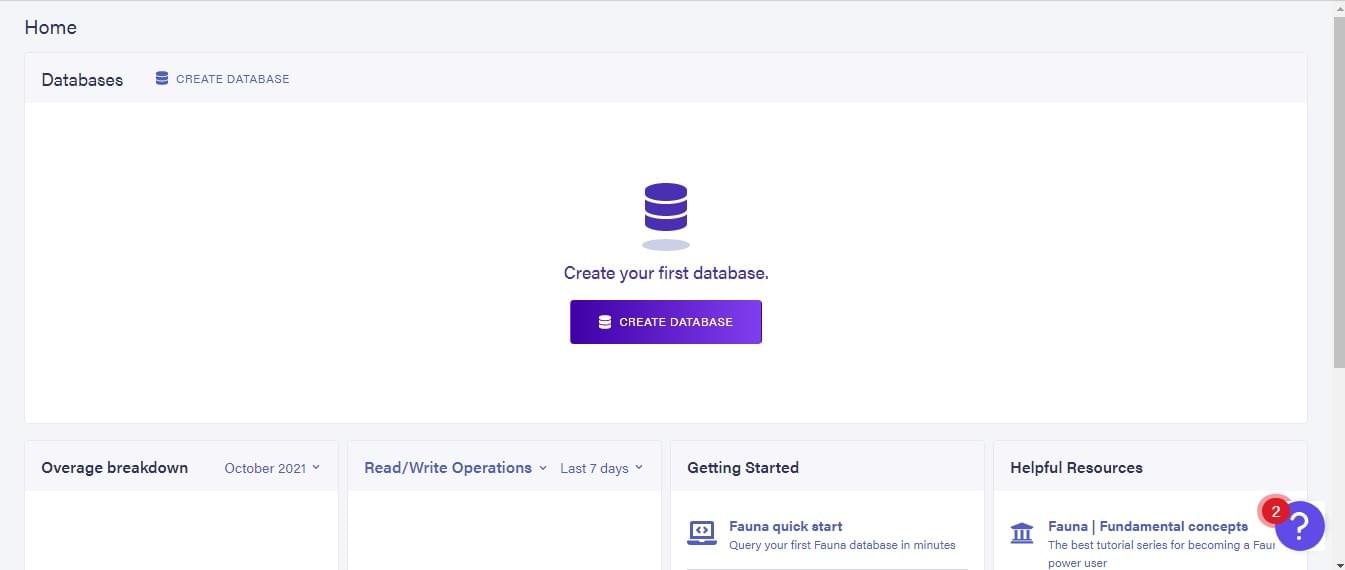
Create the snippet database and collection
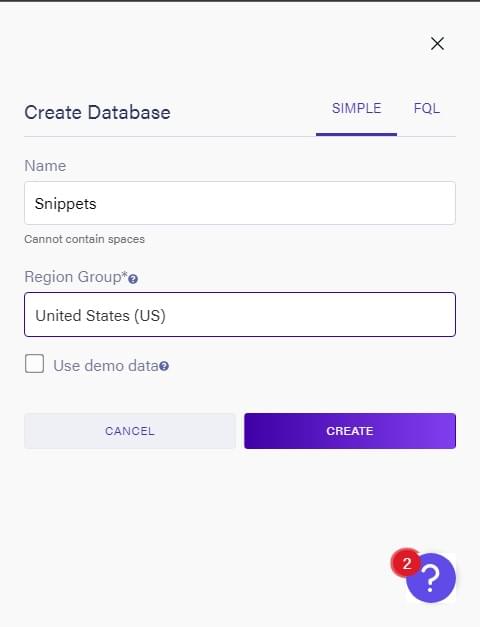
Here, we’ll create a database with the collections required to manage the code snippets of our application. Click on CREATE DATABASE. We’ll create a database called snippets.
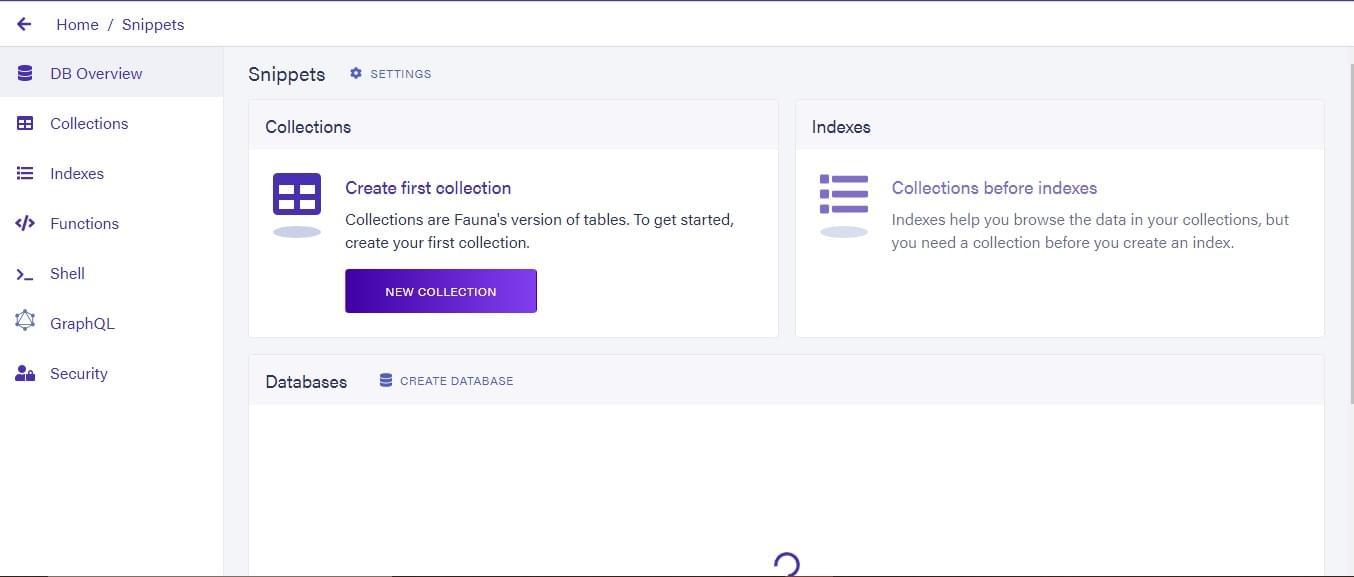
On the new page that opens, click on NEW COLLECTION and create a collection called codesnippet.
After creating a collection, we get a page where we can create a document.
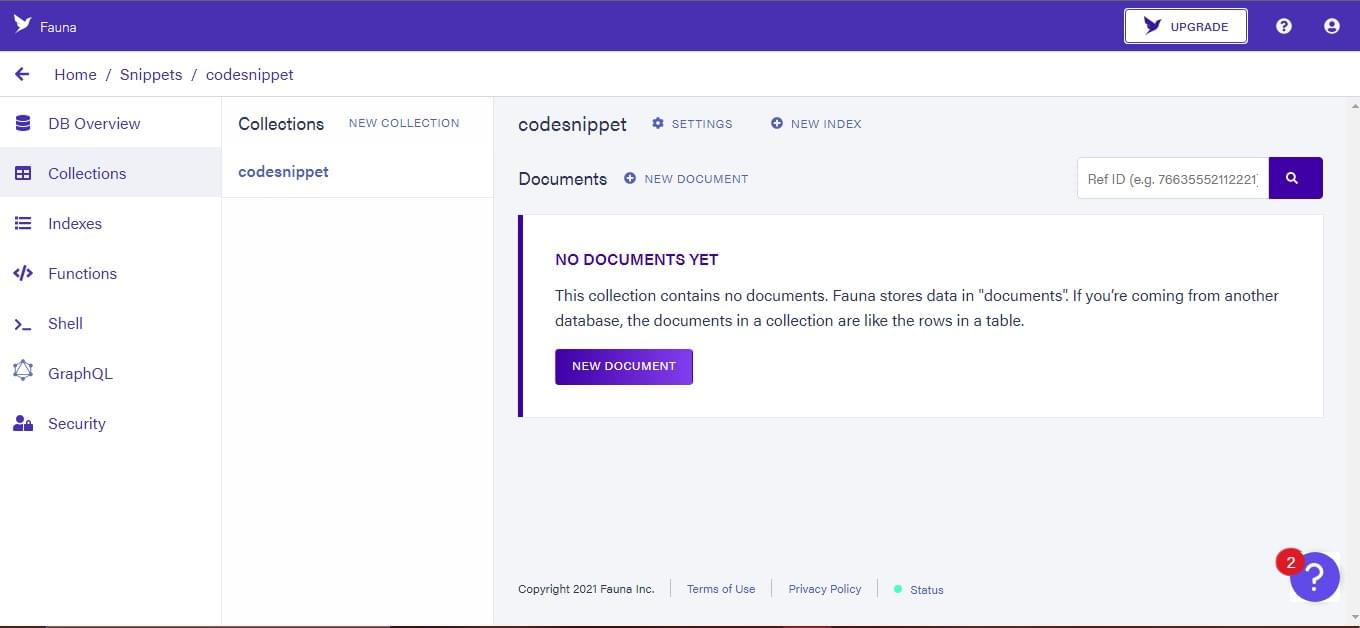
Here, you’ll click on NEW DOCUMENT. A JSON document will open, where you can enter the details, as pictured below.
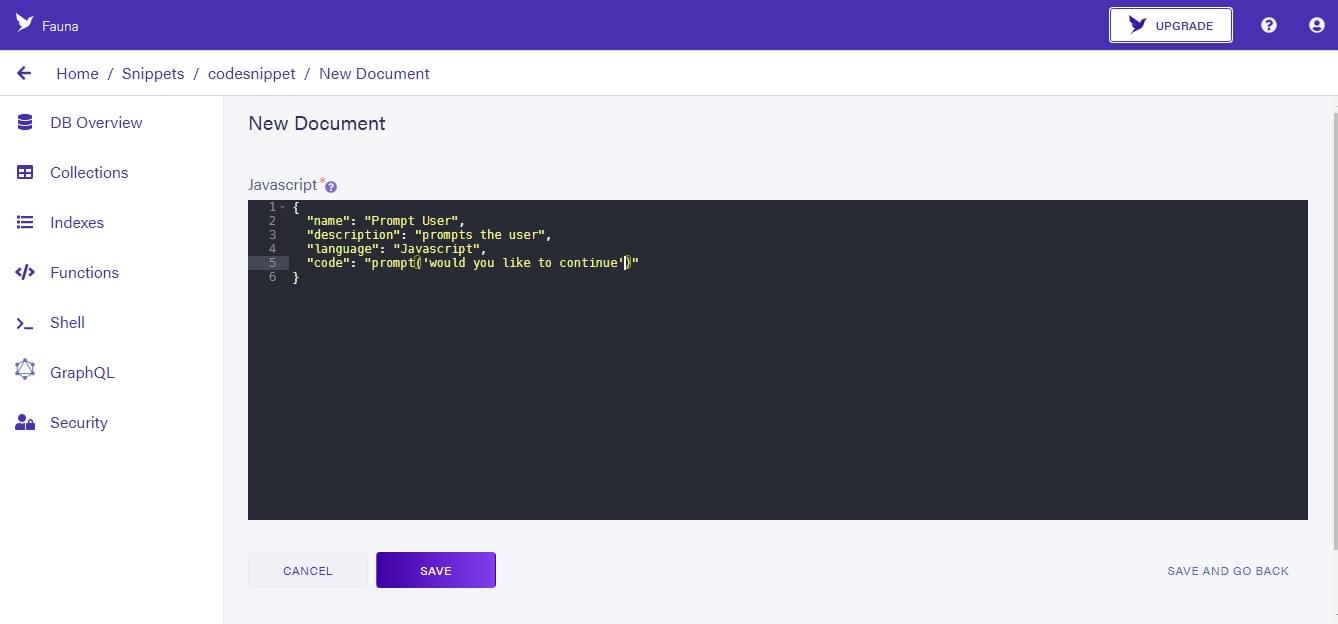
{ name: "Prompt User", description: "prompts the user", language: "javascript", code: "prompt('would you like to continue')" } Here, we define a snippet with attributes: name, description, language and code. Click on SAVE to save the new collection. We’ve successfully added a snippet to our database. Now we can proceed to getting our access credentials to use on our app.
Secret key creation
On the dashboard, click on Security. This opens up a new page to create our security key.
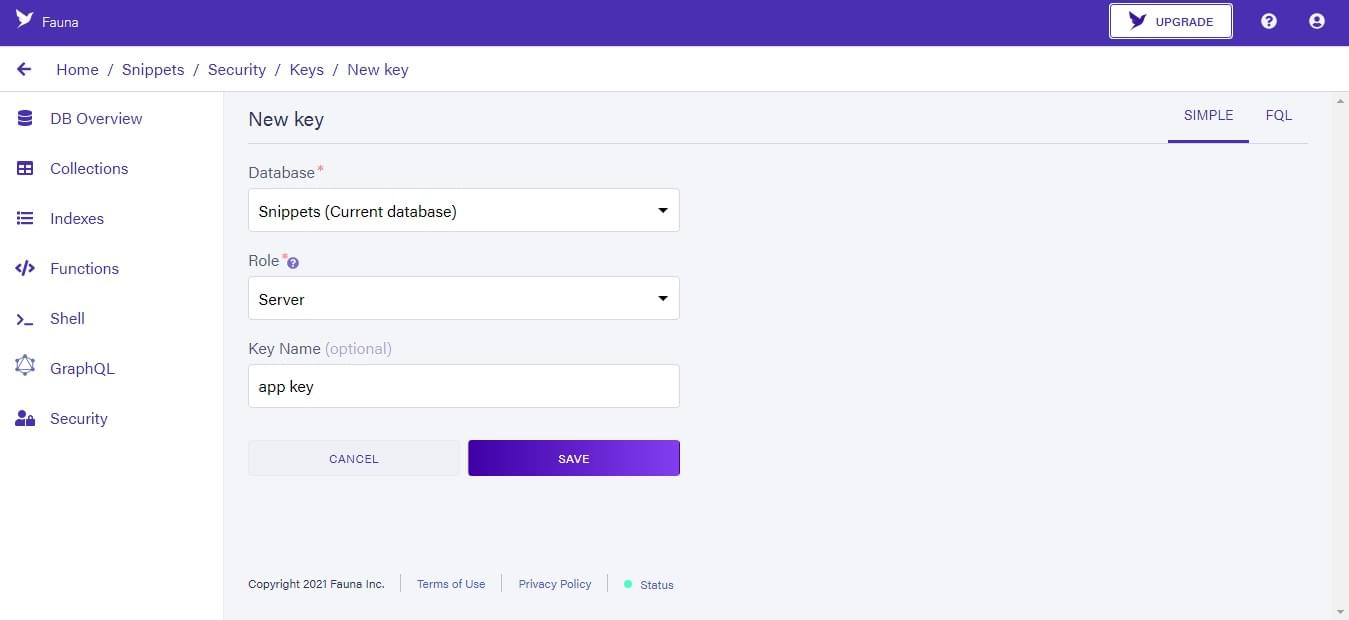
Here, we’ll set the role to “server” instead of “admin”, and you can give the key a name. Click on the SAVE button to generate your key.
Creating a .env file
We’ll now create a .env file within the directory of our project. This file will store our generated secret key. In the .env file we have this:
FAUNA_SECRET = paste your key here Creating a Code Snippet Page
In this section, we’ll build the display and upload page for the snippets, and also add functionality to it.
Open the project directory in your code editor and navigate to the index.js file in your pages folder. Here we’ll clear out the code and start building our application:
import Head from "next/head" import Image from "next/image" import styles from "../styles/Home.module.css" export default function Home() { return ( <div className={styles.container}> <Head> <title>View Snippet</title> <meta name="description" content="Generated by create next app" /> <link rel="icon" href="/favicon.ico" /> </Head> <main className={styles.main}> <h1 className={styles.title}>Re-usuable Code Snippets</h1> <p className={styles.info}>Add your code snippets here...</p> <button>Create new snippet</button> </main> </div> ) } Creating our Components
Now we’ll create a component file that will render our snippets. Create a folder named component in your working directory and create a file named Snippets.js within it with the following code:
import React from "react" import styles from "../styles/Home.module.css" function Snippets() { return ( <div className={styles.cont}> <p className={styles.lang}>language</p> <h3 className={styles.name}>name of snippet</h3> <p className={styles.descp}>description of snippet</p> {/* Code will be displayed here*/} <div className={styles.links}> <a>Edit</a> <a>Delete</a> </div> </div> ) } export default Snippets Importing our components into the app
We’ll now add imports for this file in our index.js:
import Snippets from "../components/Snippets" And use it in our app:
<button>Create new snippet</button> <Snippets/> Styling our app
We can now style our page. Navigate to the Home.module.css file in the styles folder and replace the styles there with the following:
.container{ display: flex; height: 100%; min-height: 100vh; background: rgb(48, 48, 255); flex-direction: column; align-items: center; color: #fff; font-family: Montserrat; } .cont{ color: #333; margin-top: 5px; background: rgb(214, 214, 214); border-radius: 15px; padding: 10px 15px; } .main button{ width: fit-content; flex-grow: unset; display: inline-block; padding: 5px 10px; outline: none; border: none; border-radius: 5%; font-weight: bold; color: rgb(48, 48, 255); } .main button:hover{ cursor: pointer; } .links{ margin-top: 10px; } .links a{ margin-left: 5px; } .links a:hover{ cursor: pointer; } Viewing Our App
At this point, you should be able to start the dev server with npm run dev, visit http://localhost:3000, and see the skeleton of our app.
Setting up the Snippet Display Area
Next, we’ll create the display section for the snippet code. Create a new file called Code.js in the components folder and import it into Snippets.js:
import React from 'react' import styles from '../styles/Home.module.css' import Code from "./Code"; function Snippets() { return ( <div className={styles.cont}> <p className={styles.lang}>language</p> <h3 className={styles.name}>name of snippet</h3> <p className={styles.descp}>description of snippet</p> {/* Code will be displayed here*/} <Code /> <div className={styles.links}> <a>Edit</a> <a>Delete</a> </div> </div> ) } export default Snippets For the syntax highlighting of the code, we’ll be using two packages, namely react-syntax-highlighter and react-copy-to-clipboard. We can download this via the CLI:
npm install react-syntax-highlighter react-copy-to-clipboard --save Then in Code.js:
import React from "react" import { PrismLight as SyntaxHighlighter } from "react-syntax-highlighter" import {atomDark} from "react-syntax-highlighter/dist/cjs/styles/prism" import { CopyToClipboard } from "react-copy-to-clipboard" import styles from "../styles/Home.module.css" function Code() { const codeString = "npm install import react from 'react'" const [show, setshow] = React.useState(false) return ( <div> <button onClick={() => setshow(!show)}>Show Code</button> {show ? ( <div> <CopyToClipboard text={codeString}> <button className={styles.btn}>Copy</button> </CopyToClipboard> <SyntaxHighlighter language="javascript" style={atomDark}> {codeString} </SyntaxHighlighter> </div> ) : null} </div> ) } export default Code Here, we created a component to display code with syntax highlighting. We’ve also added copy and toggle-show functionality. Now in the styles file:
.btn{ left: 80%; position: relative; } Testing the Code Blocks
To view this change, you can run npm run dev in the command line and view it in your browser. We have the string “npm install import react from ‘react’” displayed with syntax highlighting as a code block. There’s also a button to hide and display the code snippet, and a button that allows us to copy the code from the code block.
FaunaDB Initialization
In this section, we’ll fetch data from our FaunaDB database to our app. Create a file called Fauna.js in your project directory:
const faunadb = require("faunadb") const faunaClient = new faunadb.Client({ secret: process.env.FAUNA_SECRET }) const q = faunadb.query const getResponse = async () => { const { data } = await faunaClient.query( q.Map( q.Paginate(q.Documents(q.Collection("codesnippet"))), q.Lambda("doc", q.Get(q.Var("doc"))) ) ) const snippets = data.map((snippet) => { snippet.id = snippet.ref.id delete snippet.ref return snippet }) return snippets } module.exports = { getResponse, } Here, we’ve initialized FaunaDB with our secret key. We’ve also set up an async request to query our collection and return the data. We’ve stored the returned data in a variable named snippets, and deleted the ref to better structure the data. Other functionalities for creating, updating and deleting snippets will be added later in this tutorial.
Note that, if you’re getting an unauthorized error in the console, you may need to specify the domain name of the target endpoint. The default is db.fauna.com, but since the introduction of Region Groups, three cloud domains are available. Use the correct domain for your database’s Region Group:
- Classic (US and EU):
db.fauna.com - United States (US):
db.us.fauna.com - Europe (EU):
db.eu.fauna.com
Example code:
const faunaClient = new faunadb.Client({ secret: process.env.FAUNA_SECRET, domain: "db.eu.fauna.com" }) Handling our API requests
We’ll also create a file to handle our API request for our database. Within the api folder in pages, create a file called snippets.js with the following code:
import { getResponse } from "../../Fauna.js" export default async function handler(req, res) { console.log(req) if (req.method !== "GET") { return res.status(405) } try { const snippets = await getResponse() return res.status(200).json(snippets) } catch (err) { console.log(err) res.status(500).json({ msg: "Something went wrong." }) } } Above, we’ve simply set up a function to handle requests from our database. The snippets are returned as Json and will log errors if any occur. In Next.js, any file stored in the api folder is treated as API endpoints rather than a page and is rendered server-side.
Continue reading Build a Code Snippet Web App with Next.js and FaunaDB on SitePoint.