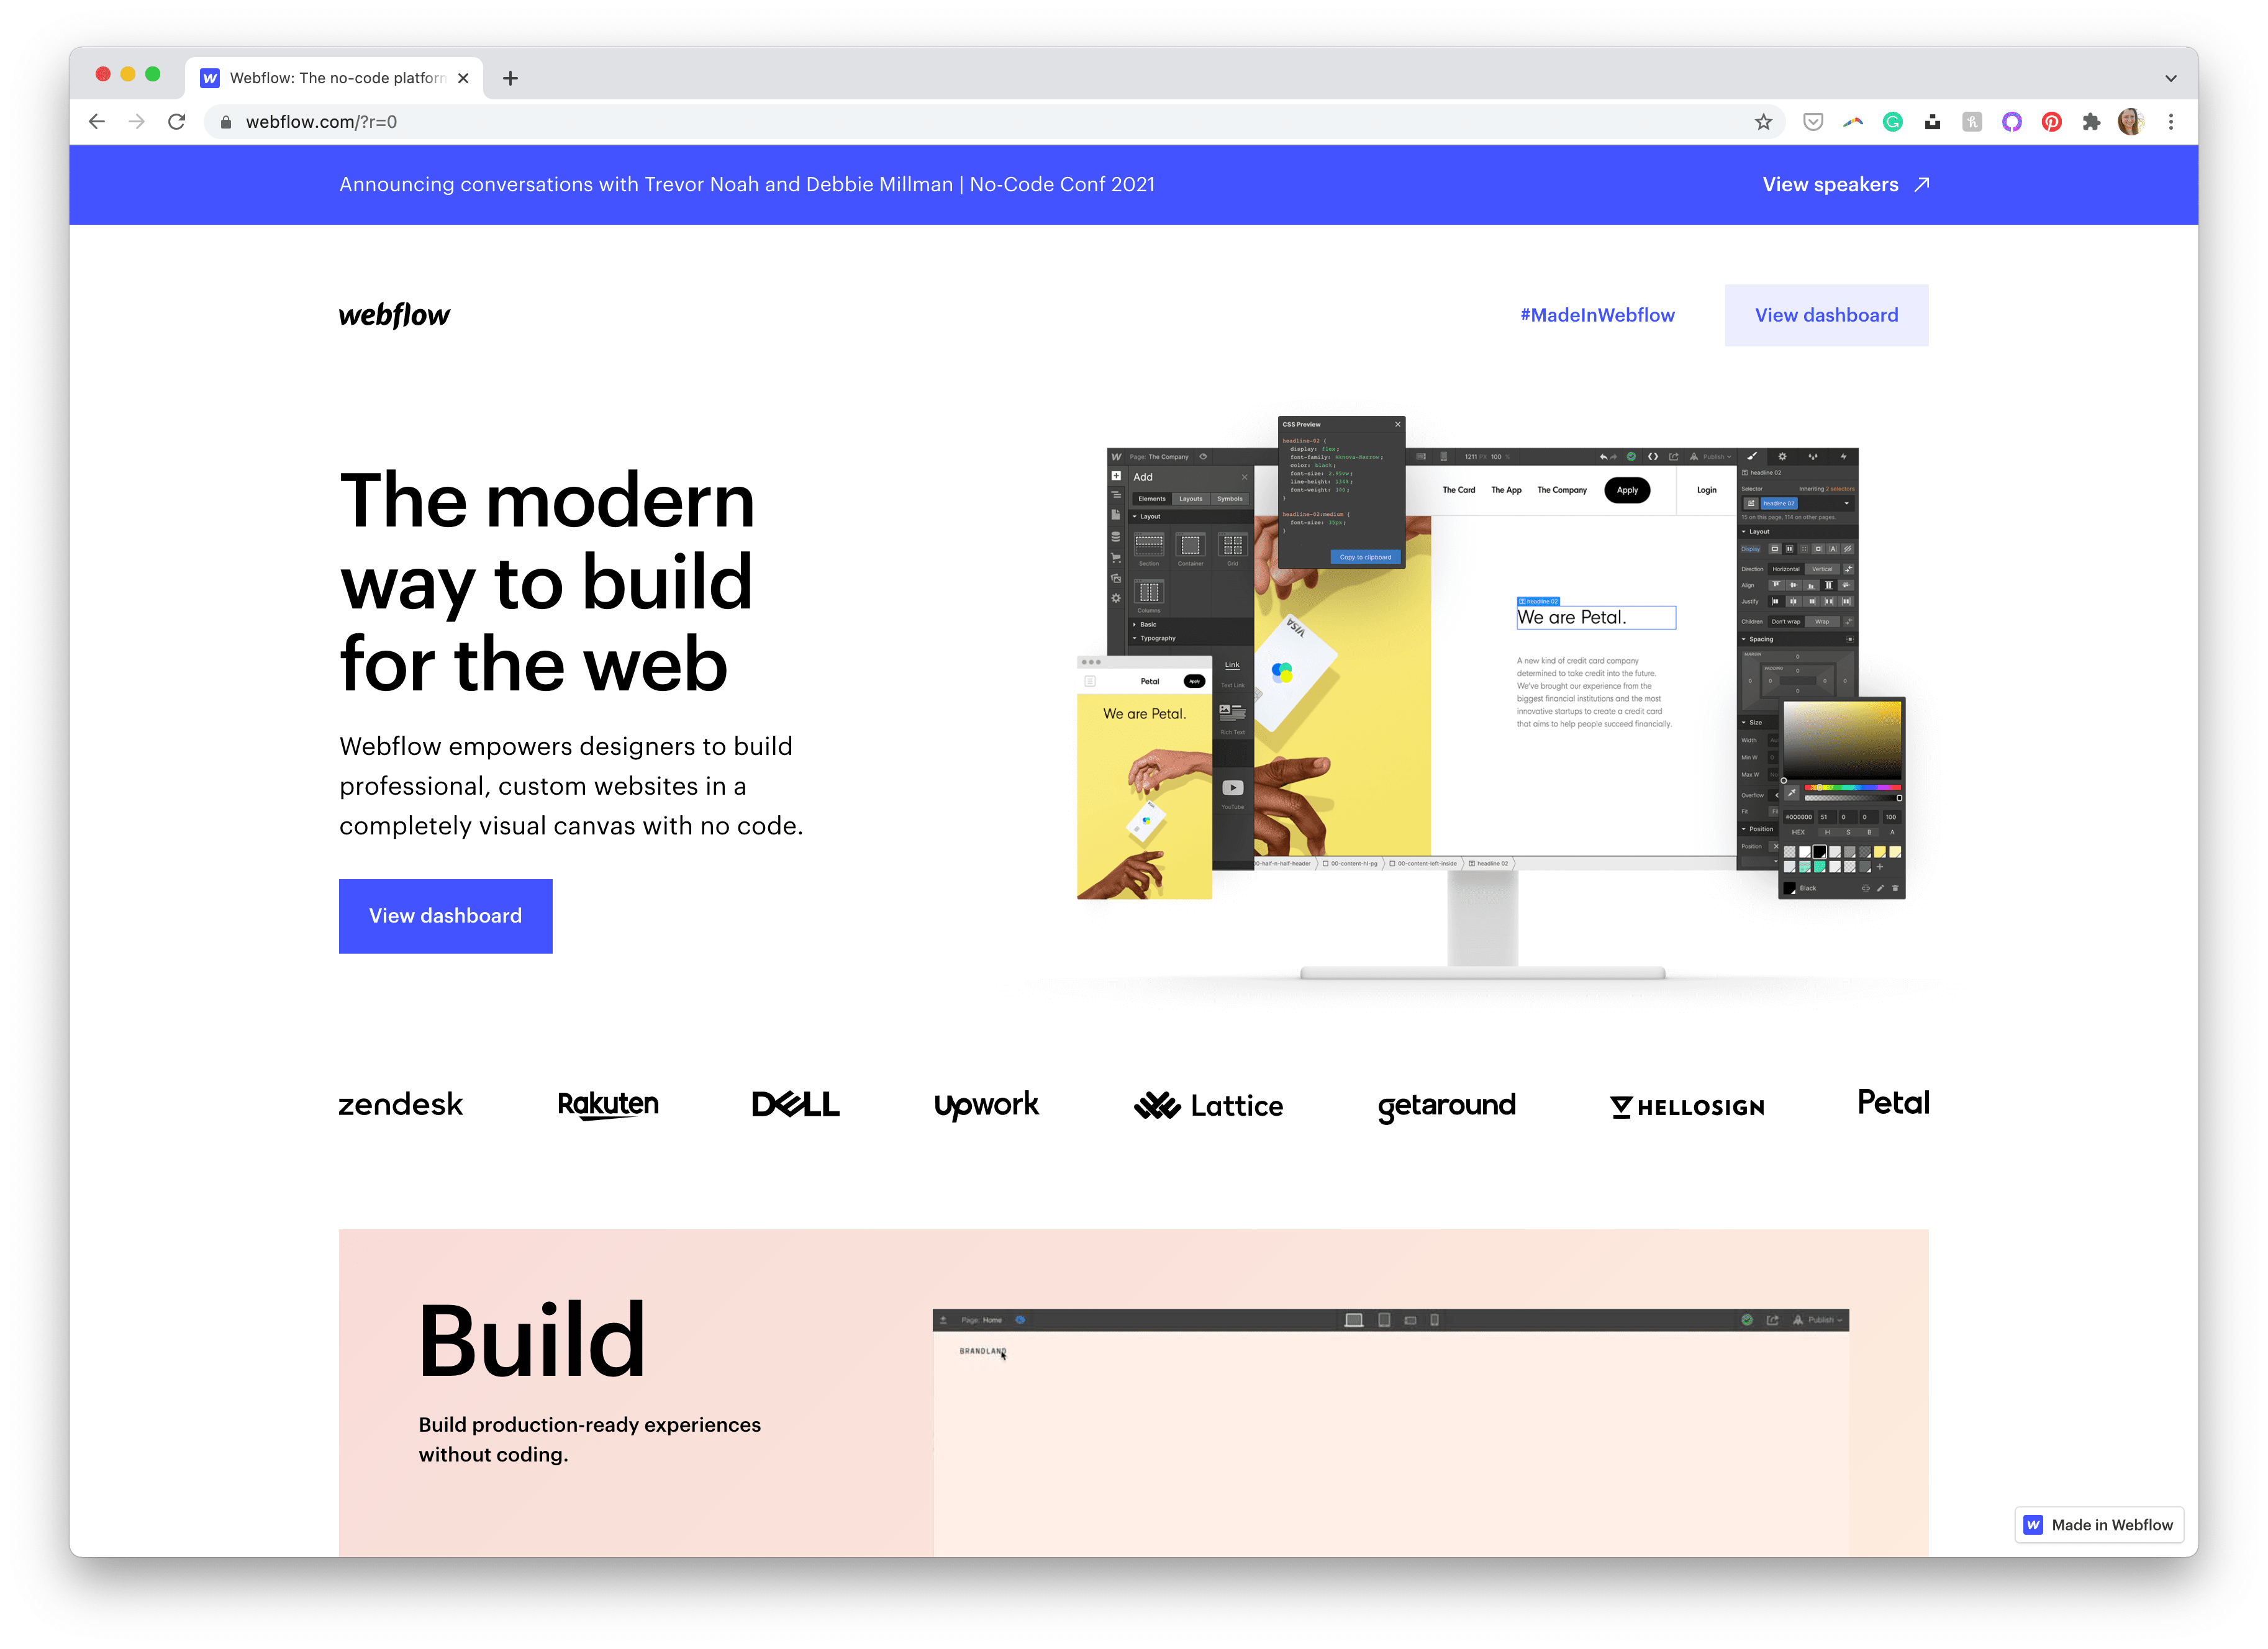
In this article, we’ll present a beginner’s guide to Webflow, a no-code web design tool for designers, exploring how you can start using it today.
No-code tools help you design and build websites without knowing how to code. They’re becoming more and more popular as interest levels in these tools have steadily increased.
Webflow is one of the more popular online no-code tools. It helps you design and build websites without knowing languages like CSS or having to write custom JavaScript code, while still giving you the ability to create stunning websites.
Web Design for Non-coders
Table of Contents
Tools like Webflow are great for non-coders like the general public and for those in the creative field who want more control over their sites without spending tons of time learning coding languages first (for example, graphic designers who are wanting to get into web design).
Webflow seems to have positioned itself in a way that caters to the general public all the way up to experienced web designers and developers who already know how to code, but looking for solutions to help them be better and more efficient.
Webflow does most (if not all) of the heavy lifting for you when it comes to developing your website. Designed with a user interface (UI) — called the Designer — that feels more like a design what-you-see-is-what-you-get app, it writes the code for you in the background as you start laying out your elements and customizing your styles. Webflow has free templates to help you get started (which is great for novice users and those who don’t feel their design skills are any better than the templates), but you can also start from scratch if you’re a more experienced user or know your way around front-end coding languages.
Webflow as a Visual Web Design Tool
With Webflow, there’s likely two different types of users that would regularly use Webflow: those who don’t have the know-how to code their own site and need the assistance that Webflow and its visual editor provides, and those who can design and code their own websites and are looking to speed up/simplify the process.
For those who need assistance in developing their own website, Webflow helps you along the way with templates and tutorials to do most of the coding work for you. However, you’ll likely learn that you’ll want to start picking up some coding skills in order to truly customize things to your liking and to fully understand the breadth of features that Webflow offers.
For web designers/developers who are experienced at developing their own sites, Webflow can get out of your way and allow you to get straight to work inside their visual designer. However, with some of their features limited, you’ll likely run into things quickly that you can’t do that you wish you could, and likely will find yourself diving into the code at some point along the way.
Pricing
Webflow does come at a monthly price, depending on how you want to use the platform. You can pay monthly per site, or monthly for an individual account with multiple projects. While not clear from the start, these two pricing plans cater to the two different types of users discussed above.
For those who own their site and want just one or two sites, the site plan is likely where you’ll want to be. For those who are web designers/developers who plan to use Webflow as a tool to develop sites to hand over to clients, the account plans are likely the better fit (especially if you’d like to download your site from Webflow and use it elsewhere, such as on your own server or with CMSs such as WordPress).
Either way, you get a free-forever plan that allows you experiment and work with Webflow to get your site where you want it to be before you decide to upgrade. (However, the free-forever plan limits what you can and can’t do. For example, you can’t connect your site to a custom domain.)
Webflow’s pricing is great for those who just need one or two sites. However, it could get quite expensive for someone who’d like to have several websites at once. Somewhat tied to the pricing is another drawback (perhaps more so a drawback for the more experienced users): being able to design then export your site to then use/modify for another platform (such as WordPress) isn’t the most ideal, and requires you to pay monthly for the ability as well, even if you opt to not launch/host your site on Webflow.
Overall, Webflow’s popularity means that people are reaping the benefits from the no-code tool, and it continues to draw the attention of not only the general public, but those who are fairly novice with web development all the way up to those who are experienced web designers and developers.
Since you’ve likely landed on this article because you too are interested in Webflow and how it can be beneficial for your situation, let’s dive in to how to get started with Webflow to get you familiar with the platform and how you might utilize it for your needs. We’ll then end with information about the best path to take should you continue on your Webflow journey.
Skill Level
Even though Webflow is billed as a “no-code” tool, it should be stated that it doesn’t mean “no-skill”. Webflow has a bit of a learning curve to understand, even for the seasoned web developer. Those who don’t have much of a background in web design/development may find this learning curve more steep than they were hoping for when trying out a tool billed as “no-code”. Having some basic understanding of websites (such as layouts and the box model) and how to style things (such as margins, paddings, floats, positions, etc.) is beneficial and reduces the learning curve, but isn’t essential for using Webflow.
While I would say that Webflow is easy to pick up and learn (which is a biased opinion, as I’ve coded dozens of websites in my career), be prepared for some time learning the ropes and understanding not only how Webflow works, but web design and development principles as well. Those who have experience building websites will likely fare better through the initial learning curve than those new to building websites in no-code tools.
The great thing, however, is that Webflow understands this and has spent significant time creating what they call “Webflow University” to help you learn their tools and develop your web design and development skills on their platform. It’s also a great resource beyond what this getting started guide will cover, should you want to take your Webflow experiment/skill set to the next level.
Sign Up and Onboarding
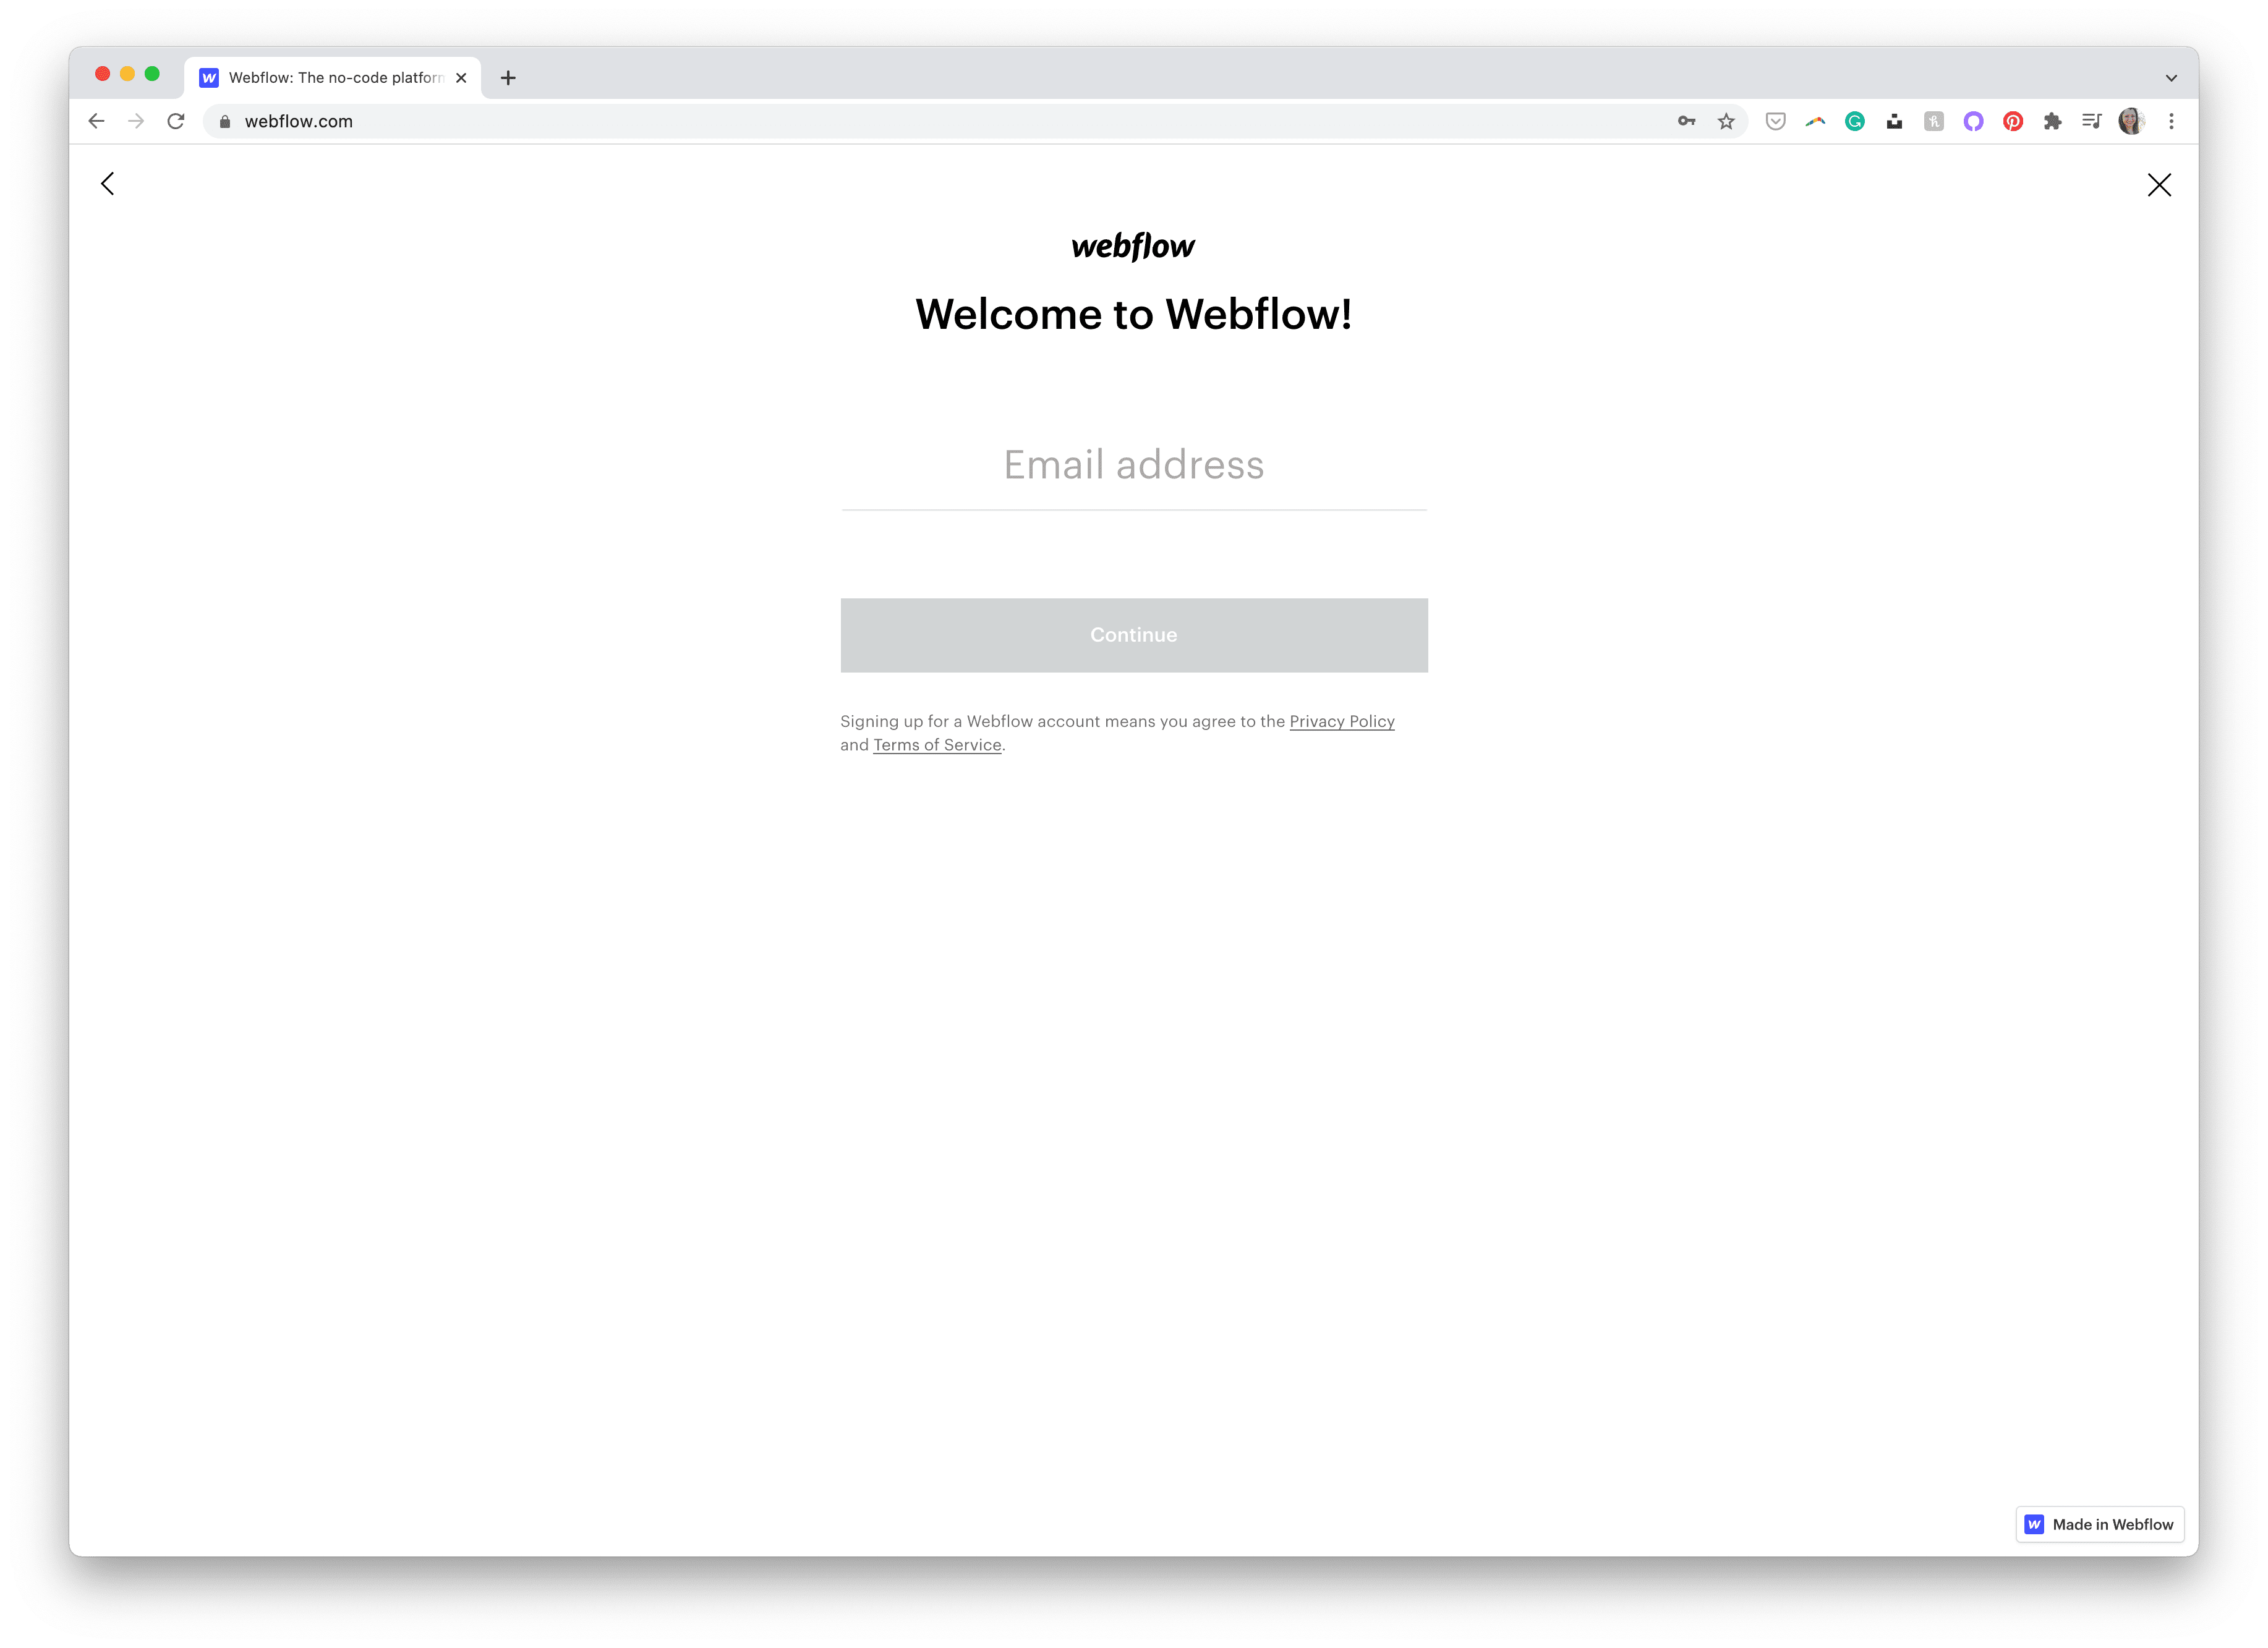
Signing up for an account with Webflow is as easy as it is on most other sites you’ve created accounts with. Clicking “Get Started” at the top of the home page will walk you through the signup and onboarding process. The onboarding process will help you set your account up correctly by asking questions to get to know more about you.
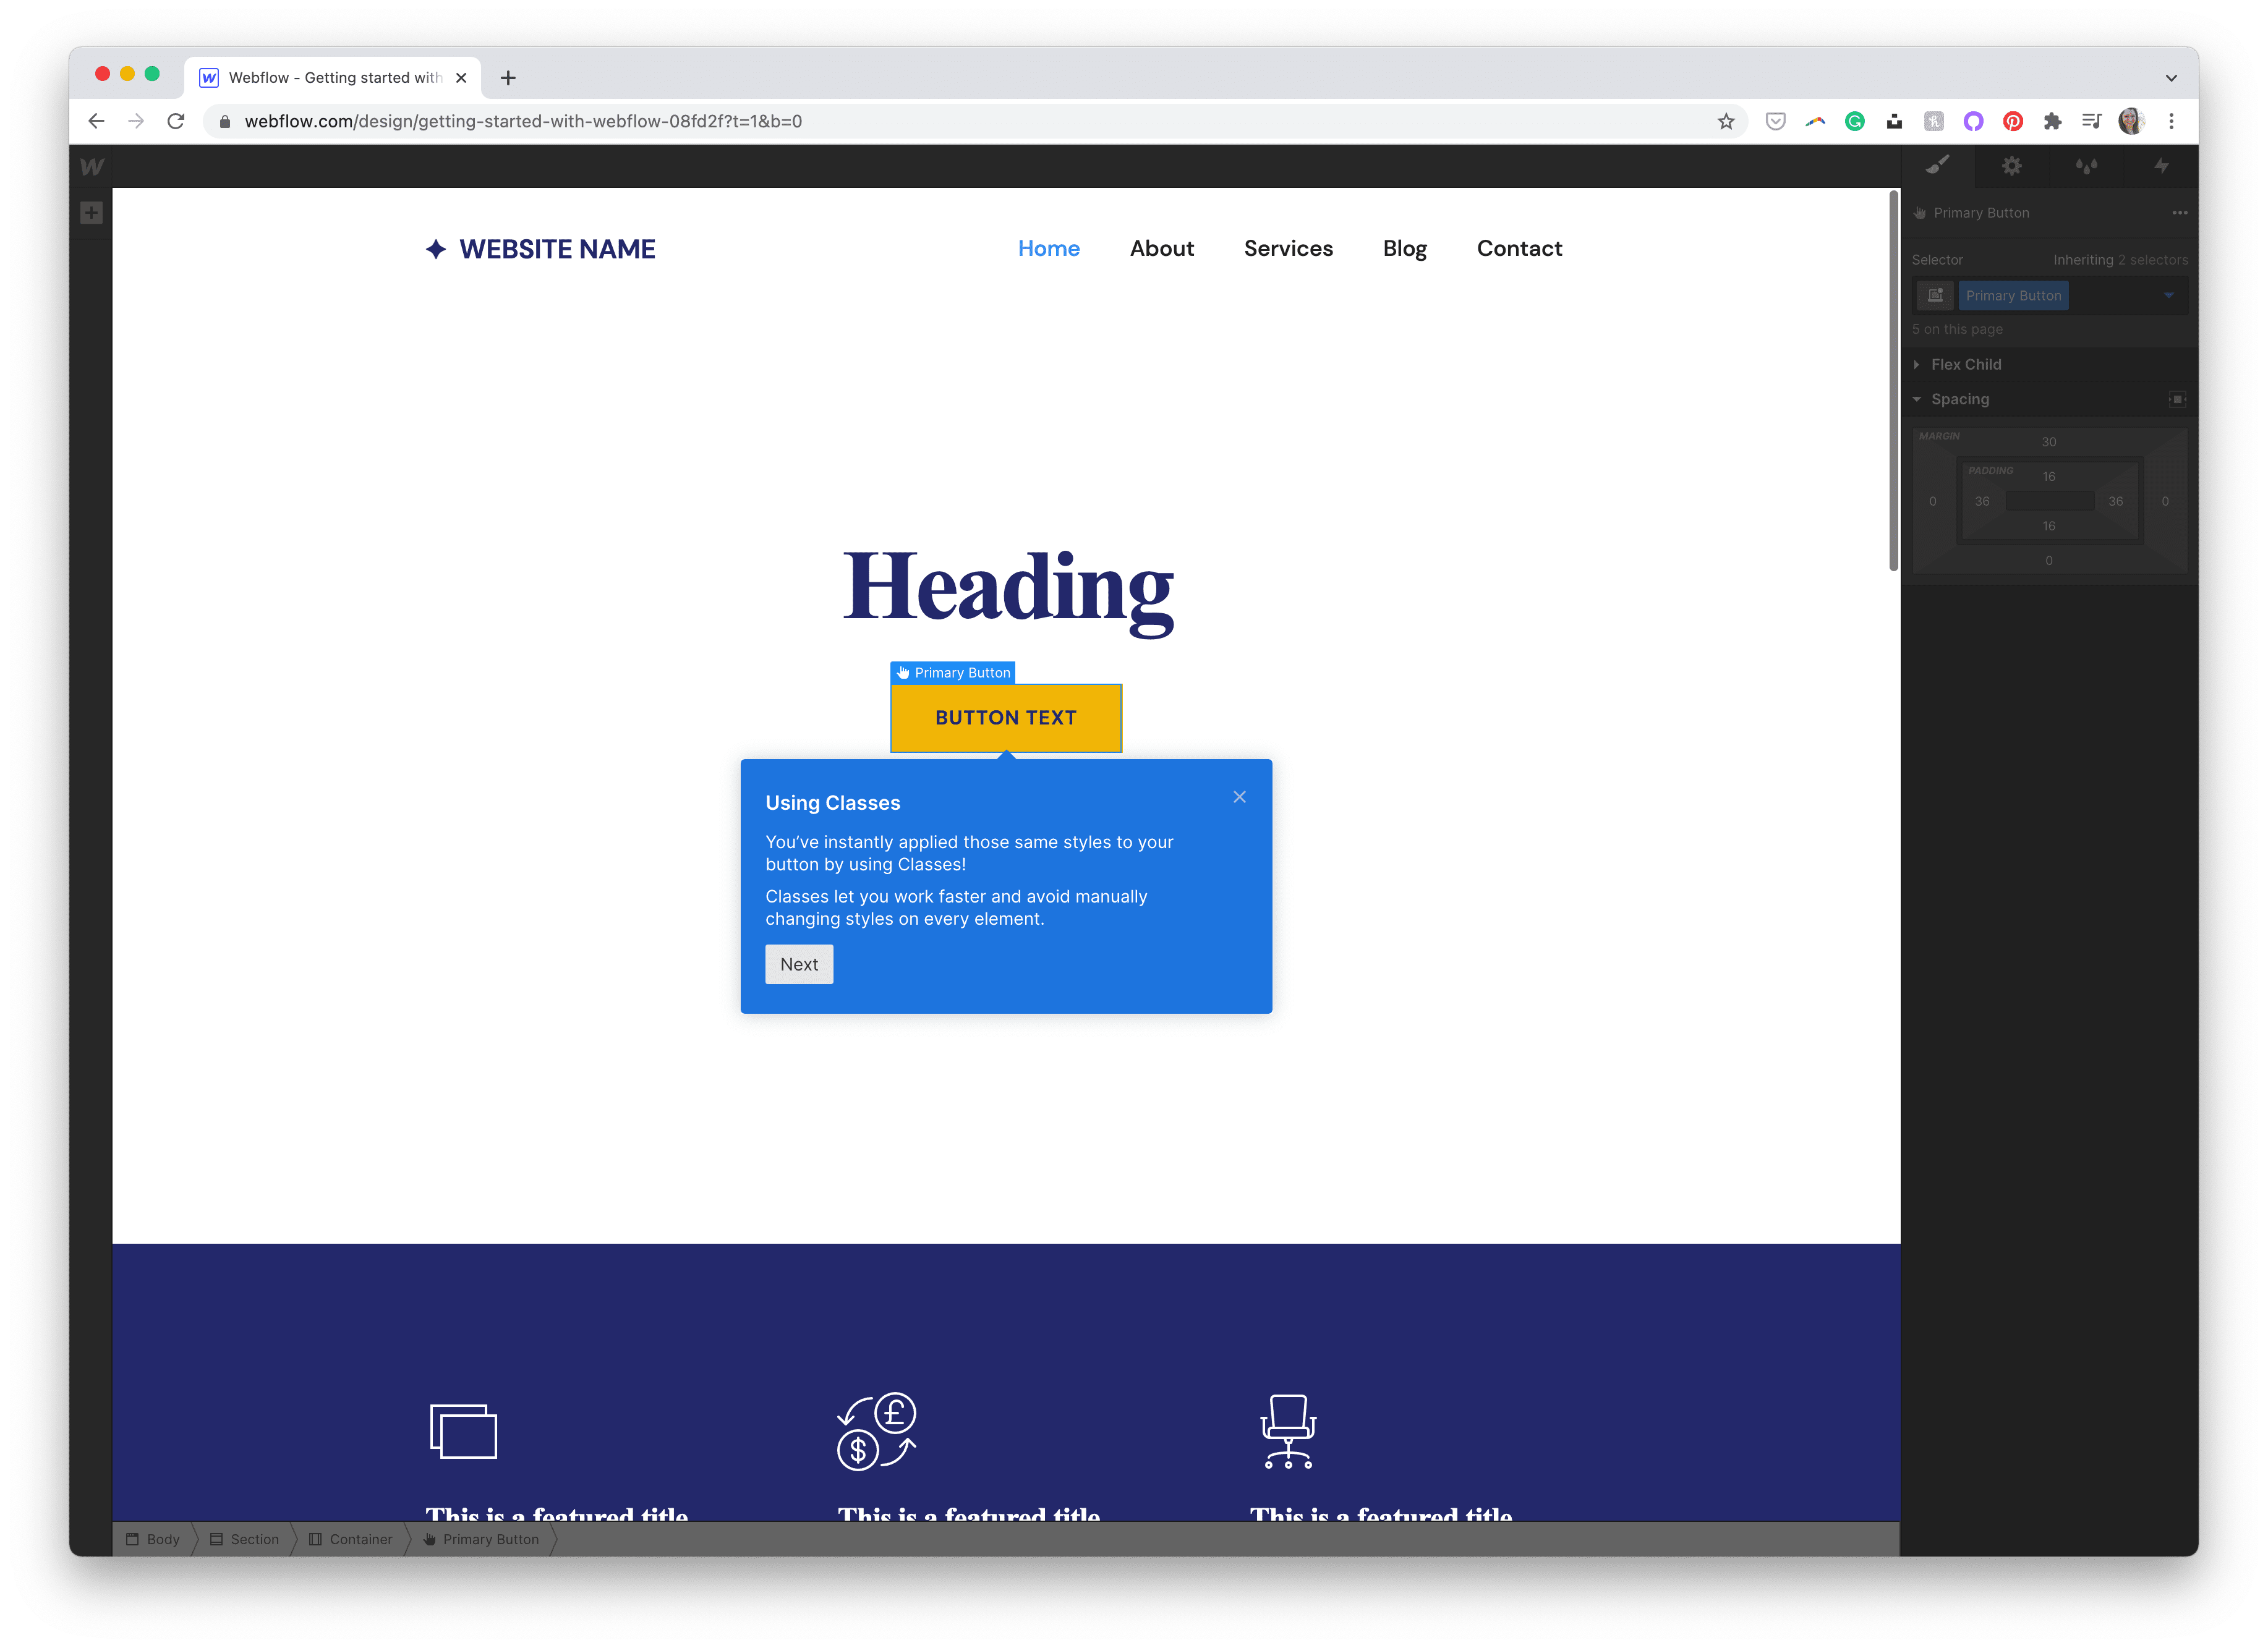
Once you’ve gone through the onboarding questionnaire, you’ll be dropped into the Webflow visual editor, called the Designer, to start a tutorial. Regardless of how experienced you are with web development, I highly recommend you spend the time to go through the tutorial, as it will help reduce the learning curve as you move on to your first project.
Some of the most important parts of the tutorial that Webflow walks you through are the Elements Panel, classes, how to make your site responsive with breakpoints, and ending with information about how to push your project live. It’s during the tutorial where you’re likely to get a good understanding of the skills needed, especially as it explains different web principles to you (like cascading style sheets).
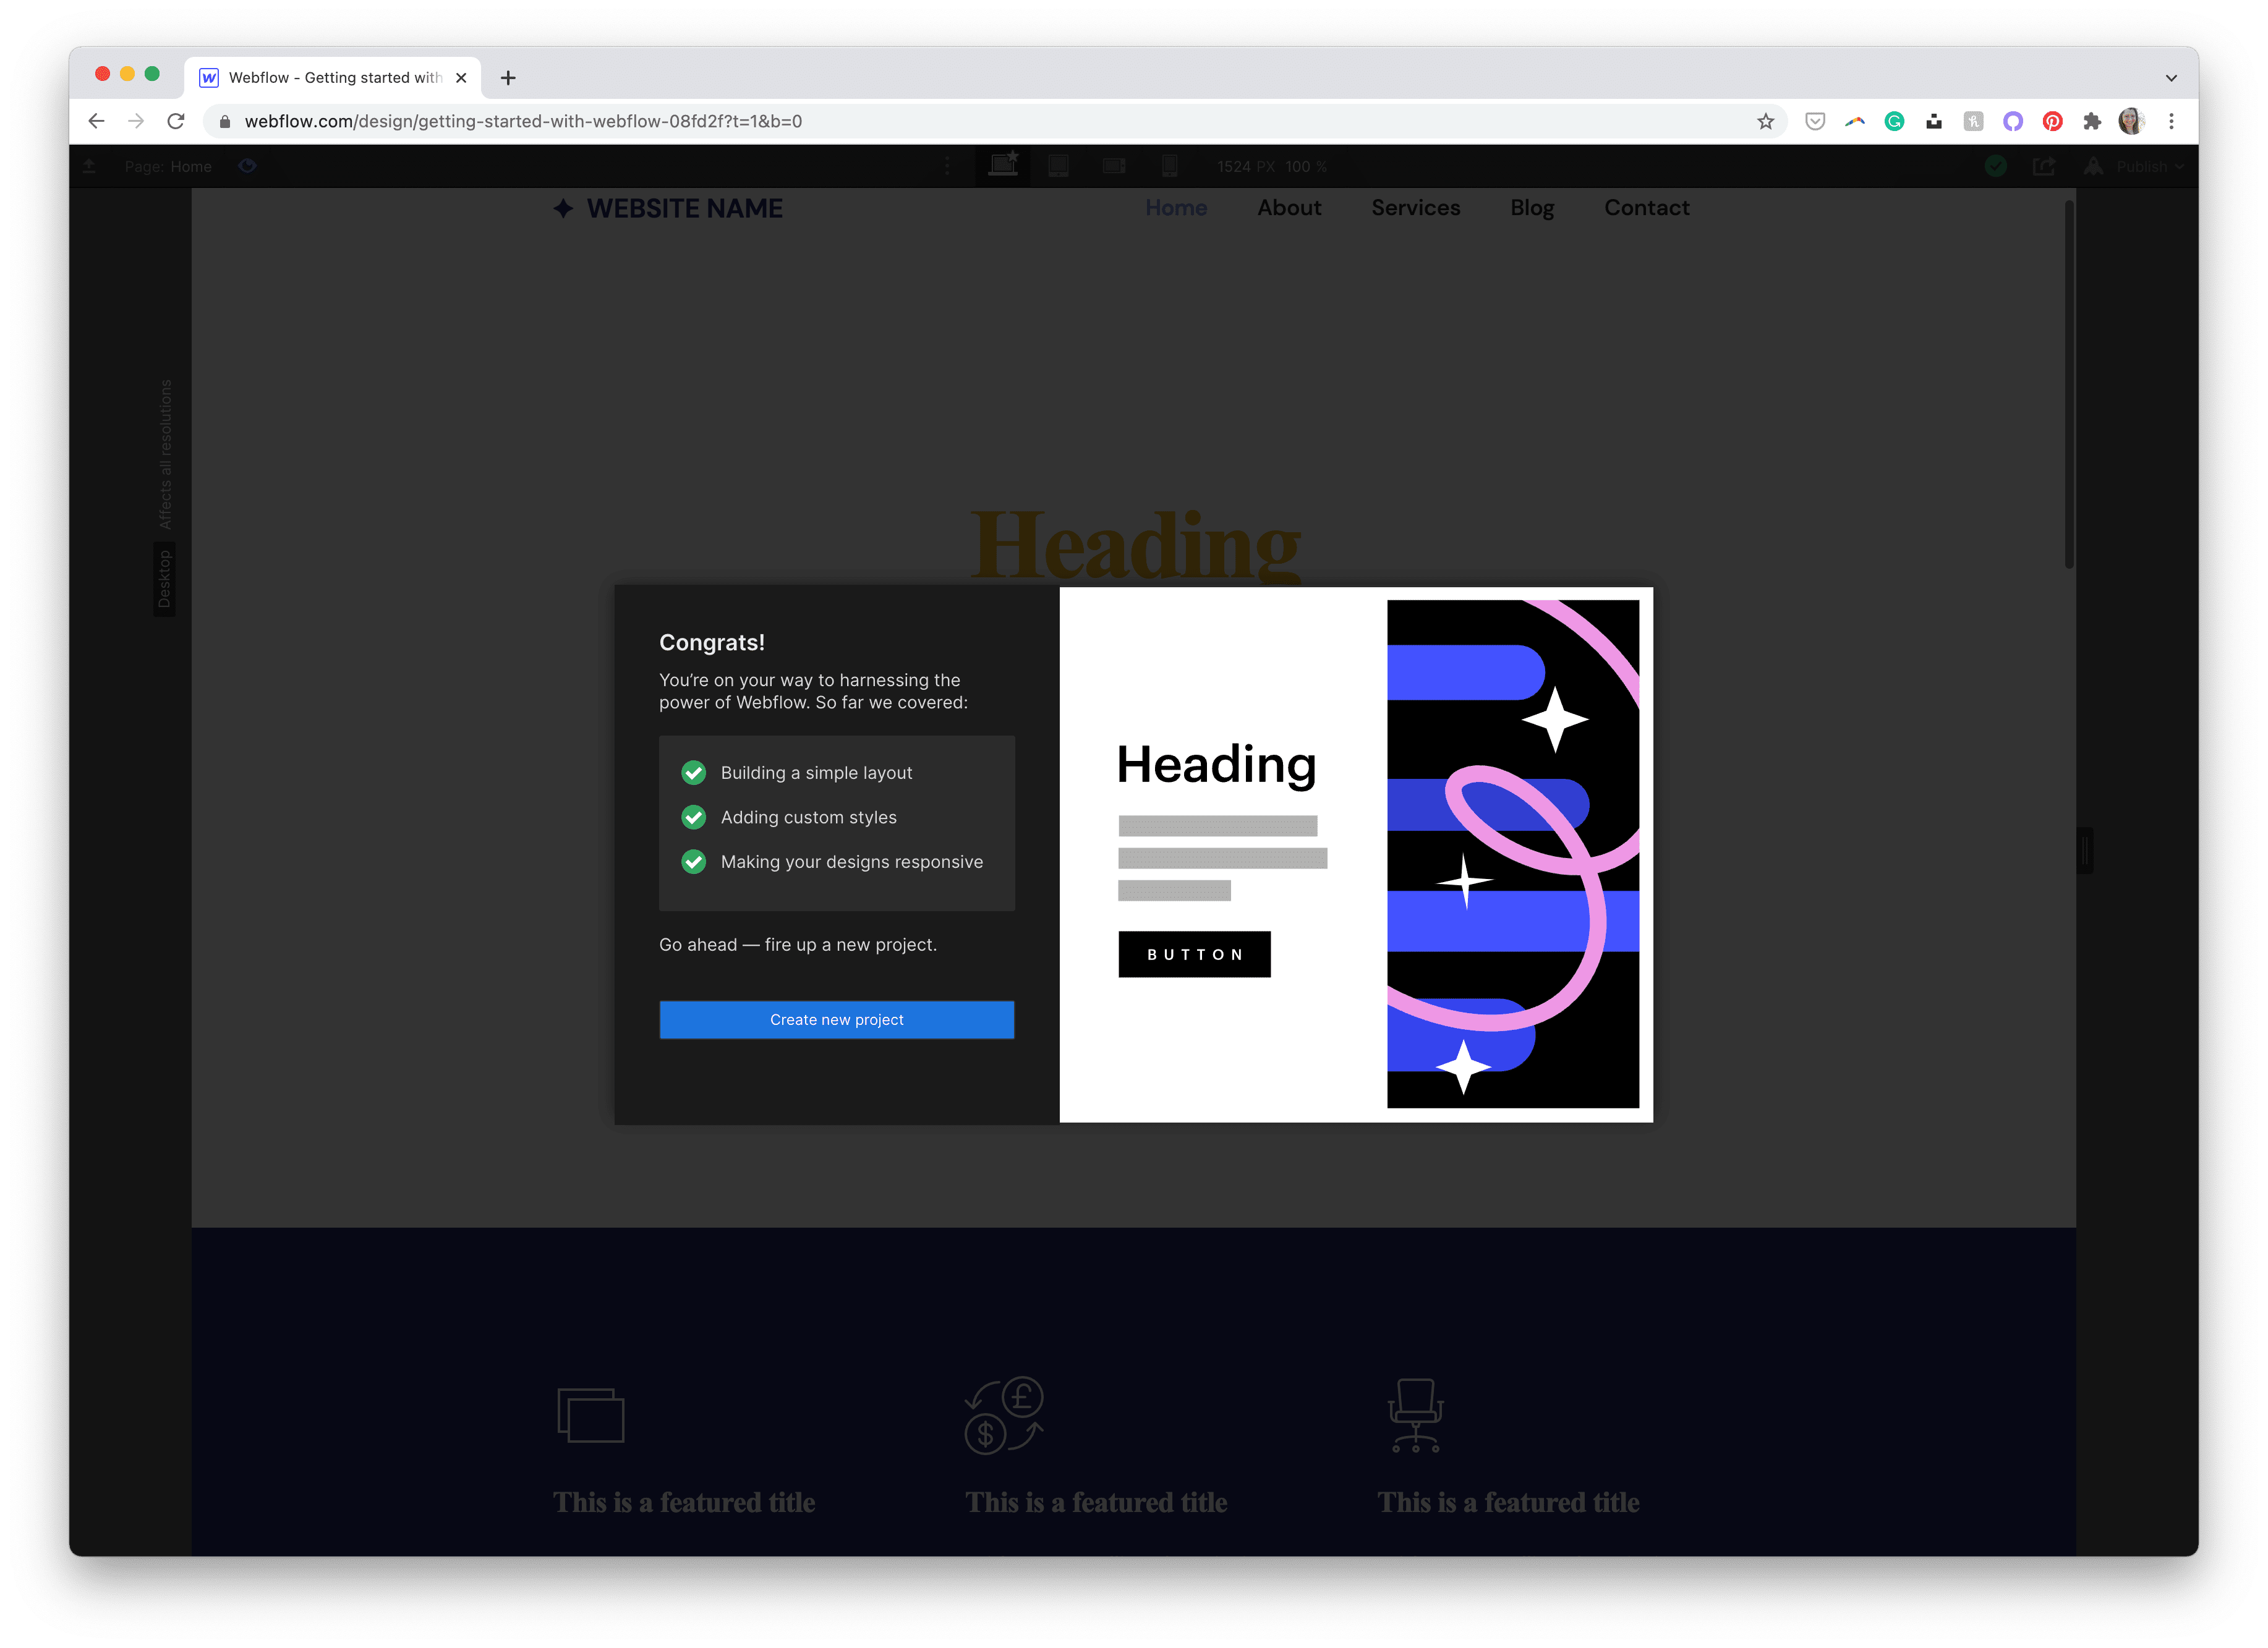
Once you’ve completed the quick welcome tutorial, it’s time to start your first project (as prompted when you’ve completed the introductory topics). Clicking Create New Project puts you right into Webflow’s visual editor.
From here, it’s a “choose your own adventure” type of setup on what path you want to move forward with. For the sake of learning and understanding how Webflow works, I highly recommend picking a template to edit instead of jumping straight into a blank site project.
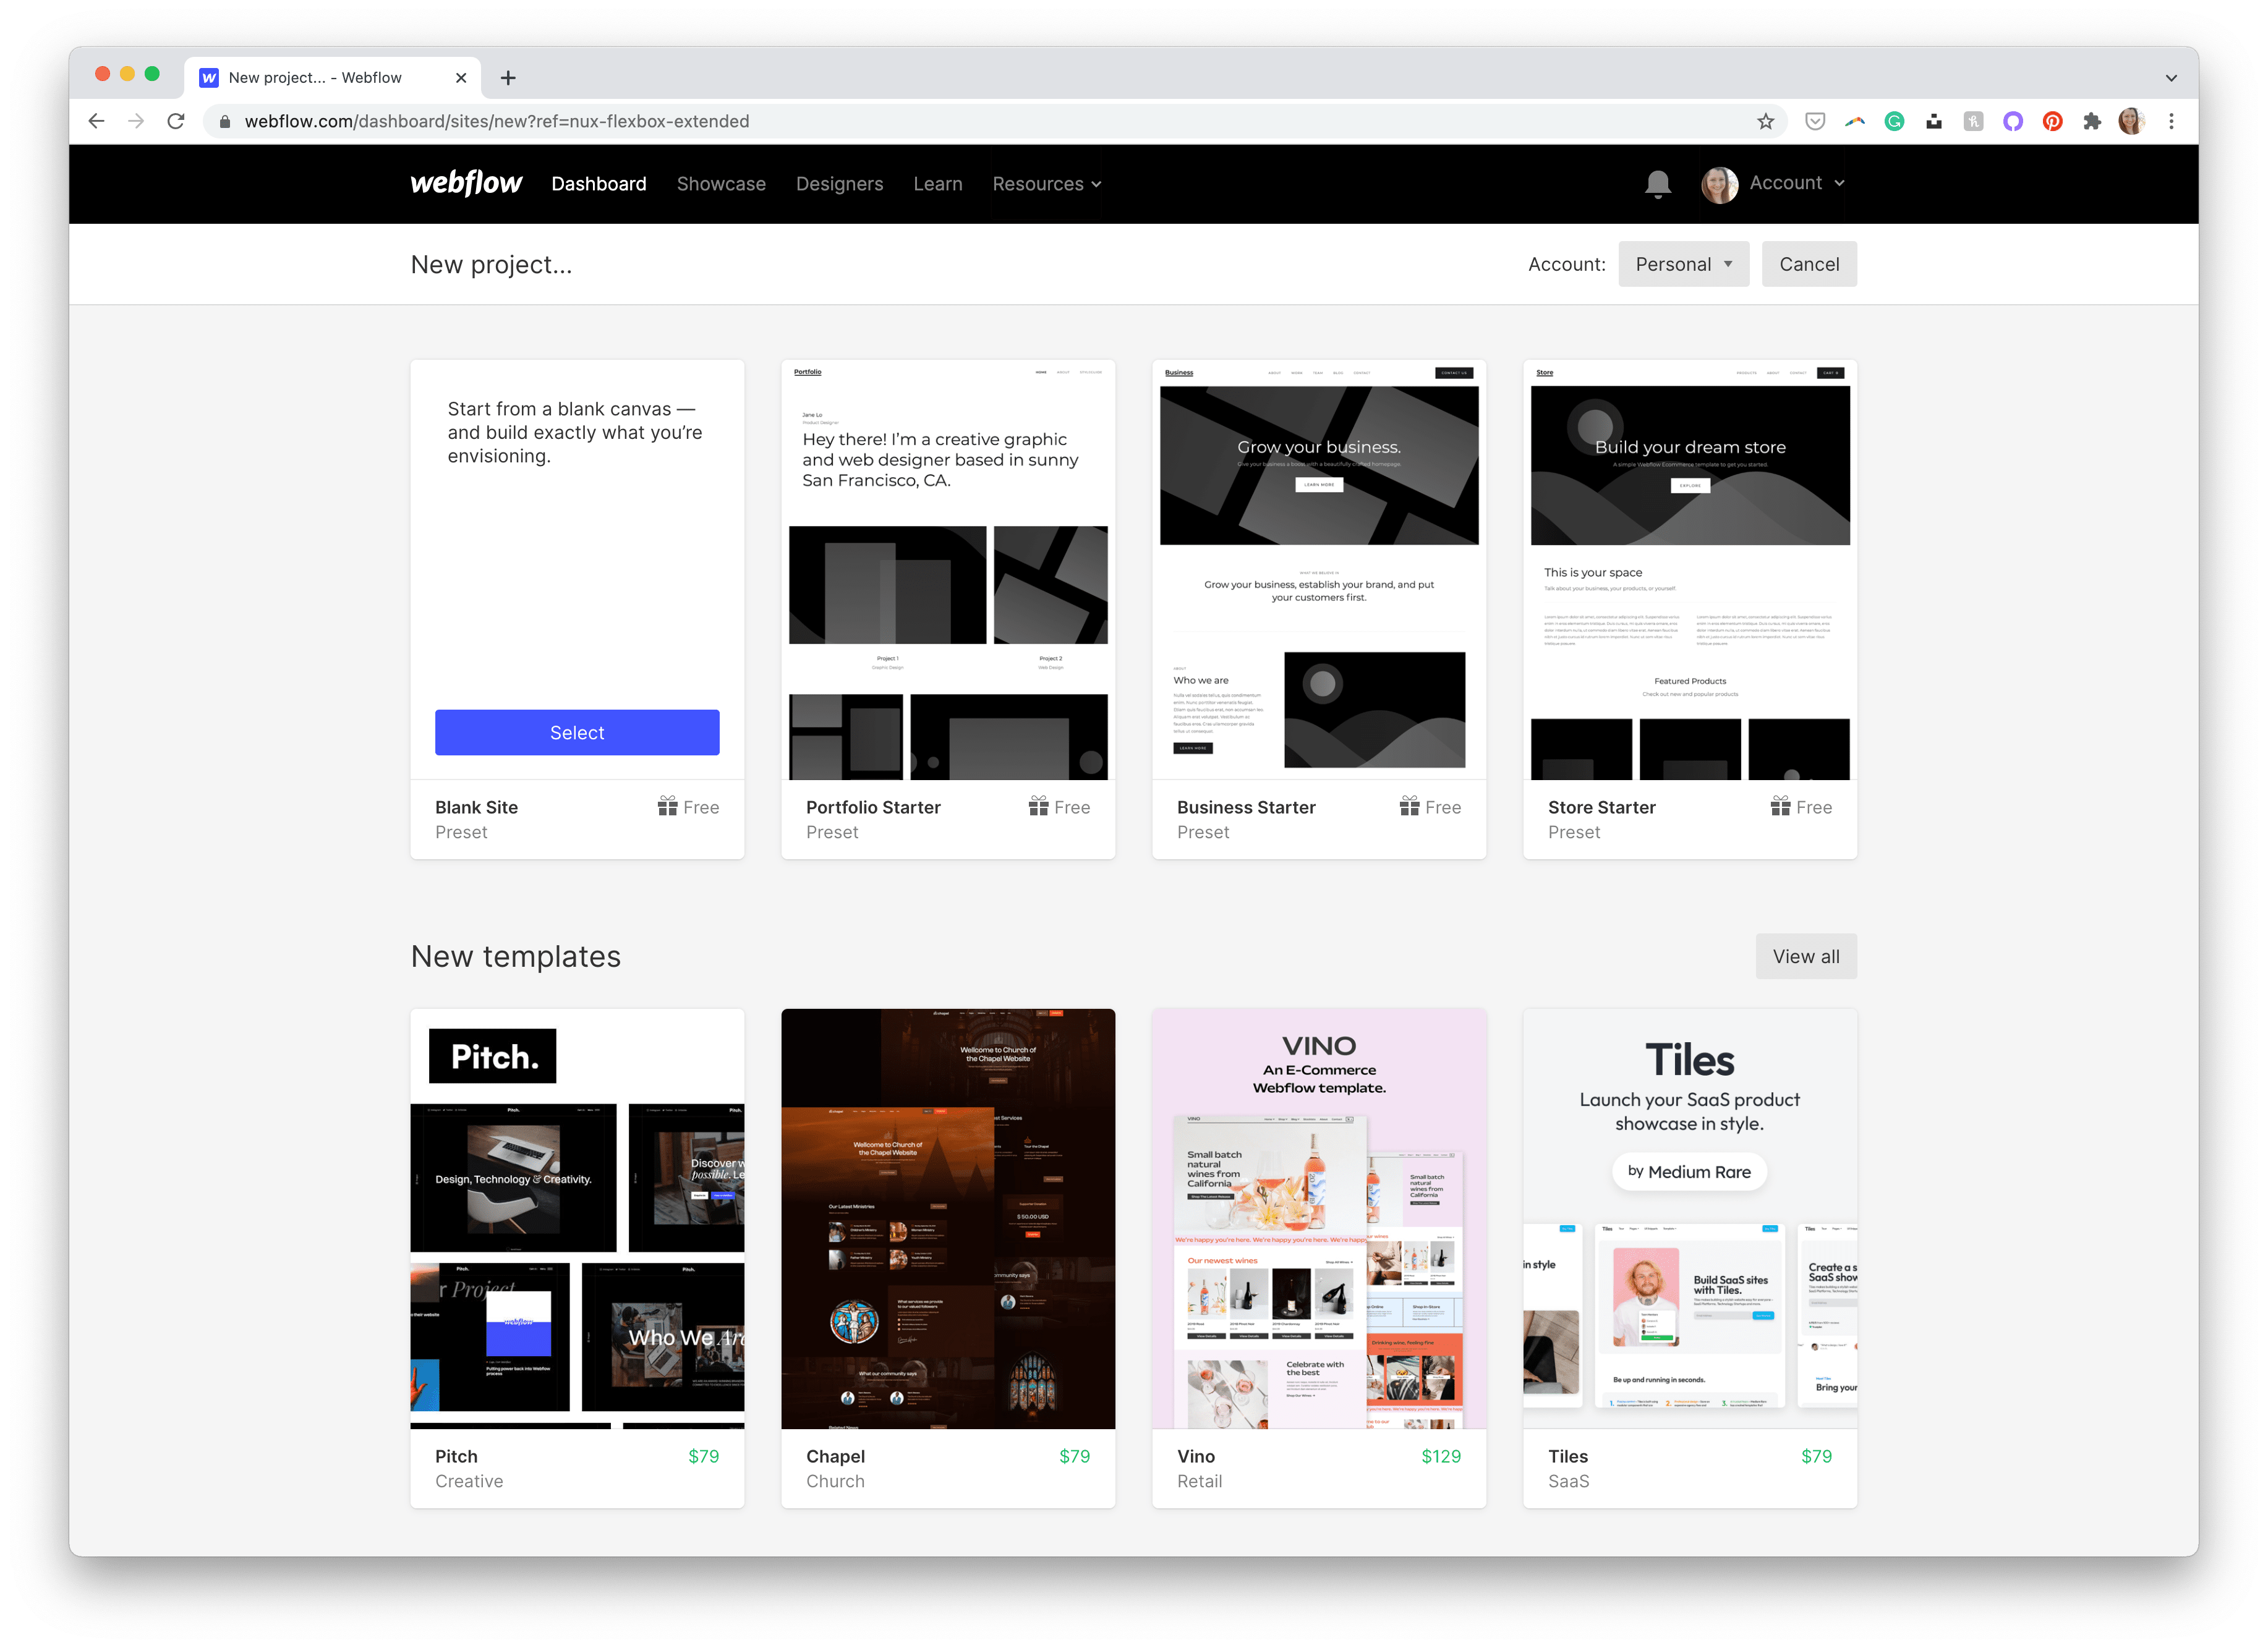
For this how-to tutorial, we’re going to edit an existing Webflow template to learn how the Designer works and the major features of the main interface you’ll be using inside Webflow.
Continue reading An Absolute Beginner’s Guide to Webflow on SitePoint.