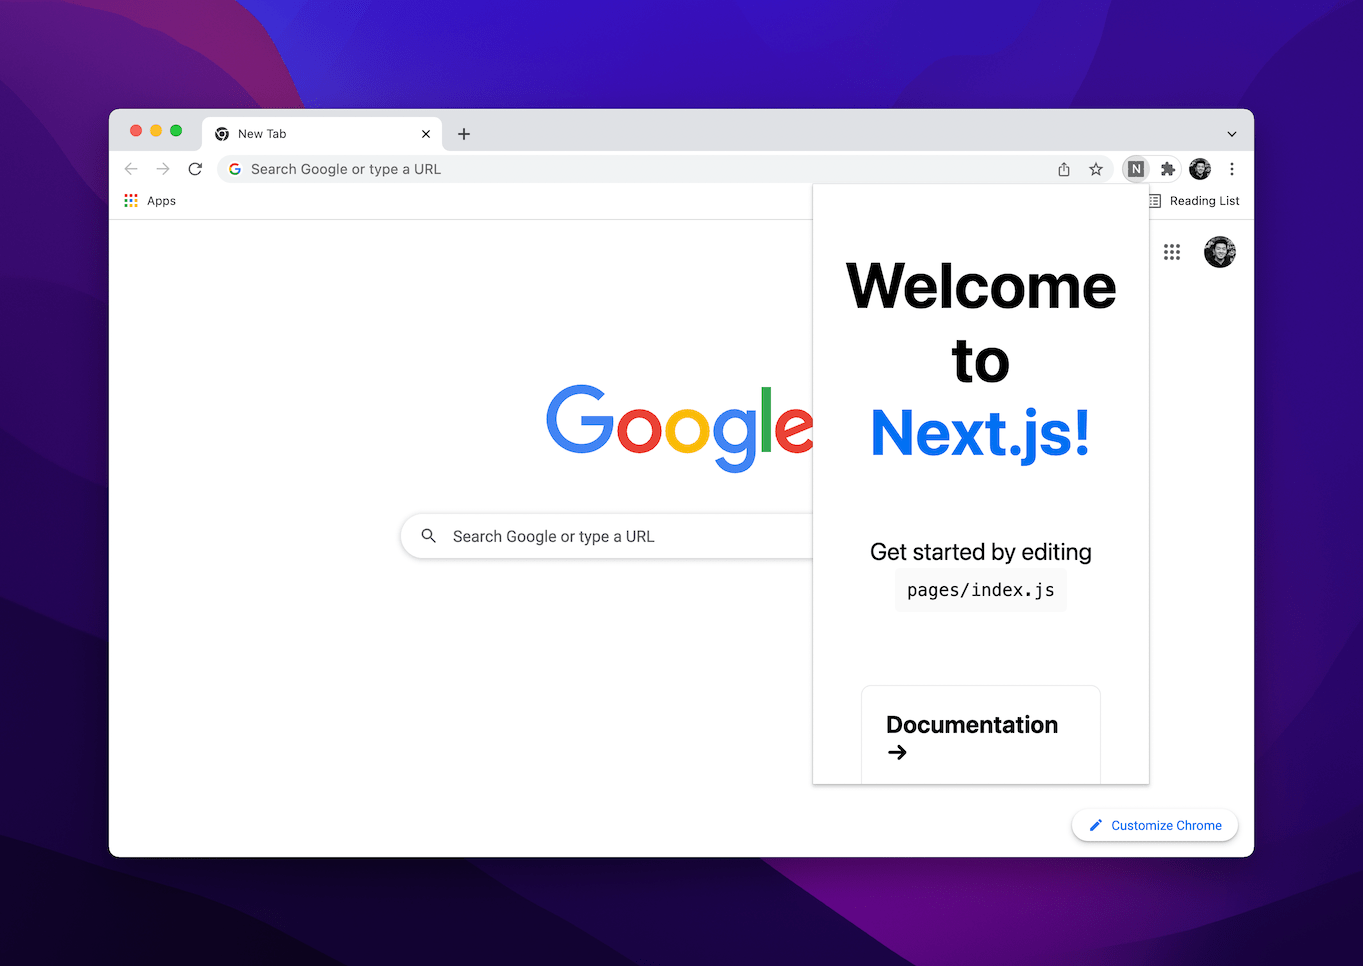
I recently rewrote one of my projects — Minimal Theme for Twitter — as a Next.js Chrome extension because I wanted to use React for the pop-up. Using React would allow me to clearly separate my extension’s pop-up component and its application logic from its content scripts, which are the CSS and JavaScript files needed to execute the functionality of the extension.
As you may know, there are several ways to get started with React, from simply adding script tags to using a recommended toolchain like Create React App, Gatsby, or Next.js. There are some immediate benefits you get from Next.js as a React framework, like the static HTML feature you get with next export. While features like preloading JavaScript and built-in routing are great, my main goal with rewriting my Chrome extension was better code organization, and that’s really where Next.js shines. It gives you the most out-of-the-box for the least amount of unnecessary files and configuration. I tried fiddling around with Create React App and it has a surprising amount of boilerplate code that I didn’t need.
I thought it might be straightforward to convert over to a Next.js Chrome extension since it’s possible to export a Next.js application to static HTML. However, there are some gotchas involved, and this article is where I tell you about them so you can avoid some mistakes I made.
First, here’s the GitHub repo if you want to skip straight to the code.
New to developing Chrome extensions? Sarah Drasner has a primer to get you started.
Folder structure
Table of Contents
next-export is a post-processing step that compiles your Next.js code, so we don’t need to include the actual Next.js or React code in the extension. This allows us to keep our extension at its lowest possible file size, which is what we want for when the extension is eventually published to the Chrome Web Store.
So, here’s how the code for my Next.js Chrome extension is organized. There are two directories — one for the extension’s code, and one containing the Next.js app.
???? extension ???? manifest.json
???? next-app ???? pages ???? public ???? styles ???? package.json
README.md
The build script
To use next export in a normal web project, you would modify the default Next.js build script in package.json to this:
"scripts": { "build": "next build && next export"
}
Then, running npm run build (or yarn build) generates an out directory.
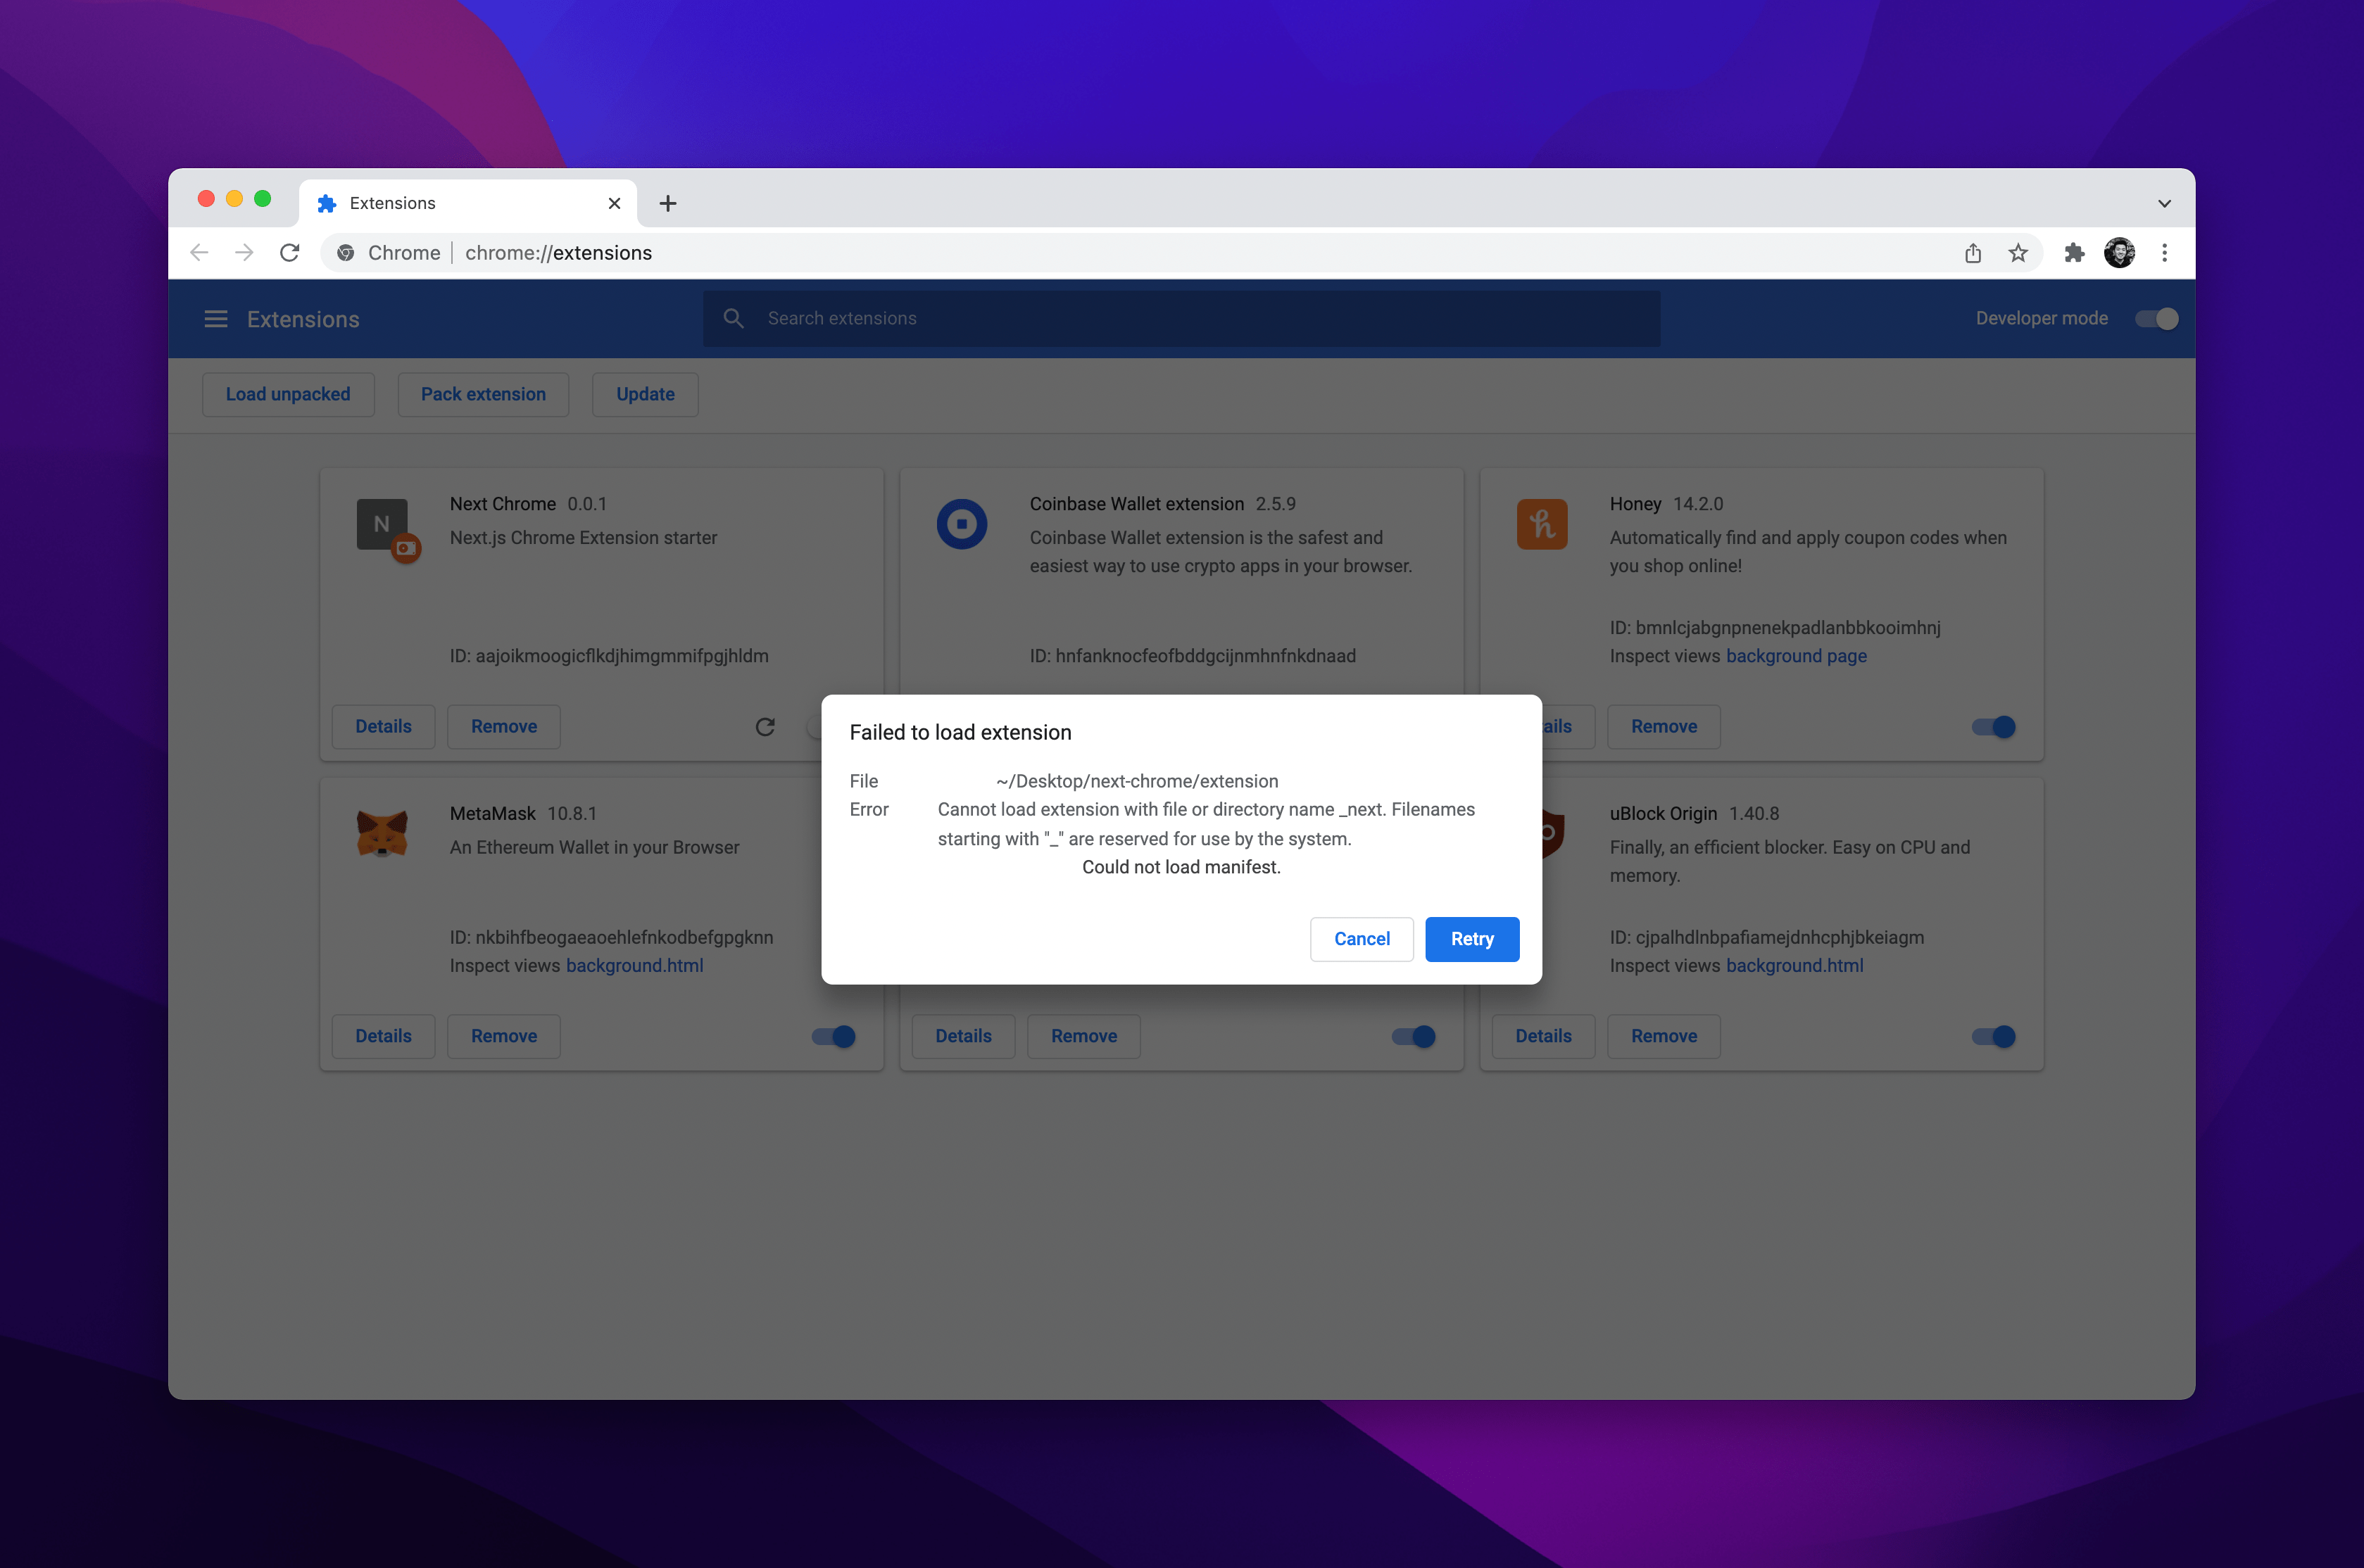
In this case involving a Chrome extension, however, we need to export the output to our extension directory instead of out. Plus, we have to rename any files that begin with an underscore (_), as Chrome will fire off a warning that “Filenames starting with “_” are reserved for use by the system.”

This leads us to have a new build script like this:
"scripts": { "build": "next build && next export && mv out/_next out/next && sed -i '' -e 's/\/_next/\.\/next/g' out/**.html && mv out/index.html ../extension && rsync -va --delete-after out/next/ ../extension/next/"
}
sed on works differently on MacOS than it does on Linux. MacOS requires the '' -e flag to work correctly. If you’re on Linux you can omit that additional flag.
Assets
If you are using any assets in the public folder of your Next.js project, we need to bring that into our Chrome extension folder as well. For organization, adding a next-assets folder inside public ensures your assets aren’t output directly into the extension directory.
The full build script with assets is this, and it’s a big one:
"scripts": { "build": "next build && next export && mv out/_next out/next && sed -i '' -e 's/\/_next/\.\/next/g' out/**.html && mv out/index.html ../extension && rsync -va --delete-after out/next/ ../extension/next/ && rm -rf out && rsync -va --delete-after public/next-assets ../extension/"
}
Chrome Extension Manifest
The most common pattern for activating a Chrome extension is to trigger a pop-up when the extension is clicked. We can do that in Manifest V3 by using the action keyword. And in that, we can specify default_popup so that it points to an HTML file.
Here we are pointing to an index.html from Next.js:
{ "name": "Next Chrome", "description": "Next.js Chrome Extension starter", "version": "0.0.1", "manifest_version": 3, "action": { "default_title": "Next.js app", "default_popup": "index.html" }
}
The action API replaced browserAction and pageAction` in Manifest V3.
Next.js features that are unsupported by Chrome extensions
Some Next.js features require a Node.js web server, so server-related features, like next/image, are unsupported by a Chrome extension.
Start developing
Last step is to test the updated Next.js Chrome extension. Run npm build (or yarn build) from the next-app directory, while making sure that the manifest.json file is in the extension directory.
Then, head over to chrome://extensions in a new Chrome browser window, enable Developer Mode*,* and click on the Load Unpacked button. Select your extension directory, and you should be able to start developing!

Wrapping up
That’s it! Like I said, none of this was immediately obvious to me as I was getting started with my Chrome extension rewrite. But hopefully now you see how relatively straightforward it is to get the benefits of Next.js development for developing a Chrome extension. And I hope it saves you the time it took me to figure it out!


