Layer masks are a powerful tool in Figma that can be used to hide and reveal specific parts of a layer. Using layer masks allows designers to control the visibility of different parts of a layer without the need to permanently alter or delete them. The hidden parts of the layer still exist, but they won’t be visible in the designs.
Layer masks can easily be edited or removed, and they allow designers to experiment with different effects until they find the one that works best.
Think of using a layer mask as seeing through a window. The mask will only display the parts of the layer that are within its bounds.
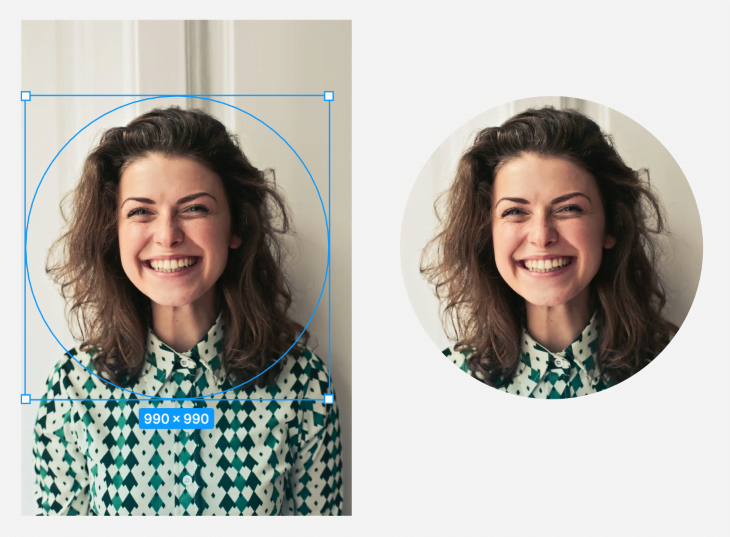
For example, a designer might use a circle as a layer mask to reveal only the face of a person in a photograph to create an avatar. You can also think of a layer mask as a cookie cutter that can cut different shapes out of layers. This makes layer masks a flexible tool to use to display certain parts of the content and create visual effects.
In this article, we will explore the benefits of using layer masks in Figma, how they work, and a step-by-step guide for creating them. We’ll also provide best practices for using layer masks effectively and common mistakes to avoid.
Table of contents
Table of Contents
How layer masks work in Figma
Layer masks work by simply hiding portions of a layer. When a mask is applied to a layer, the content within the bounds of the layer mask will remain visible, while the overflow content will be hidden. Any object, including shapes, text, and images, can be used as a layer mask in Figma.
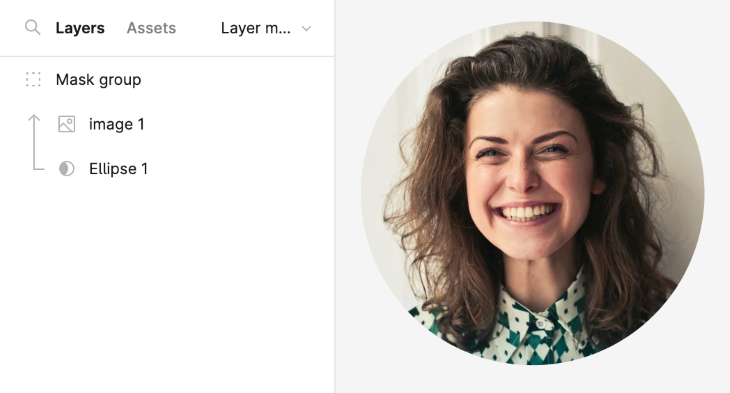
When you use a layer mask, a mask object will be created in the Layers panel. The mask object is always positioned beneath the layers that it is masking with an arrow pointing upwarda beside the layers. Let’s run through a step-by-step example of creating a layer mask in Figma.
How to create a layer mask in Figma
To create a layer mask, start by adding the content you want to be masked. This can be a single layer or multiple layers of objects.
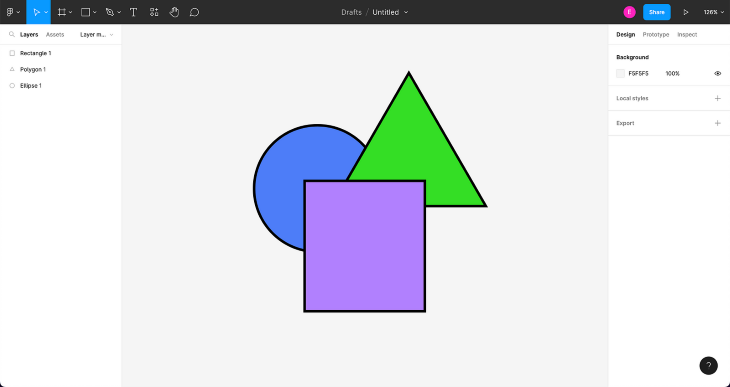
Next, add an object to act as the layer mask. Think about how you want to cut your content. This object can be any type, including shapes, text, or images.
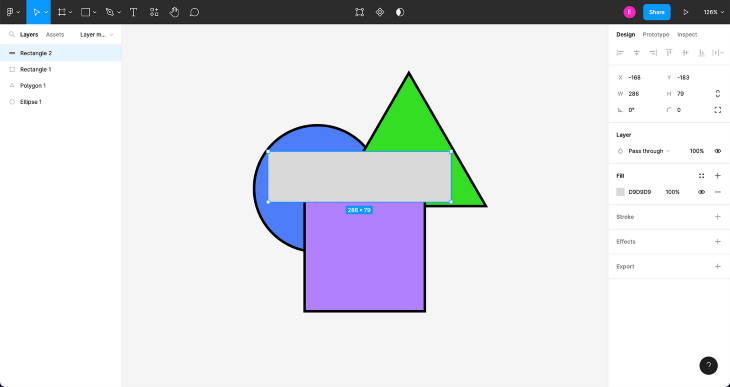
Move the object behind all of the content layers that will be masked.
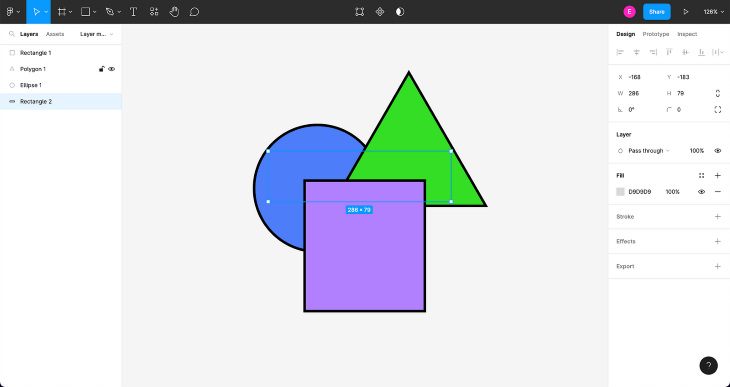
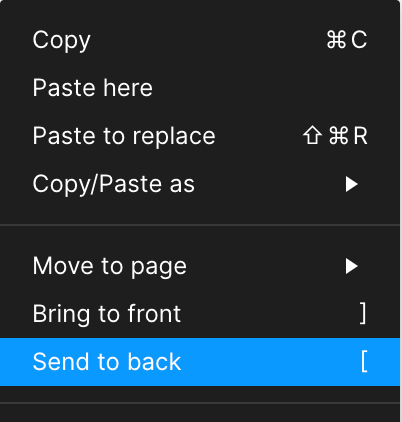
You can do this by right-clicking and selecting Send to back from the contextual menu or by using the keyboard shortcut.
- Mac: ⌘ Command + ⌥ Option + [
- Windows: Ctrl + Shift + [
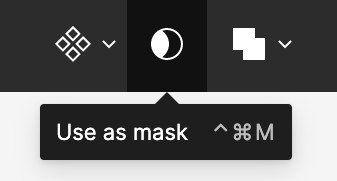
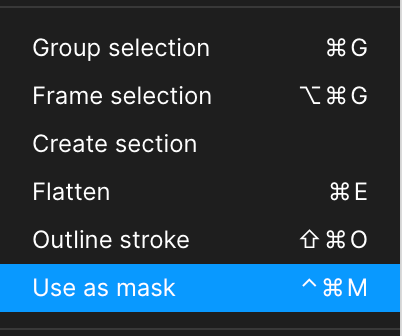
With the mask object and content layers selected, click on the Use as mask button in the toolbar at the top. You can also select it from the contextual menu or by using the keyboard shortcut.
- Mac: ⌃ Control + ⌘ Command + M
- Windows: Ctrl + Alt + M
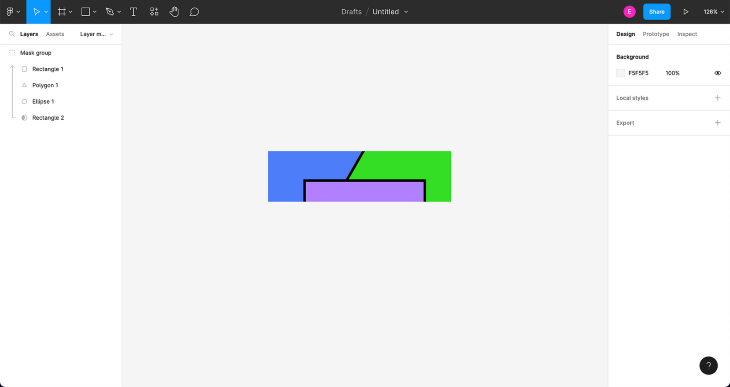
This will create a mask group in the Layers panel. The mask object will appear at the bottom of the group with an upwards arrow beside the layers being masked. Now, your content is successfully masked!
Editing a layer mask
After the layer mask has been created, it might need a bit of adjustment to reveal the exact part of the content you want. Here are a few tips to help you edit the content within a mask group.
Resizing and repositioning content
By selecting the content layers, they can be resized or repositioned within the mask object. It’s important to note that resizing or repositioning the mask object itself will not affect the content layers that are being masked, since it is a sibling to the content and not a parent, such as a frame or a group.
Adding and removing content
To add content to an existing mask group, simply select the layers and drag them into the group in the Layers panel. Similarly, to remove content from a mask group, select the layers and drag them out of the mask group.
Unmasking content
To unmask content, you must remove the mask object. With the mask object layer selected, click on the Use as mask button in the toolbar. You can also use the same keyboard shortcut used to mask. This will remove the mask group completely.
Common mistakes to avoid when using layer masks
Using layer masks might seem straightforward, but there are a few common mistakes to avoid in order to use them effectively.
Mask object doesn’t have a fill
A common mistake when using layer masks is not applying a fill to the mask object. In order for the masked content to appear, the mask object must have a fill greater than 0 percent. Without a fill, your content will remain hidden.
Selecting the wrong layer
Another mistake is selecting the wrong layer when trying to edit the content within a mask:
- Selecting the content layer will allow you to resize or reposition the content independently of the mask object
- Selecting the mask object will adjust the “window” of what’s seen through the mask
- Selecting the mask group entirely will scale the content with the mask object as they are both resized together
Advanced techniques for using layer masks
Now that we’ve covered the basics of how to use layer masks, here are a few advanced techniques that will give you endless possibilities to explore in your designs.
Using transparency with layer masks
Transparency plays a main factor in a mask’s appearance. A layer mask’s alpha channel, or level of transparency, is directly correlated with how much of the masked content is revealed. A higher level of transparency results in more content being revealed and vice versa.
If a transparent image is used as a mask object, the masked content will only reveal within the shape of the non-transparent area of the image, instead of the entire image.

Another technique to try is adding a stroke around the mask object. As you adjust the transparency of the stroke, the mask will reveal the content that lies within the stroke’s area, adding a cool effect to your mask.
Using text as layer masks
Text can also be used as a layer mask. Simply create a mask group with text as the mask object. The text remains editable even as a mask object. This provides a flexible way to style text.
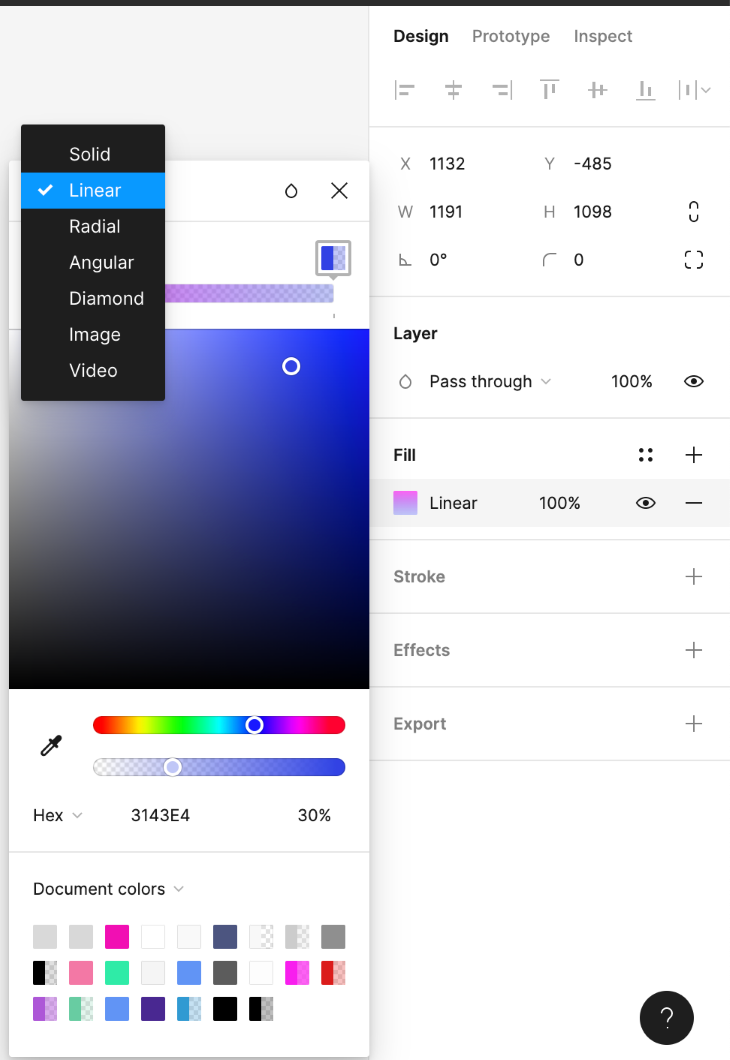
Using gradients with layer masks
Gradients can be a great way to add visual appeal to your designs. Create a gradient by selecting one of the gradient options in the fill dropdown. Instead of a solid fill, you can choose from linear, radial, angular or diamond gradient types.
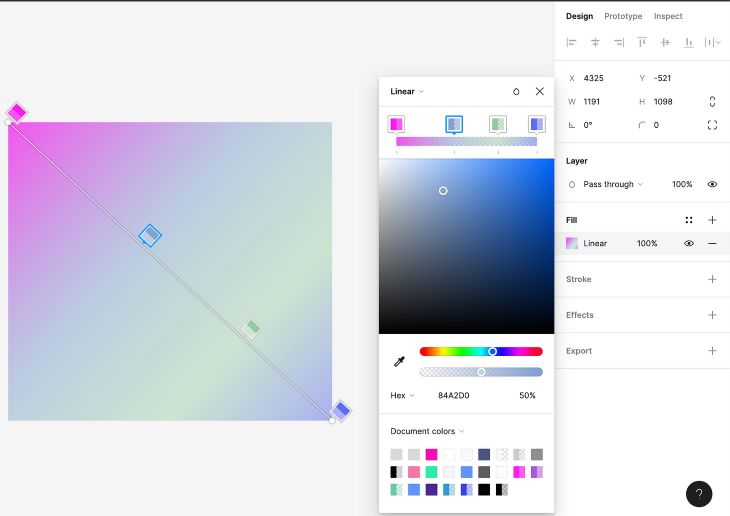
With the gradient fill selected, set different colors using the color picker for each point in the slider. You can add additional points along the slider to create a more complex gradient. Also, try moving the end points of the gradient line on top of the object to test out different gradient angles.
Now that you have a beautiful gradient created, use it to layer on top of your masked content and create visually stunning graphics.
Creating effects with Blend modes
With the gradient now overlayed on top of your masked content, play around with the different Blend modes to create different visual outcomes. The Blend modes specify how two layers will blend together, resulting in interesting effects to the layers beneath.
Creating smart animations with layer masks
Layer masks are such a versatile tool. Not only can they be used to create complex designs but also smart animations as well. For this example, let’s create a face that animates between happy and sad.
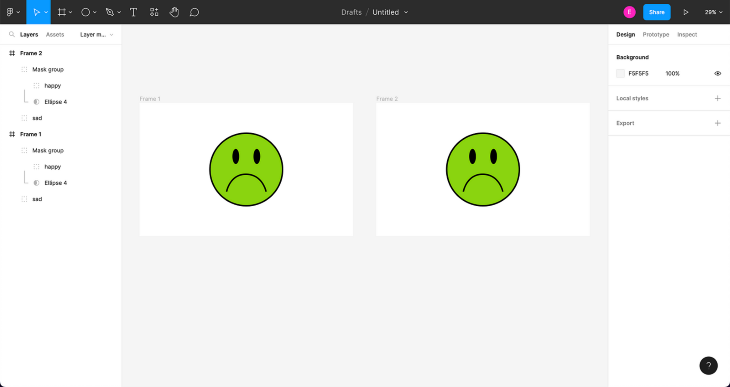
To start with the first frame, place the sad face as a bottom layer and the happy face directly on top, so that it covers the sad face.
Next, add in a circle, which will act as the mask object. Make the circle small and place it somewhere away from the faces. This will be the starting point of the animation.
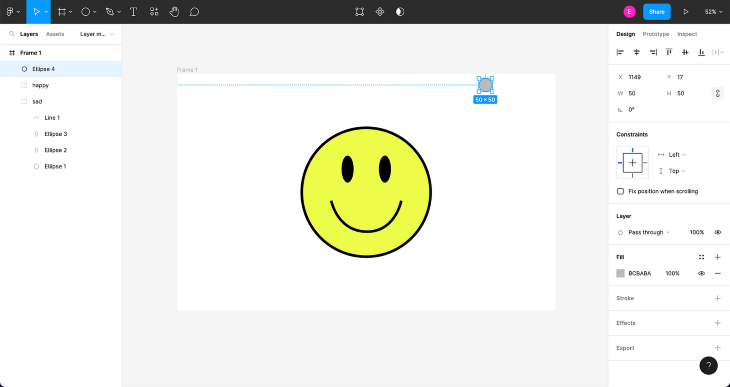
Move the circle layer below the happy face and create a mask layer. The happy face will disappear since it is not within the bounds of the circle. But don’t worry, this sets up the animation to reveal the happy face later on.

Now that we have our first frame set up, duplicate the frame by dragging it while holding down the ⌥ Option key on Mac or Alt key on Windows. You can also use the keyboard shortcut for duplicating an object.
- Mac: ⌘ Command + D
- Windows: Ctrl + D
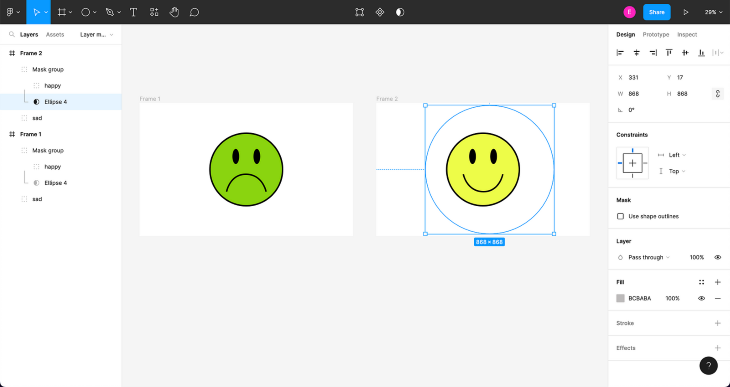
In the second frame, select the mask object and resize it so that it reveals the entire happy face.
Now it’s time to create our prototype. Select the Prototype tab in the right side panel and connect the two frames. Select Smart animate under the Animation dropdown. With Smart animate, the mask object will animate from a small circle into a larger one, revealing the happy face within its mask. You can also adjust the transition effects and timing settings to your liking
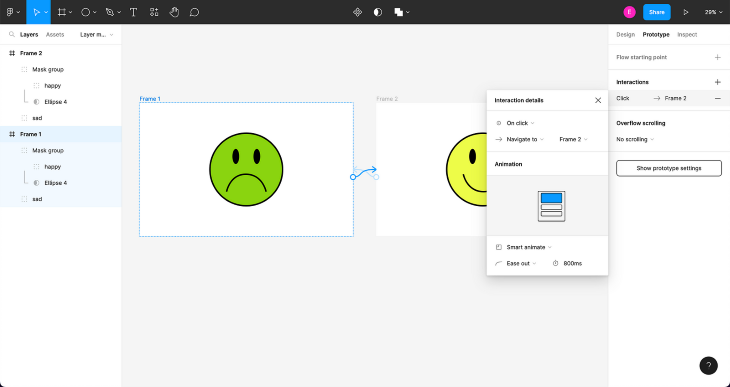
Lastly, open up presentation view and see your sad face animate into a happy face!
Conclusion
Layer masks are an incredibly powerful tool in Figma that allow designers to hide and reveal specific parts of an object or multiple objects. By using masks, designers can display certain parts of content while concealing the rest.
Masks can be used with alpha channels or transparency settings to create different effects with gradients and blend modes. In addition, advanced techniques can be applied, such as using text to mask content or creating smart animations.
Overall, layer masks are an essential tool for designers who want to create complex designs in Figma that are both visually appealing and functional. Whether you’re a beginner or an advanced designer, layer masks can take your designs to the next level.
The post Using layer masks correctly in Figma appeared first on LogRocket Blog.
from LogRocket Blog https://ift.tt/t16iHZb
Gain $200 in a week
via Read more