In this article, we’ll learn what a monorepo is, and how monorepos help in developing applications faster with a better development experience. We’ll discuss the advantages of using the Nx development tools for managing a monorepo, and learn how to use those tools to build a Next.js application.
The code for this article is available on GitHub. You can find a working demo of the app we’re building here.
What a Monorepo Is, and Why We Should Consider Using One
Table of Contents
A monorepo is a single repository that contains the apps, tools and configurations of multiple projects or project components. It’s an alternative to creating separate repositories for each project or part of a project.
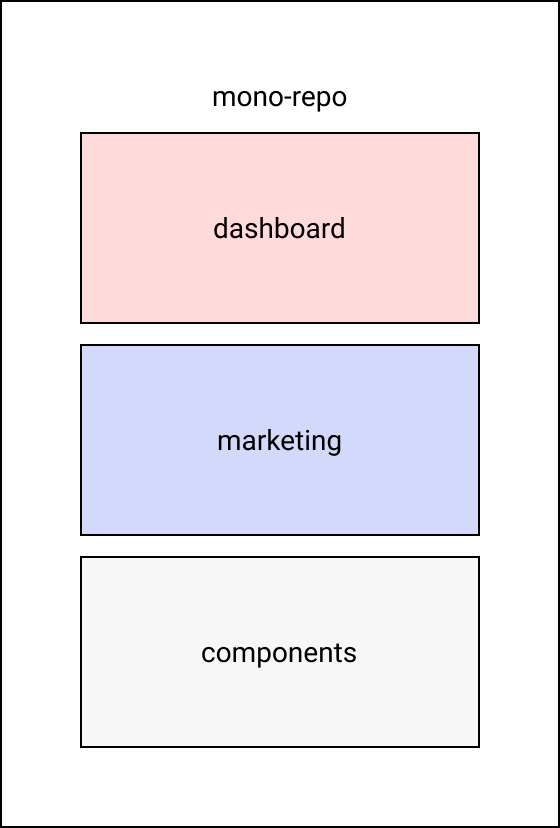
Consider a scenario where we’re building a dashboard application using some front-end library or framework. The code for this front-end application might be stored in the dashboard repository. The UI components that this repository uses might be stored in another repository named components. Now, every time we update the components repository, we’d have to go into the dashboard repository and update the components dependency.
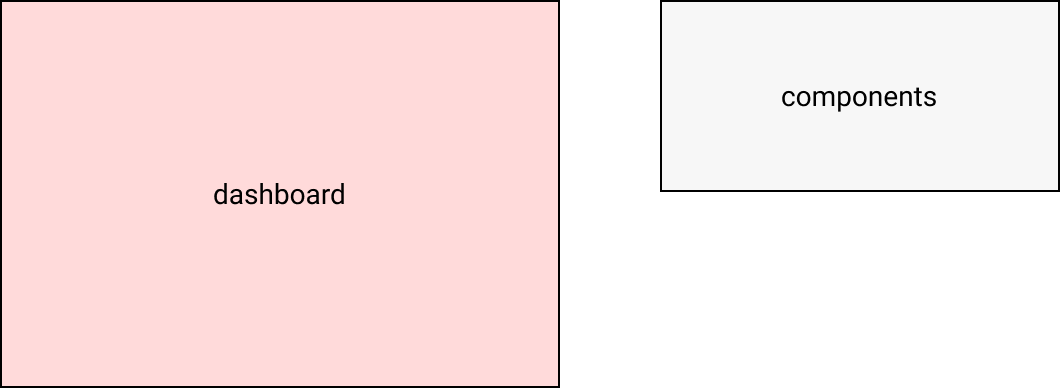
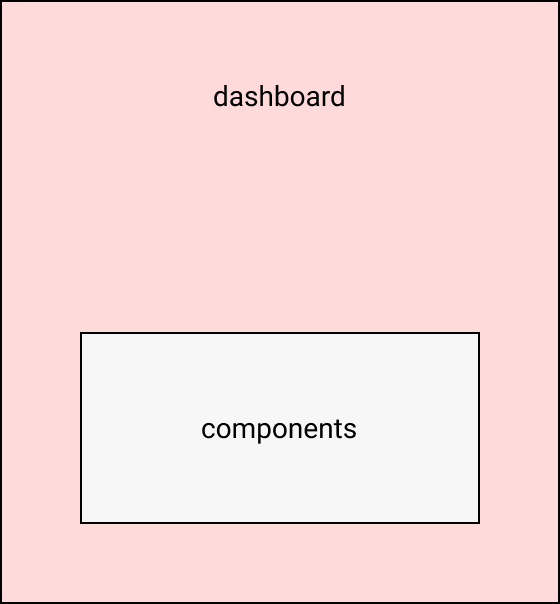
To alleviate this problem, we could merge the components repo with the dashboard repo.
However, there might be another front-end application for the marketing site that’s stored in the marketing repository and which depends on components repository. So, we’ll have to duplicate components and merge it with marketing as well. However, because of this, any change related to components will have to be made in two places, which isn’t ideal.
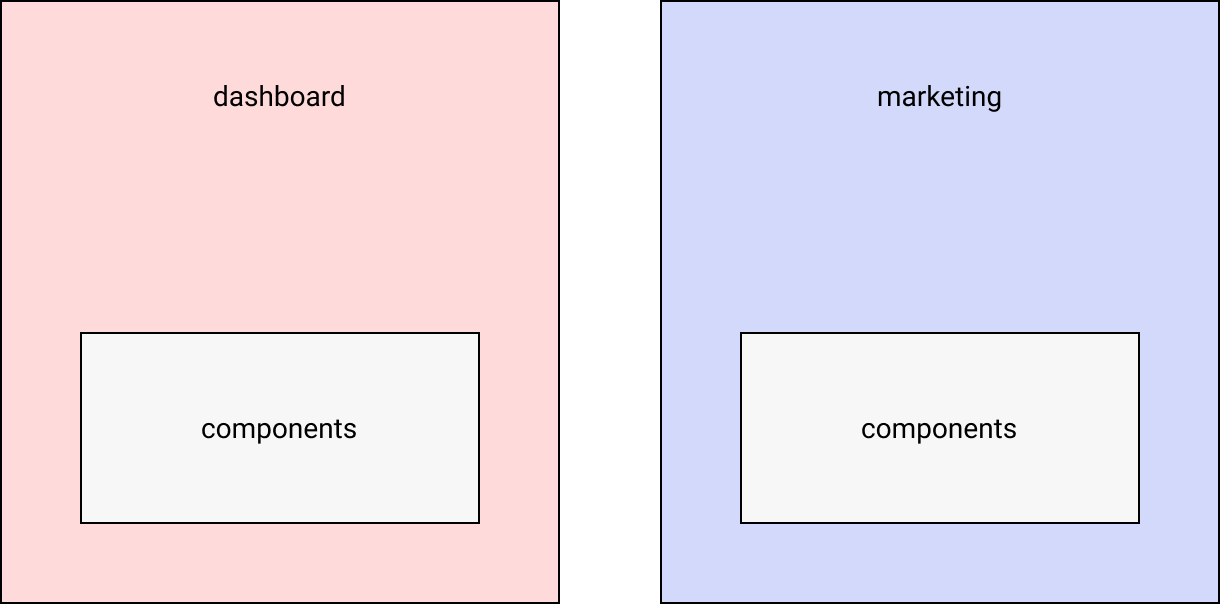
The above issue can be resolved by using a monorepo, where the dashboard, components and marketing components reside in one single repository.
There are various advantages of using a monorepo:
- Updating of packages is much easier, since all applications and libraries are inside a single repository. Since all applications and packages are under the same repository, adding new code or modifying existing code can be easily tested and shipped.
- Refactoring of code is much easier, as we’ll only have to do it in a single place instead of replicating the same stuff across multiple repositories.
- A monorepo allows for onsistent configuration for CI/CD pipelines, which can be reused by all the applications and libraries present in the same repository.
- Publishing of packages also becomes much easier, due to tools like Nx.
The Nx CLI will help us in generating new Next.js applications and React component libraries. It will also help us in running a development web server with hot module reload. It can also do a bunch of other important things like linting, formatting and generating code. The advantage of using a CLI like this that it will provide a sense of standardization in our codebase. As our codebase grows, it’s very difficult to manage and understand the underlying complexities. Nx CLI takes away most of those complexities by providing tools to automate the generation of code.
Software Required
We’ll need the following installed for the purposes of running our app:
- npm
- Yarn (optional)
These technologies will be used in the app:
- Next.js for building our app
- Styled Components for adding styles to our app
Note: you can read more about how to install multiple versions of Node.js using nvm if you want to get up to speed with that.
We’ll also need a Product Hunt account.
Installing and Bootstrapping an Nx Workspace
We can install the Nx CLI using the following command:
npm install nx -g The above command will install the Nx CLI globally. This is useful because now we can create a new Next.js application using this CLI from any directory.
Next, we need to run the following command inside the directory where we want to create our monorepo:
npx create-nx-workspace@latest nx-nextjs-monorepo The above command will create an Nx workspace. All Nx applications can reside inside an Nx workspace.
You might need to replace nx-nextjs-monorepo with the name of your workspace. It can be named anything you like. The name of the workspace is generally the name of an organization, company, etc.
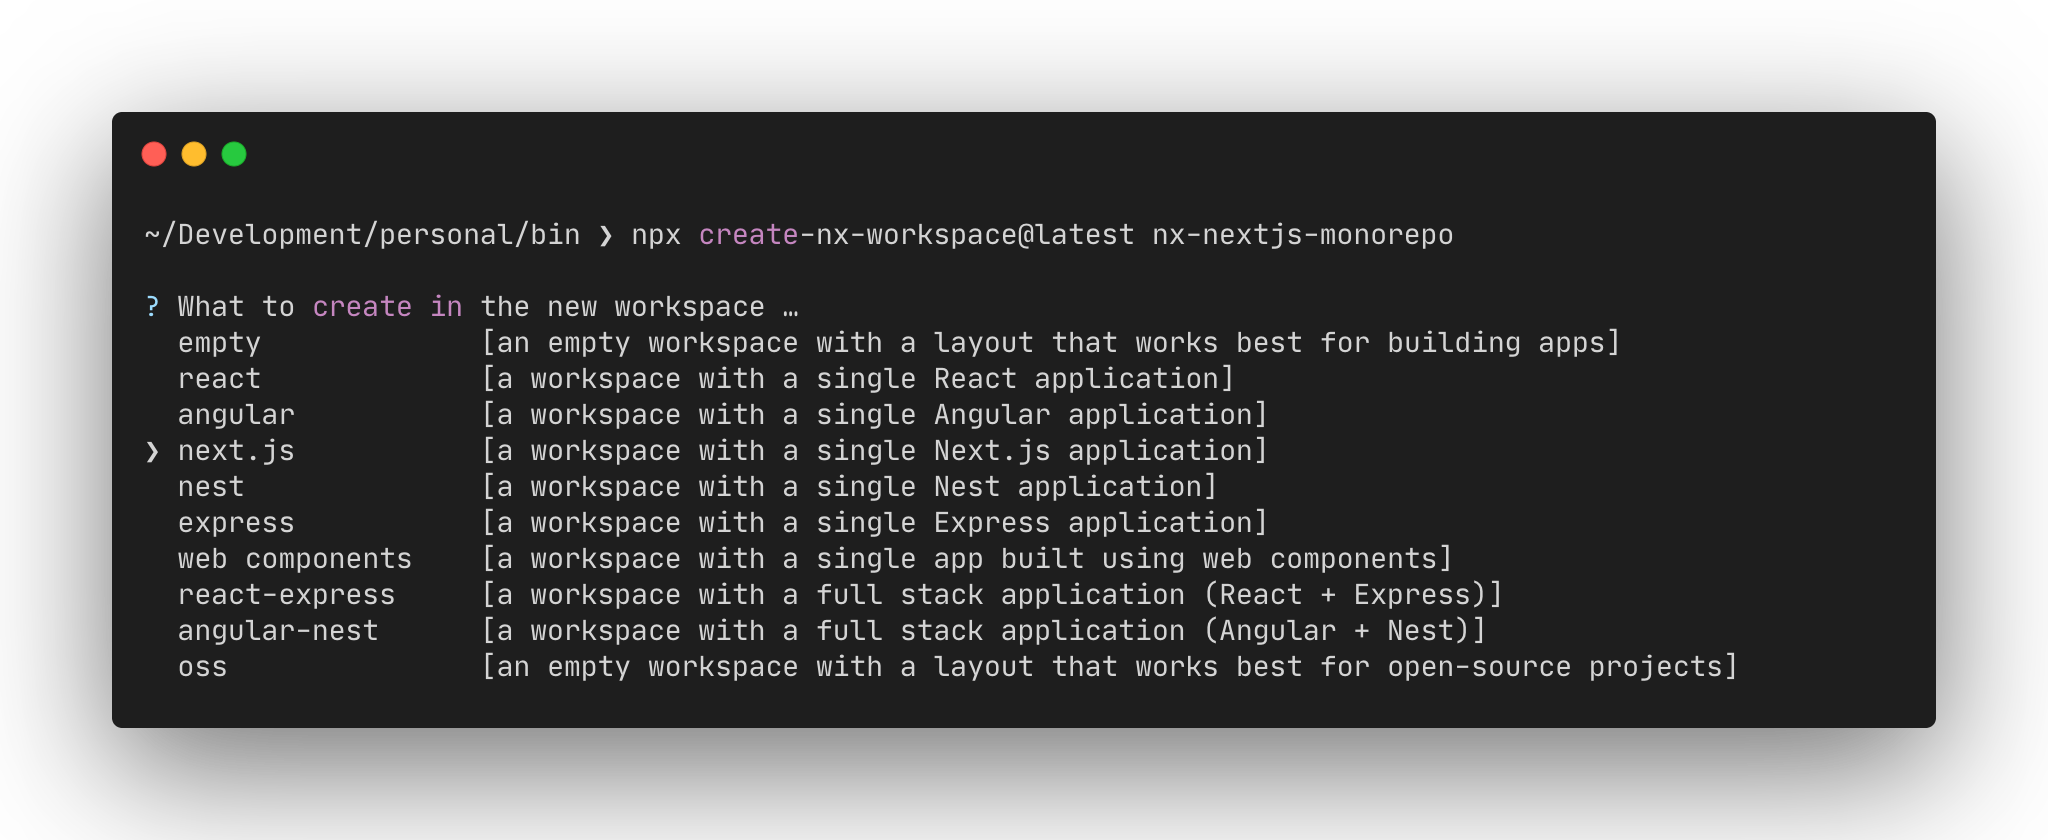
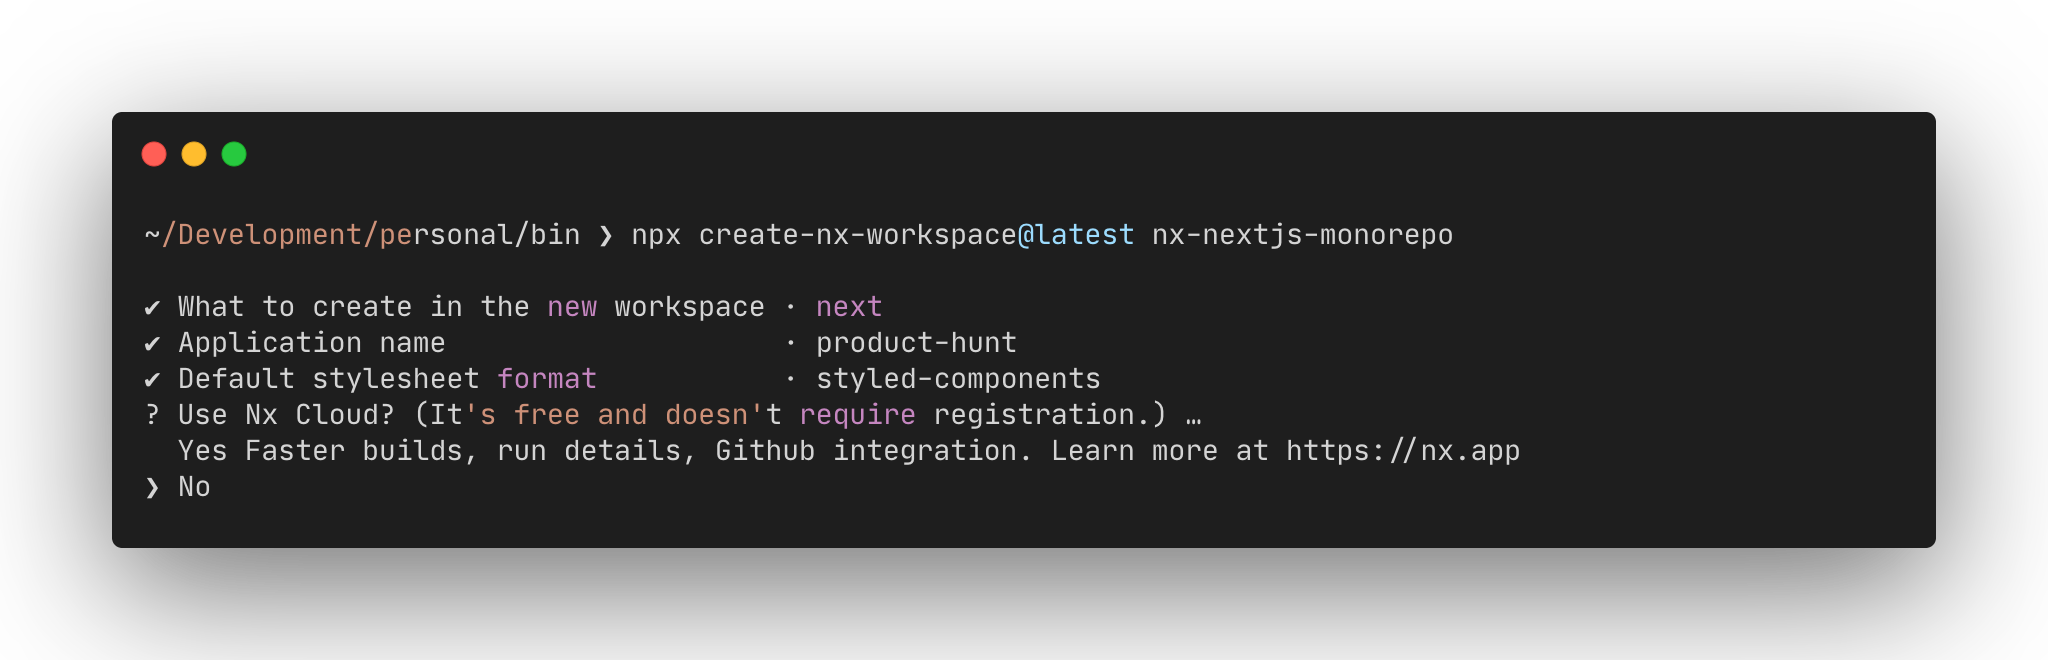
When we run the above command, we’ll be given a set of steps that will create what type of applications we want to create with Nx.
-
Step 1: It will first ask what type of application we want to create. We’ll select Next.js from the list of options.
-
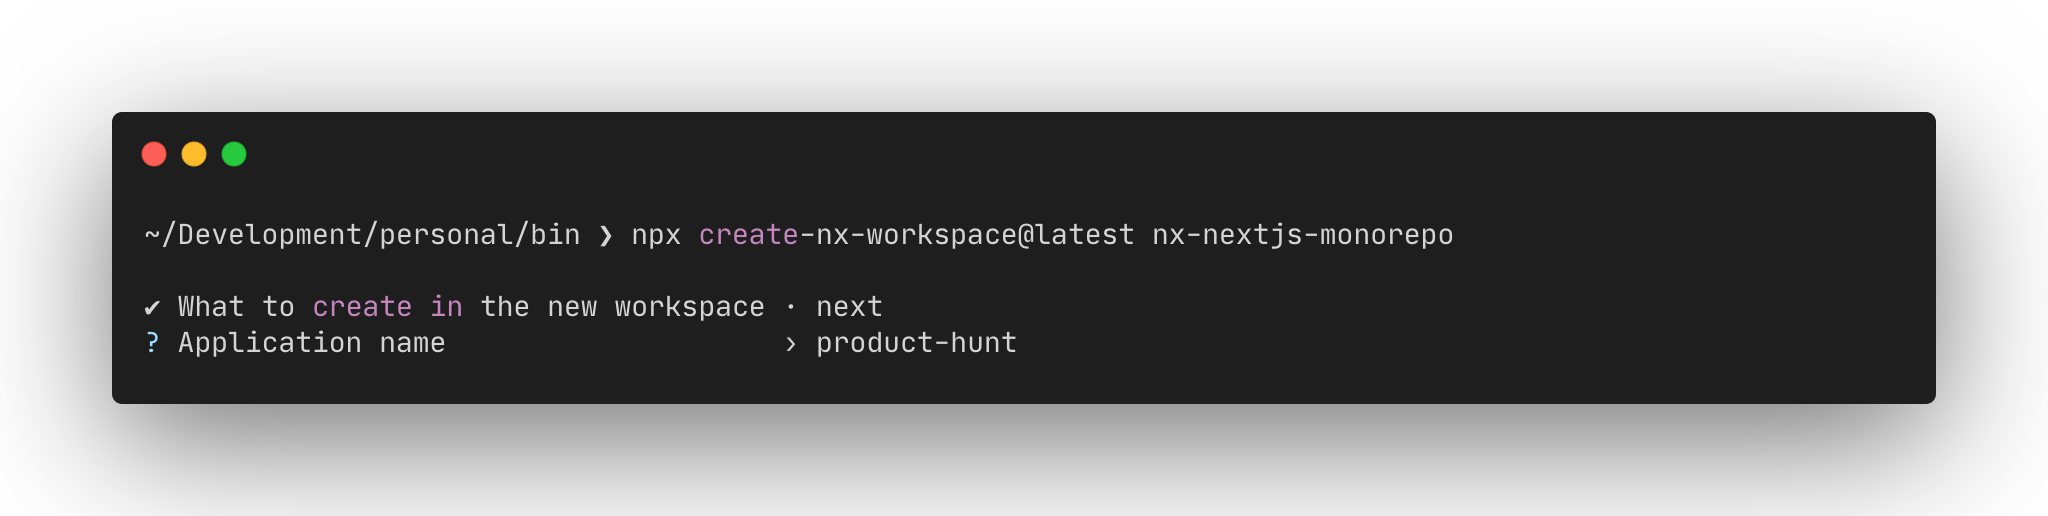
Step 2: It will ask us for the name of the application we want to create. We can call it anything. In this case, we’ll name it as “product-hunt”.
-
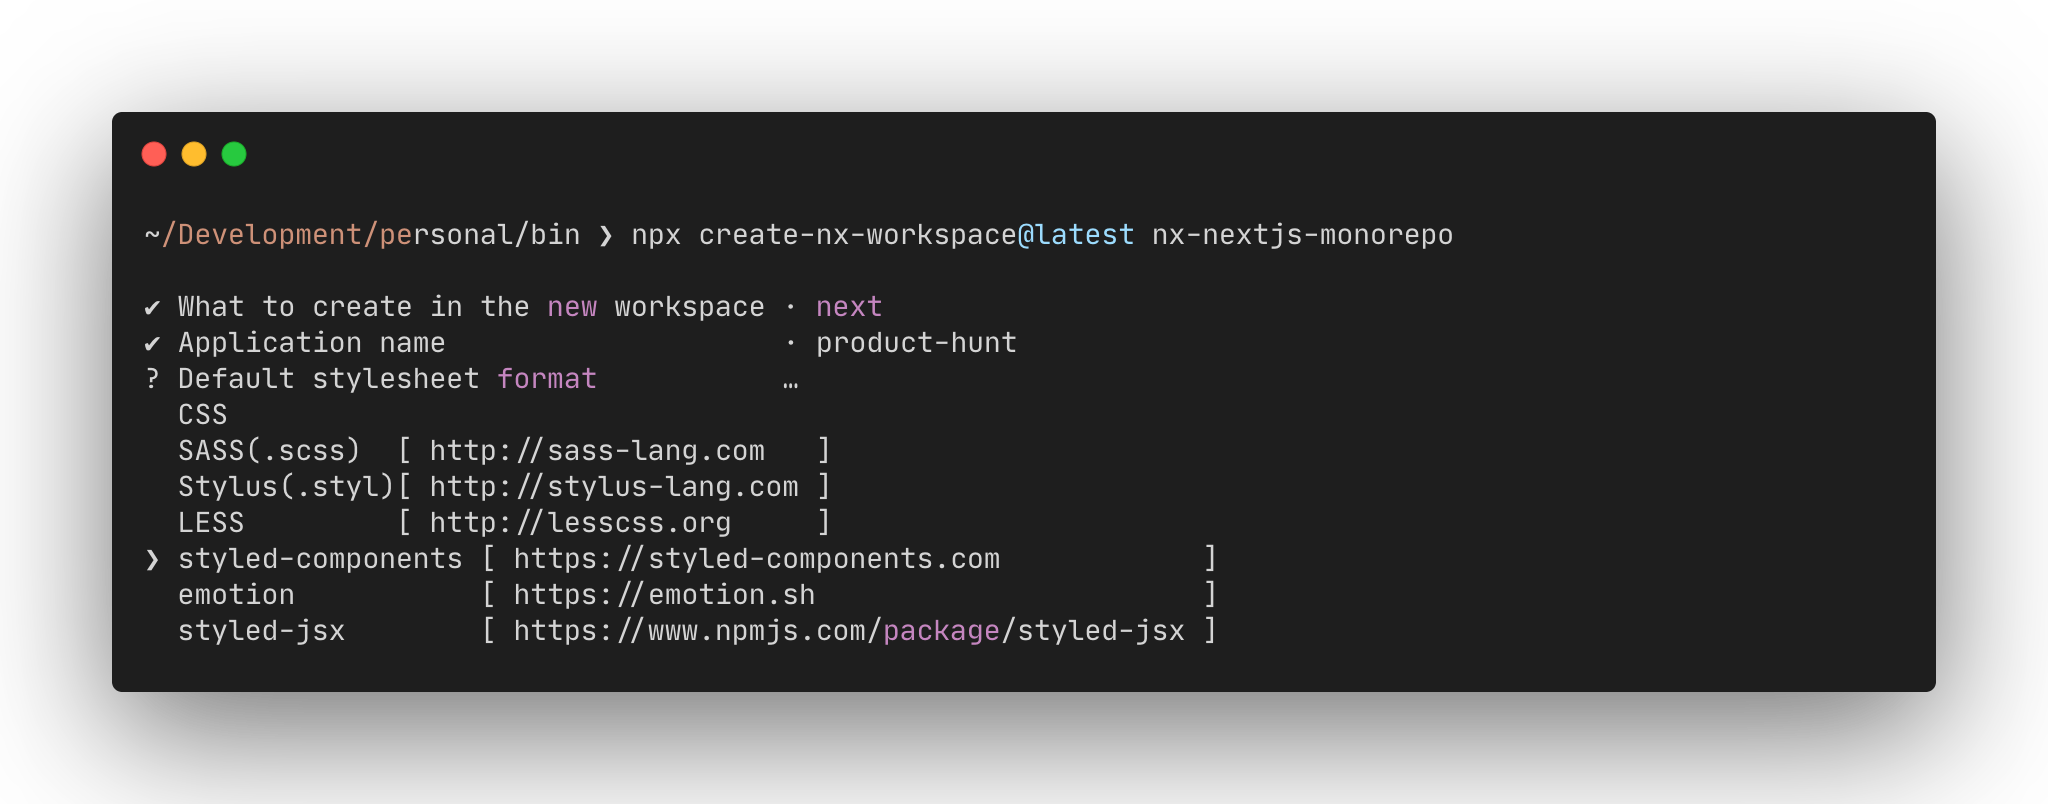
Step 3: It will ask us what type of stylesheet we want to use. We’ll choose Styled Components.
-
Step 4: It will ask us if we want to use Nx Cloud, which is a platform for speeding up the builds of Nx applications. In this case, we’ll choose No, but please check it out.
Nx will now scaffold all the files and directories and generate the following structure for us.
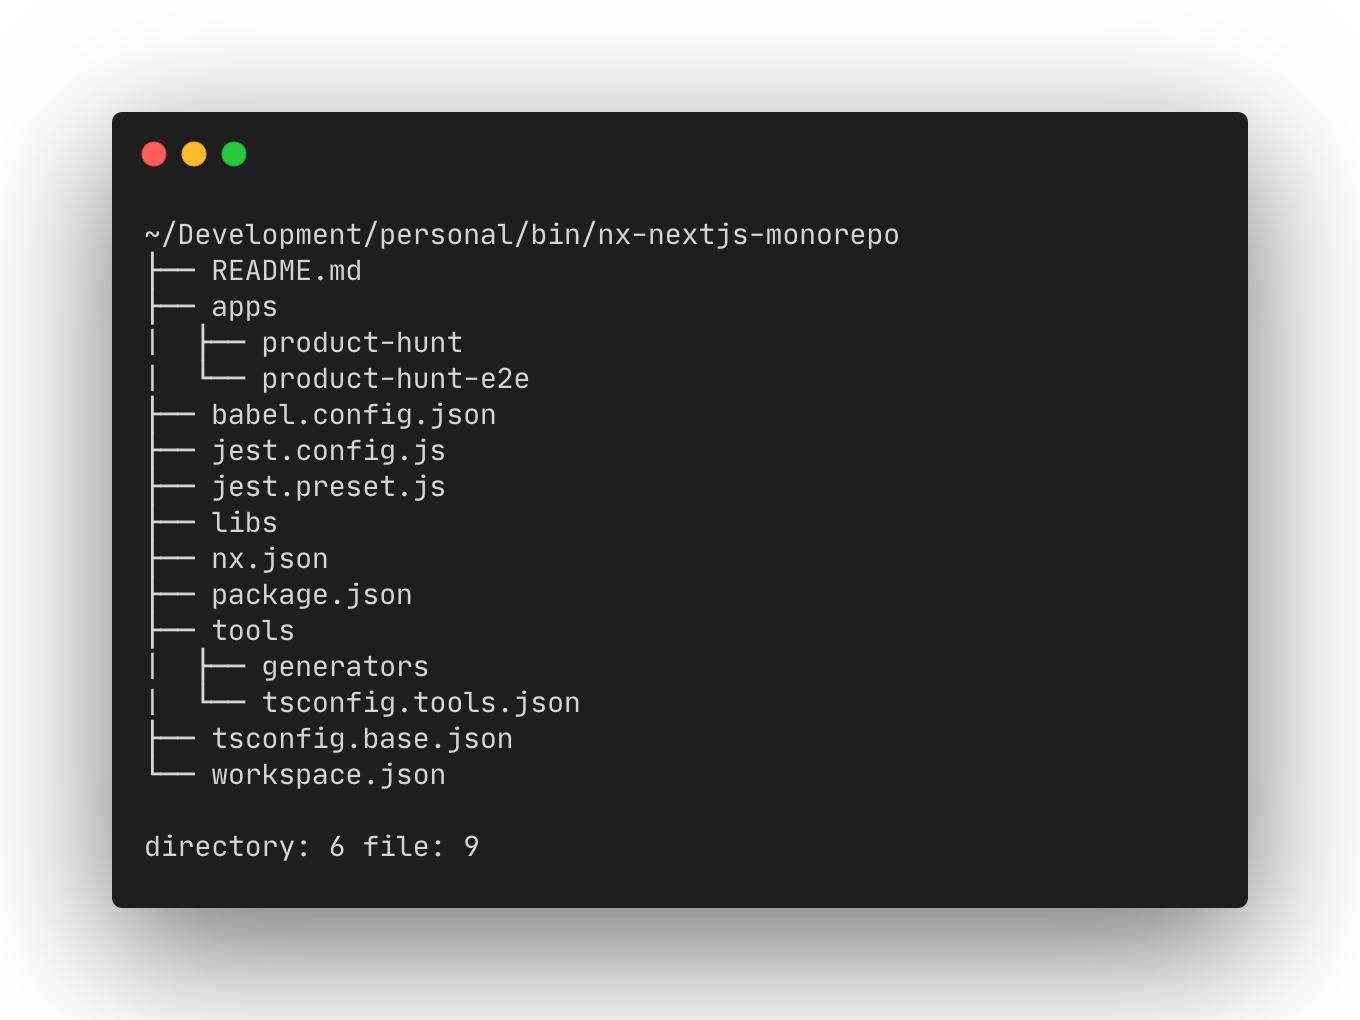
The apps directory contains all our applications. In our case, this directory will contain the Next.js application that we’re building (named product-hunt). This directory also contains the end-to-end test applications (named product-hunt-e2e) scaffolded using Cypress.
The libs directory contains all the libraries like components, utility functions, and so on. These libraries can be used by any of the applications present in the apps directory.
The tools directory contains all the custom scripts, codemods, and so on, which are used to make certain modifications to our codebase.
Note: more information regarding the directory structure is available here.
Continue reading How to Build a Monorepo with Nx, Next.js and TypeScript on SitePoint.